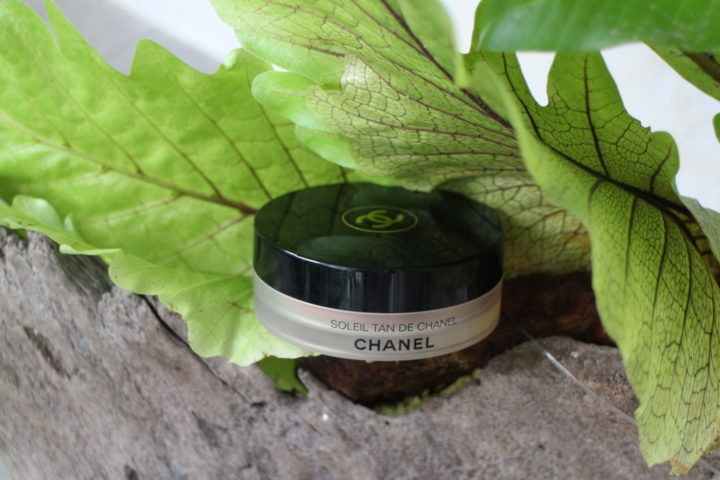
Glowing and Bronzing are 2 Makeup terms that people always say when they want their makeup done a la JLo. For my personal use, I use the Soleil Tan De Chanel Bronzing Makeup Base as a blush or to warm the perimeter of my face. Ok, bring down your raised eyebrow, I received this as a birthday gift a few years ago from my sister and unfortunately it’s not available here in Rustans, but you may get this in the Duty Free shops. for around US$50.00 or its peso equivalent of P2,500.00 thereabouts.
I feel sophisticated everytime I use this product, this is one of the few items I can afford in Chanel.
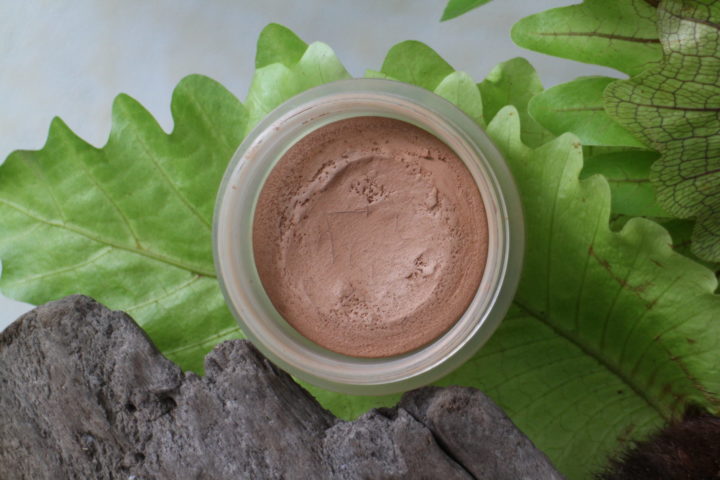
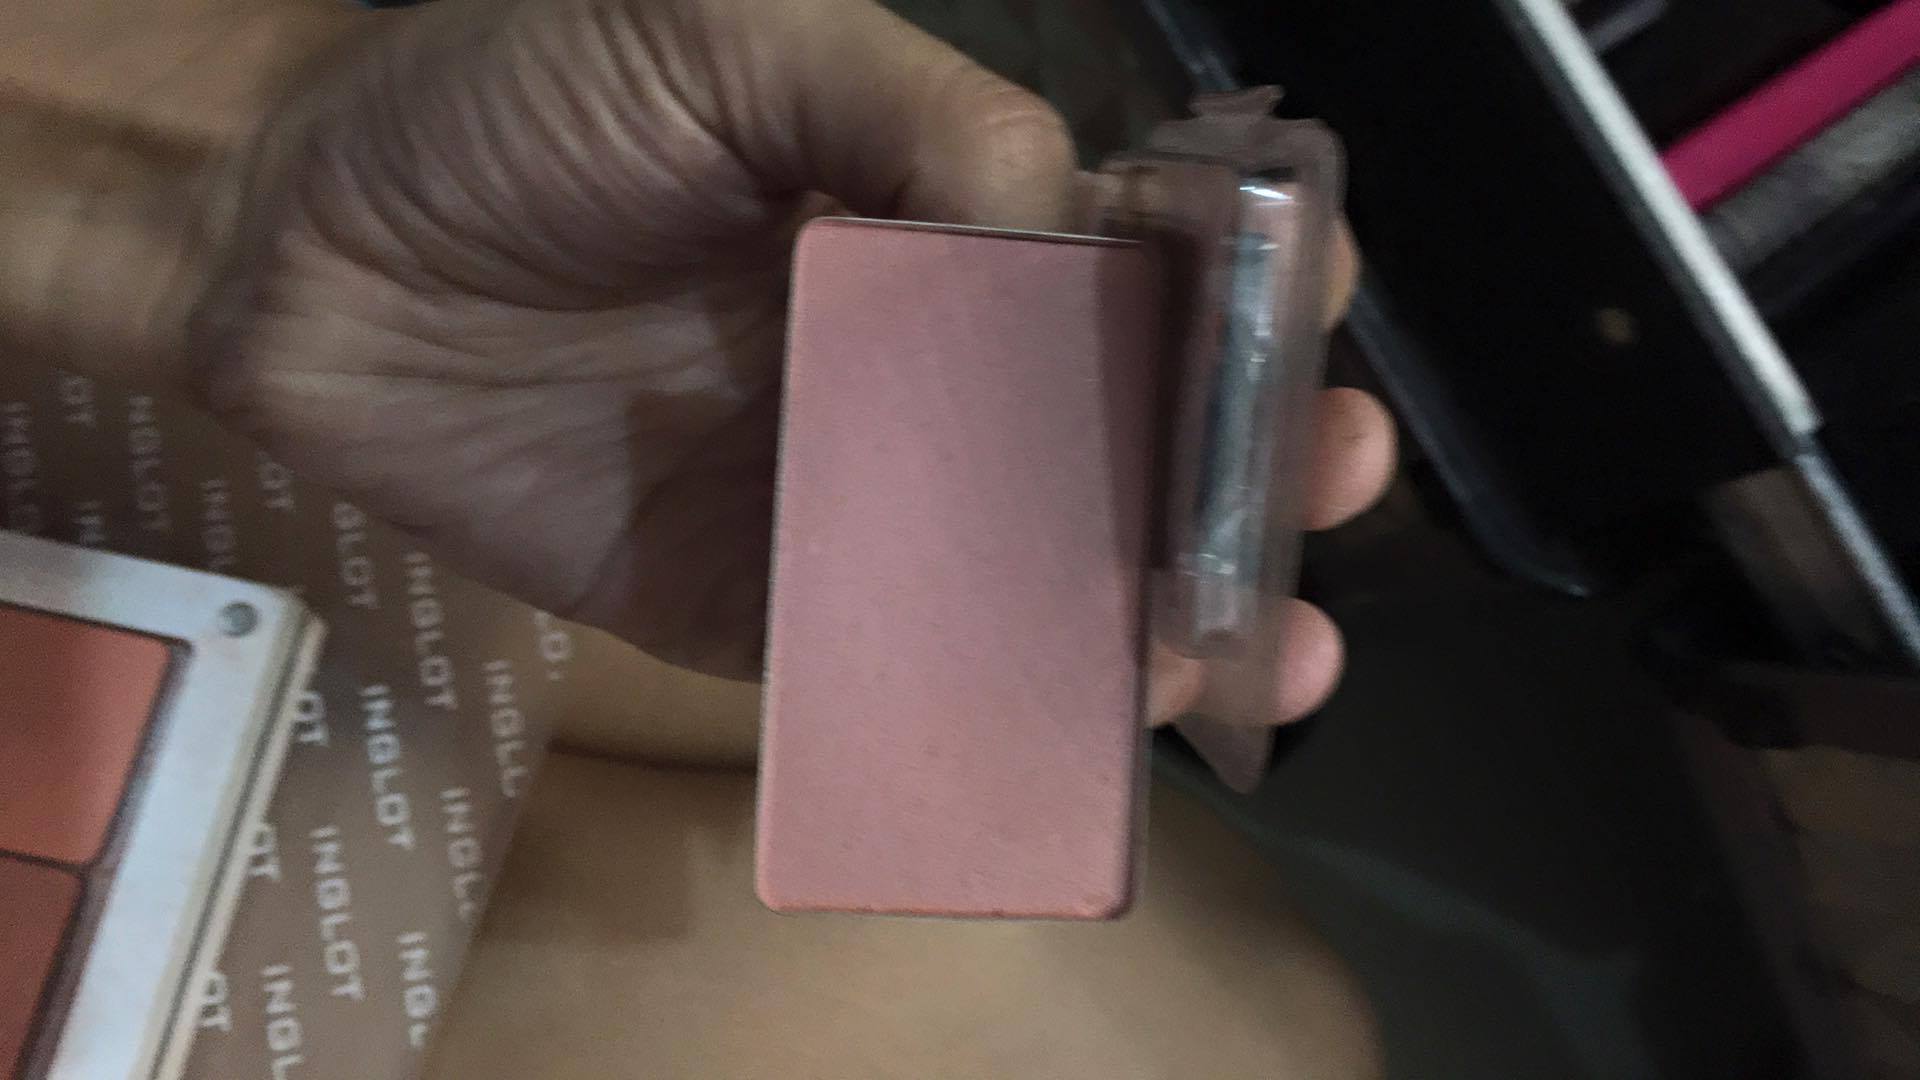
Excuse the current state of the bronzer, it is well used. I apply this with a round Kabuki brush and apply it on the perimeter of my face.
This is a very creamy product, but has a gel like consistency, use it to warm the face and can be applied on the eyelid as a shadow base or alone. It dries to a powder finish with a very slight shimmer but hardly noticeable when applied on the skin. I wear a MAC NC 25, RCMA Shinto 1 Makeup Forever HD Y365 foundation so this shows as a really warm tan color on me. If used as a bronzer, it does double as a contour color. I love its unique smell, it transports me to another place, (hopefully Paris) and is comfortable on the skin.
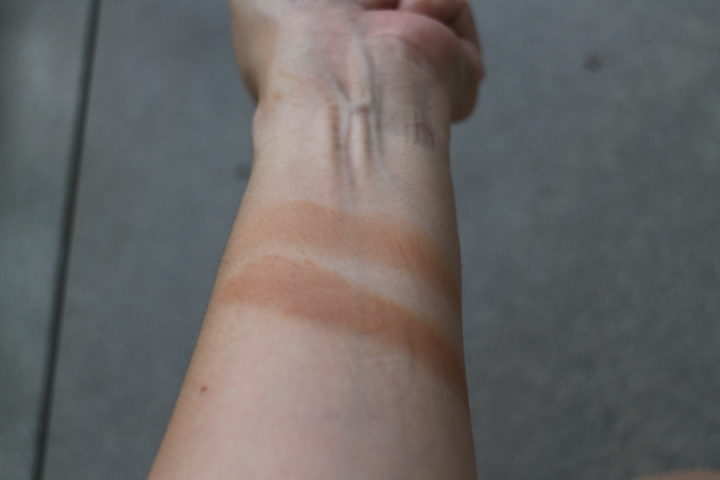
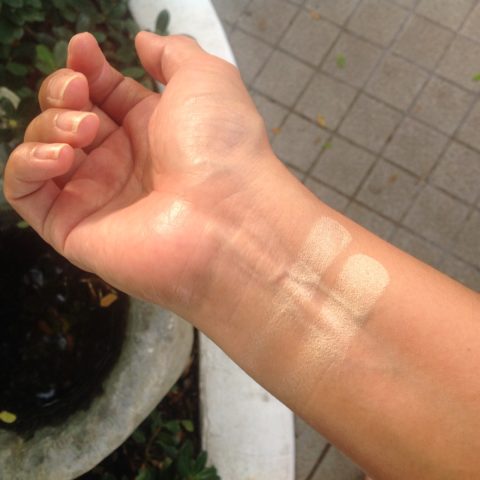
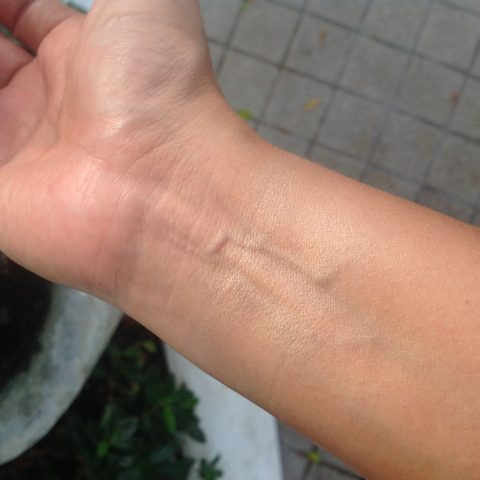
Top swatch is Make Me & Glow, bottom swatch is Chanel Universel bronzing base
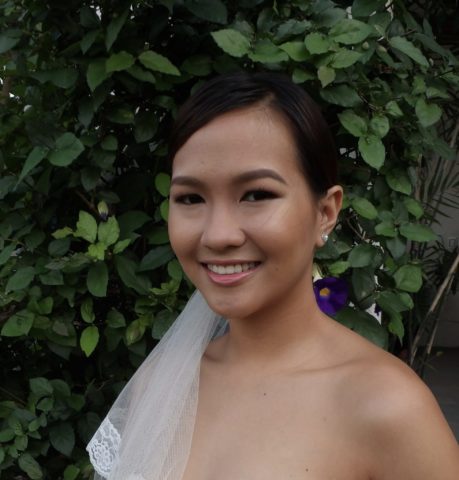
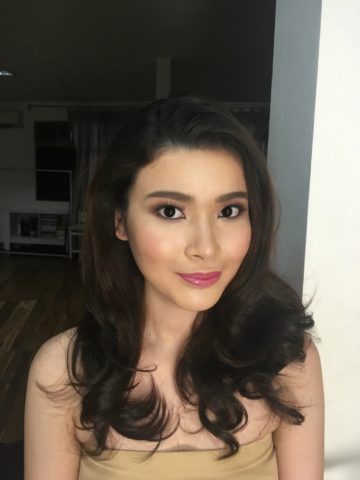
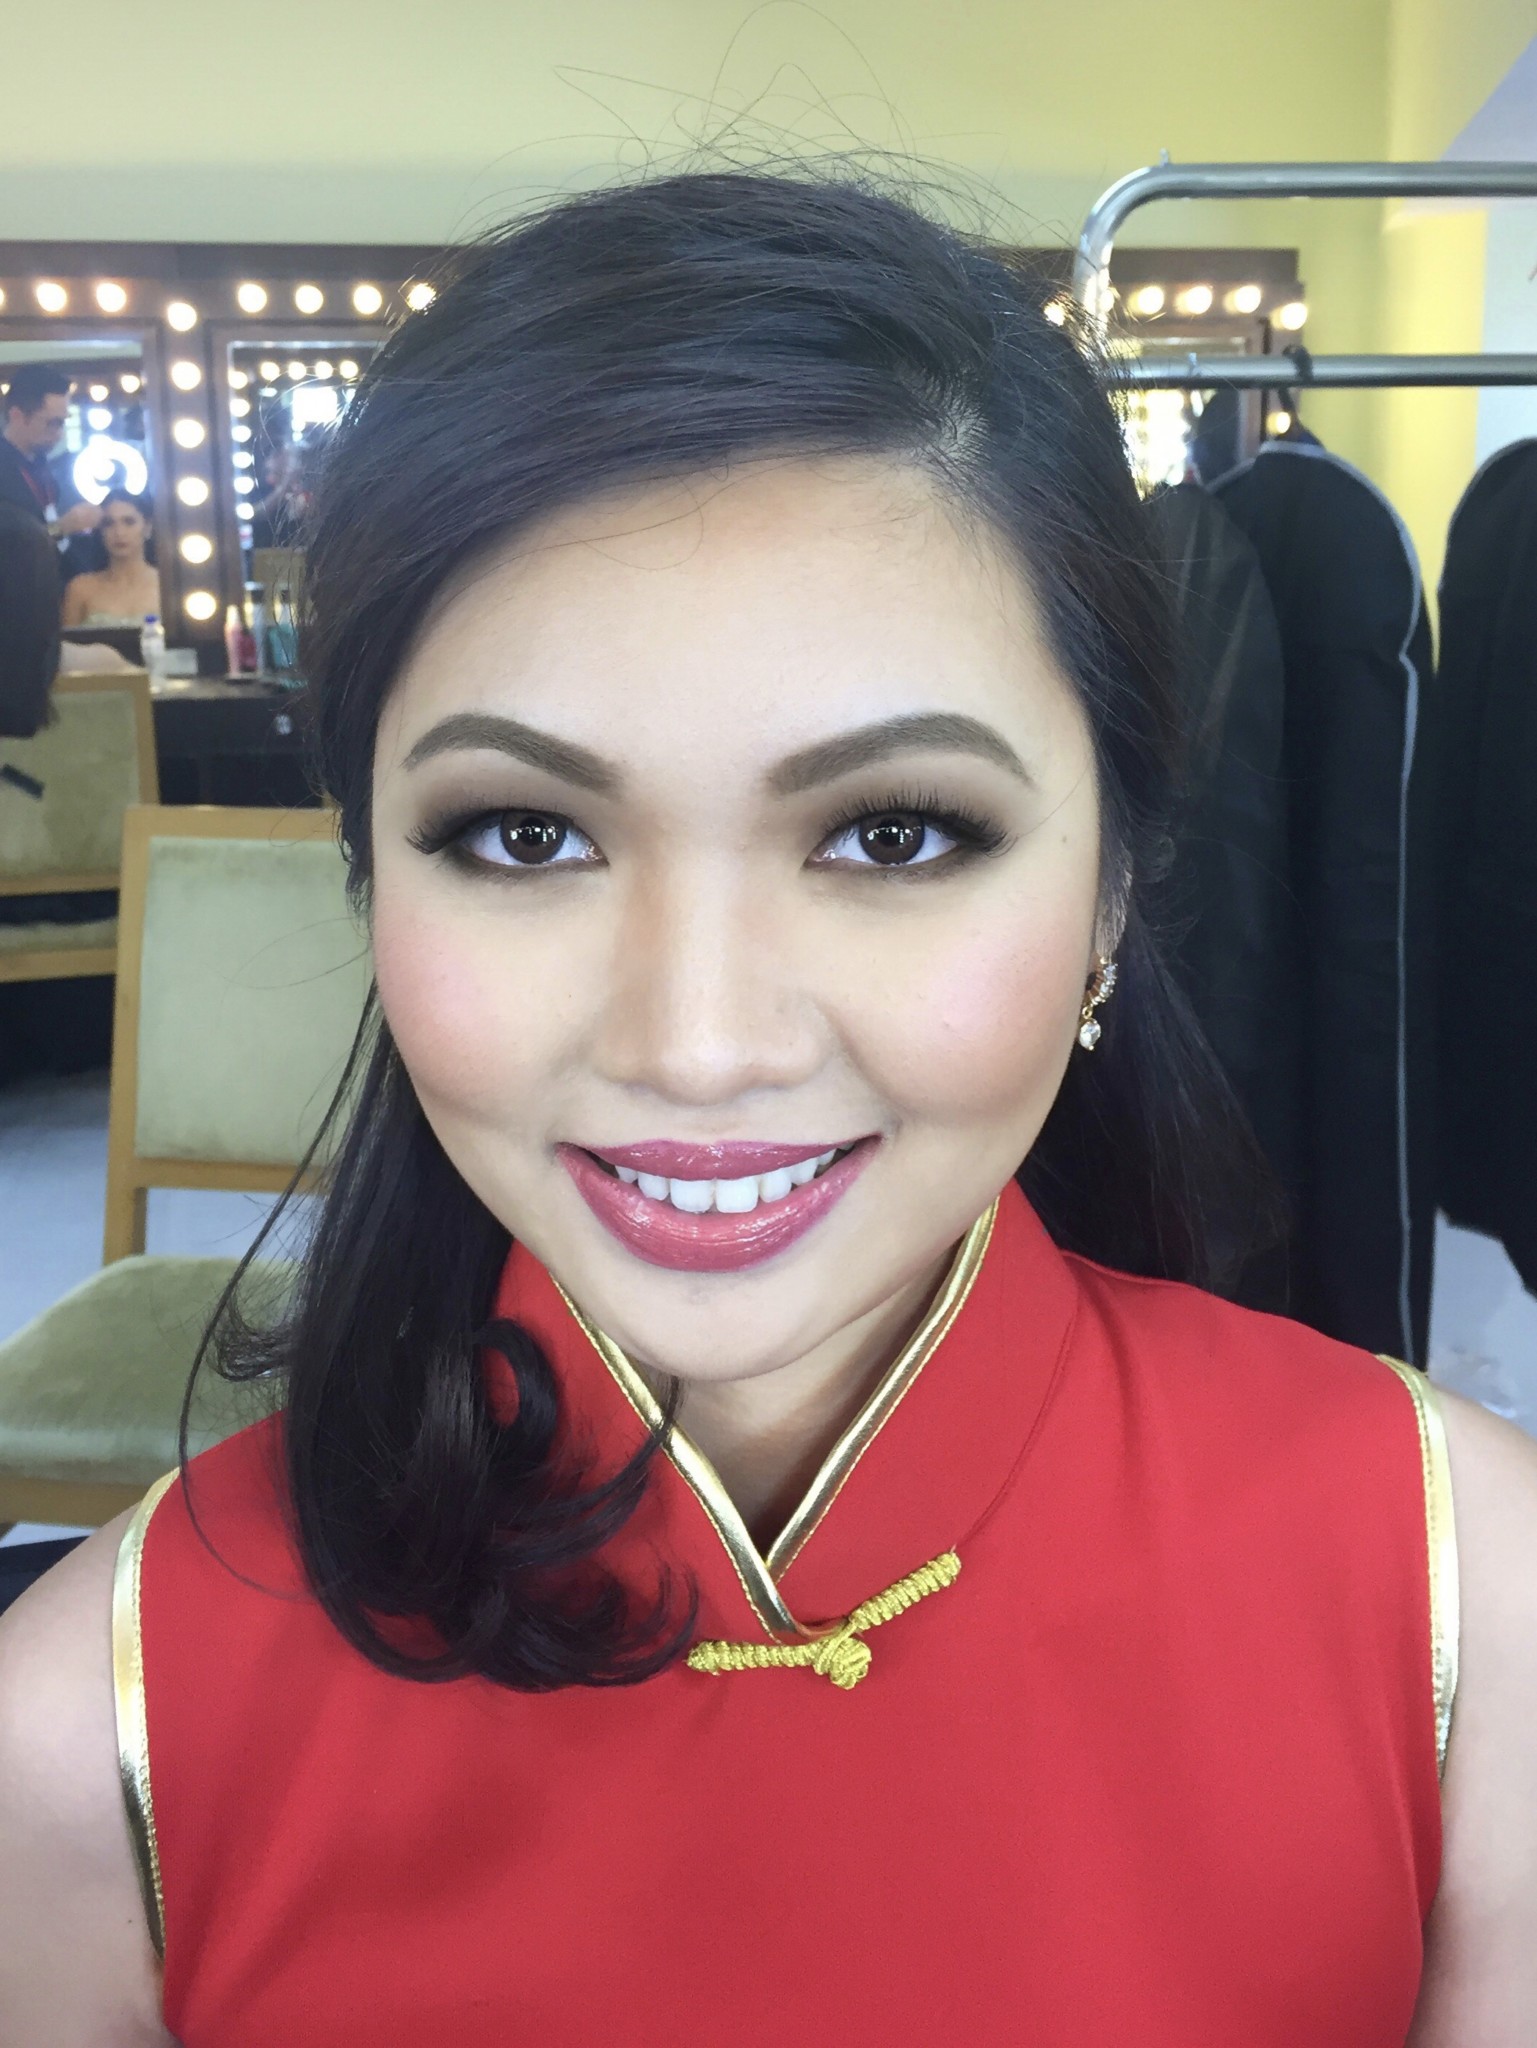
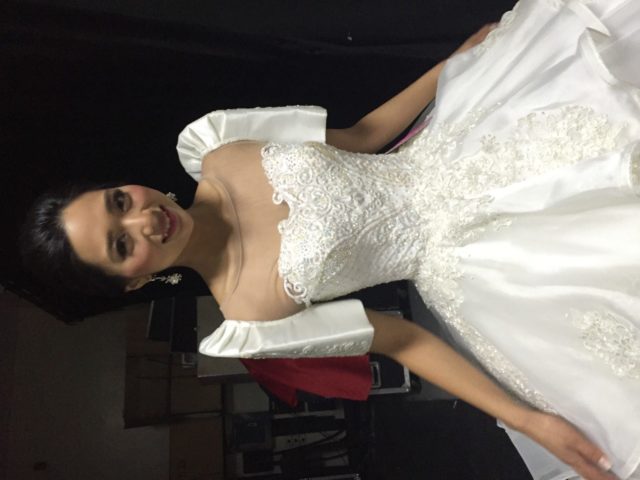
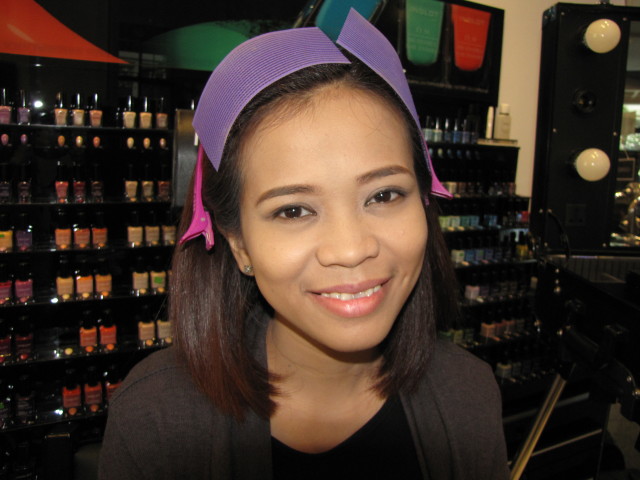
Filterless but still a blushing bride, this bronzer was used during this bridal trial.
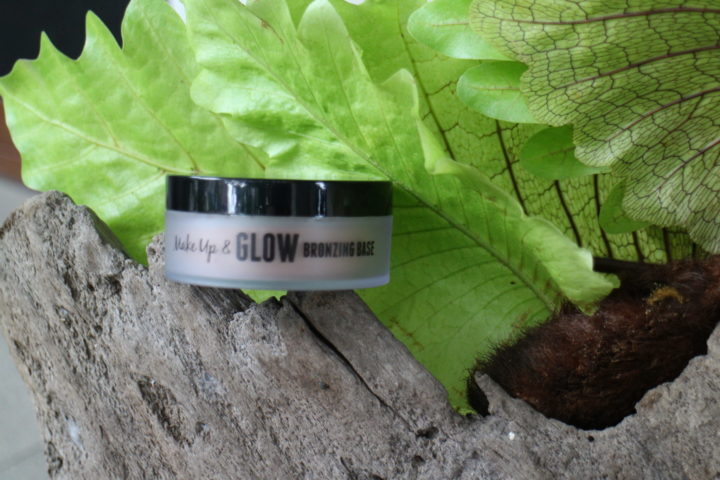
I found this Chanel Bronzer dupe!!! Make up & Glow is also a gel like bronzer that dries to a powdery consistency. Applied after your primer, this will hold up for a good 6-7 hours.
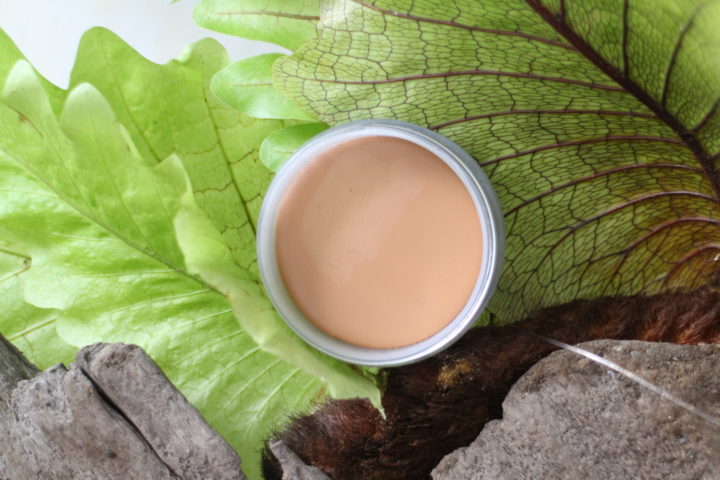
It has a lighter color than the Chanel Bronzing powder but when applied, it does not show up as too orange, in fact it is buildable and can control the amount you want.
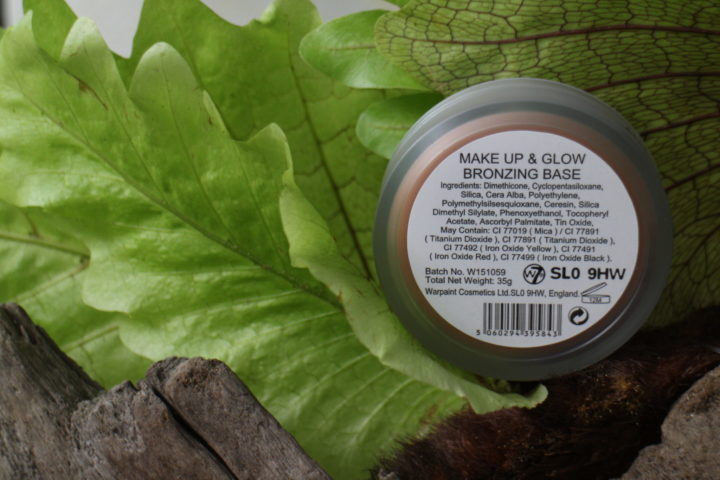
Ingredient list has silicon in it. Dimethicone is silicon so expect a nice consistency in the skin.
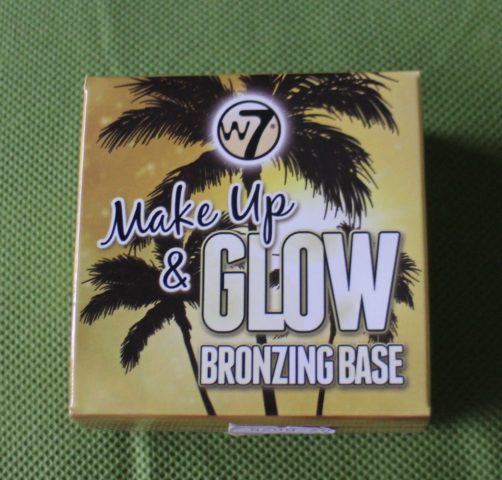
Don’t be thrown off by the Tropical packaging, it gives me the impression it looks like the packaging is from The Balm or Benefit.
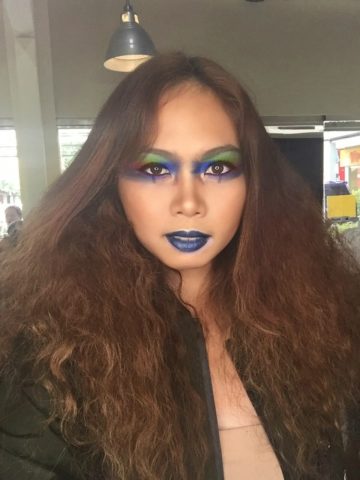
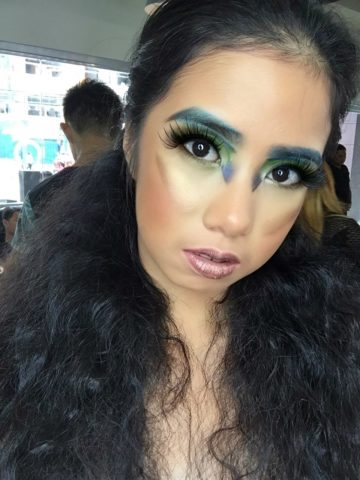
Recently for the Photo shoot for the candidates of the Model of the year with the hair styling team of Jim Ryan Ros, W7 London Cosmetics was a major sponsor. We were too giddy with excitement to try their products specially their vibrant color eye shadows and lipsticks.
The Makeup and Glow bronzing base was used during the Photo shoot of the Model of the Year candidates last August.
It is well milled and has tiny gold flecks. For the 3 looks above, the bronzer may be used as a base for any makeup application. I also applied it on the lips and used a very metallic eyeshadow as a lipstick to give a nice metal finish.
So if you don’t want to commit to the expensive bronzer of Chanel, this very good dupe from W7 will give you the same JLo finish and look you’re trying to achieve.
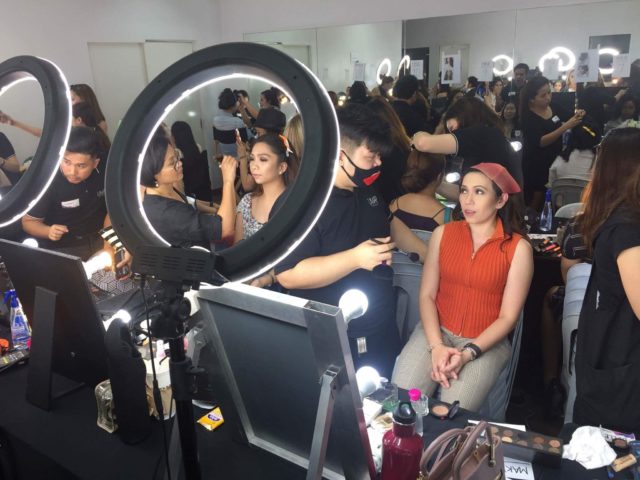
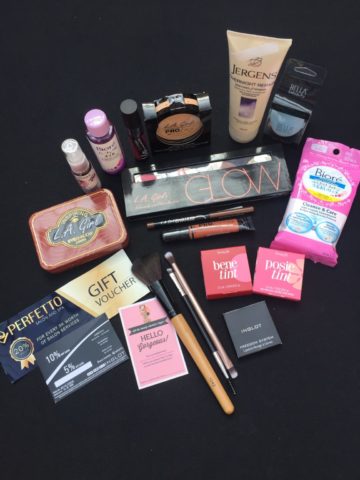
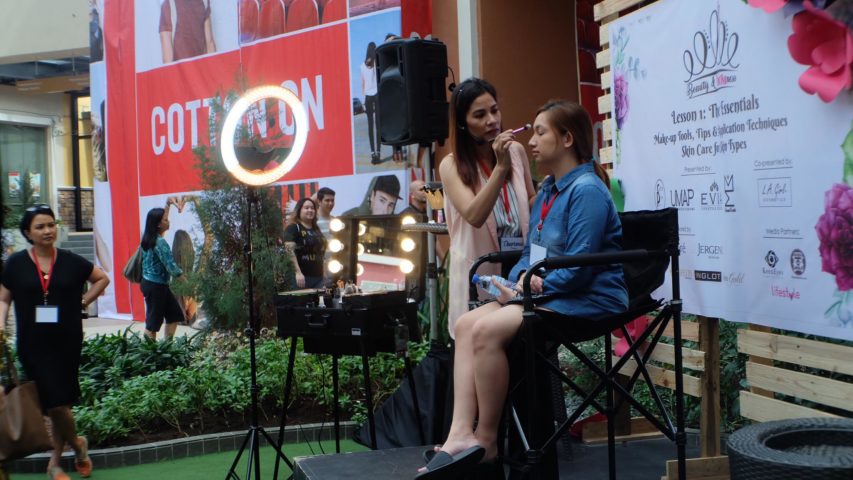
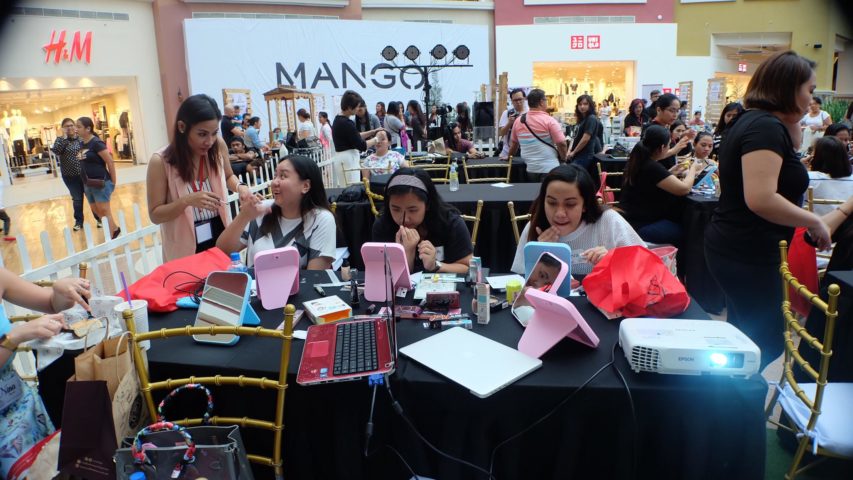
Many makeup artists, myself included, lug around our tools, accessories and miscellaneous items needed for the client or event. I bring with me a portable table, makeup chair, a set bag, makeup kit, mirror with lights and another set of lights to boost the lighting system that I have. Apparently one set of lights is not enough. Sometimes my set up is lit like a coliseum.
This is what our set up looks like in an event.
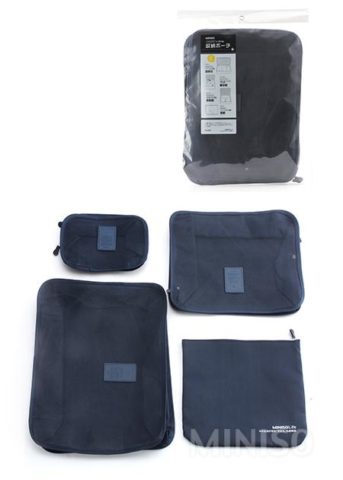
This is what I lug around when I go see a client. It looks like I’m staying for a month.
During the Masterclass workshop with Bobby, I asked him what he brought with him to shoots, clients and events. I was pretty much surprised how light he travels.
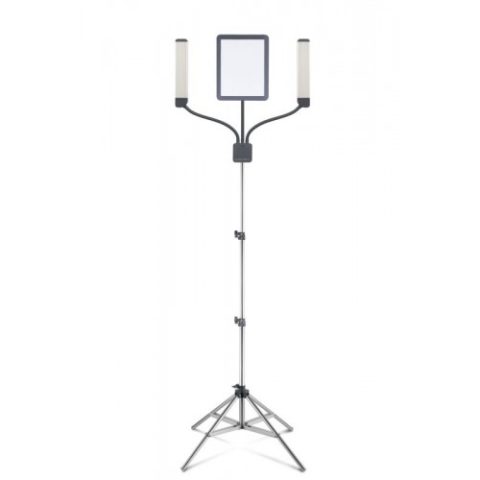
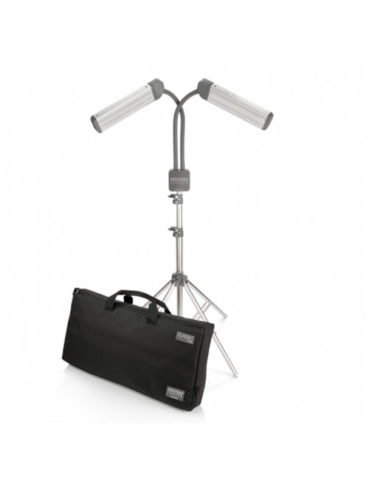
Bobby brings his Glamcor lighting system
So portable and light. it comes with a Phone and Ipad holder you can put in the middle.Comes with a travelling bag, It was so light, it doesn t weigh you down.
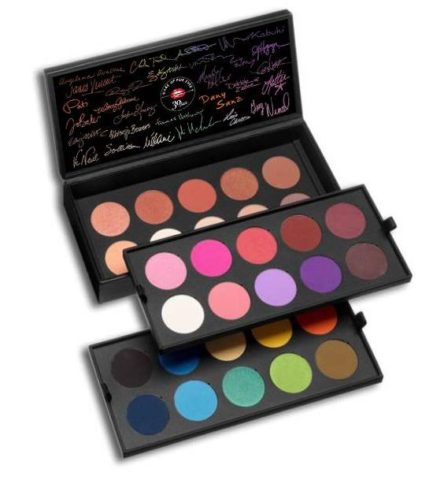
Bobby’s palette was very well used and loved, but it was very similar to this one. it even included a blush palette.
Makeup Forever Water blend Foundation, Makeup Forever Star powder in 975 and Makeup Forever Ultra HD concealer are one of his faves. His well loved artist palette is in the background.
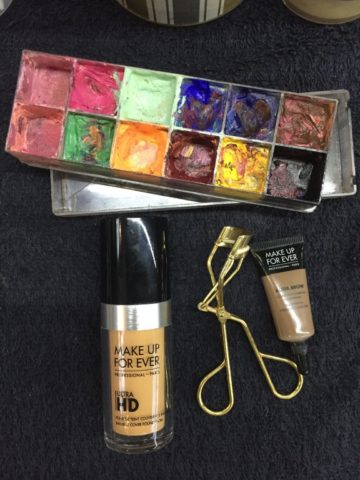
Bobby’s can’t live without makeup products, Makeup Forever Flash Palette, Makeup Forever Ultra HD Foundations, Shu Uemura Limited edition eyelash curler and Makeup Forever Brow Gel in Shade 15. Truly an artist’s palette. well used and loved in so many ways.
The Flash palette is such a versatile product and when he demonstrated how this palette can be used in multiple ways, we were hooked. In fact, we had to dig up our little stash of products to find this. Every makeup artist should have one. When you’re caught in a situation where you had nothing to work on in a shoot or in a client, this is the palette to have. It will save you from getting fired from a job. Did you know you can use this to customize a foundation color?
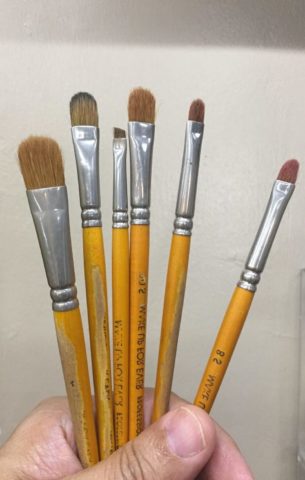
Well loved and used, his brushes have touched many faces and created many looks that graced both print and advertorial campaigns. These are his favorite brushes of all time.
He brings with him this blue organizer bag to hold all his makeup palettes and brushes. The one on the top right.
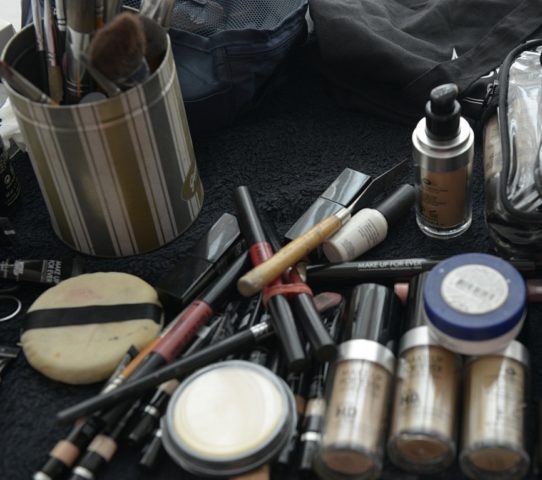
The canister on the top left is his most reliable brush holder that contains his other well loved brushes. The makeup madness aftermath. Makeup Forever Ultra HD foundation and Acrylic paints courtesy of Makeup Forever Philippines. Photo taken from CJC Photography Asia
Makeup kits of artists vary from artist to artist, but I find that the more seasoned and popular artists such as Bobby, who have seen so much in all of his years of experience, tend to condense their kit mainly because they know what simply works and can improvise many looks based on a slimmed down kit.
Aside from his creative genius and good looks, Bobby is the most generous teacher you can imagine, constantly sharing his tips and techniques to make you work smarter, faster and better. Beauty need not be complicated, Kemerut….
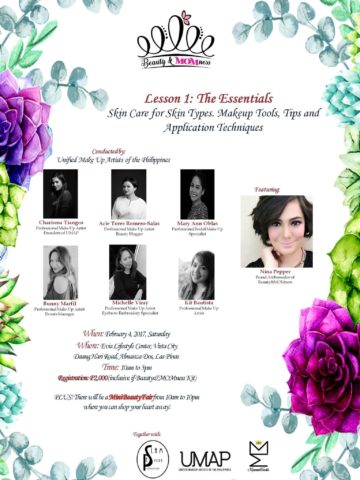
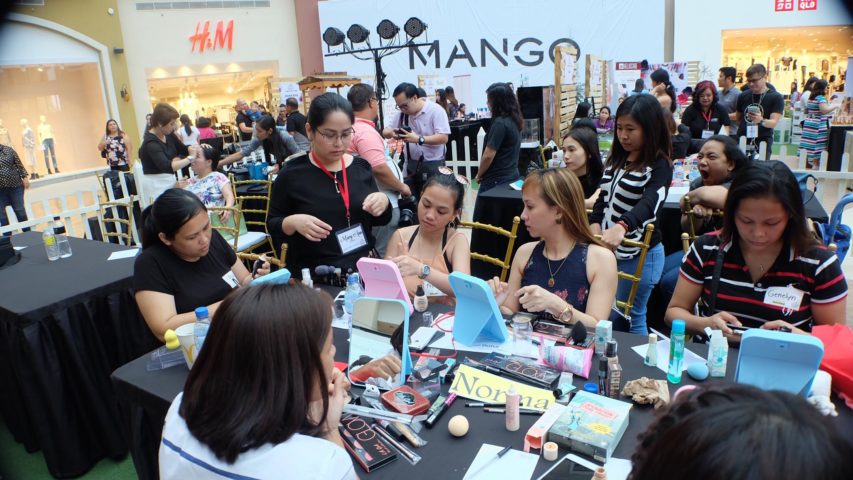
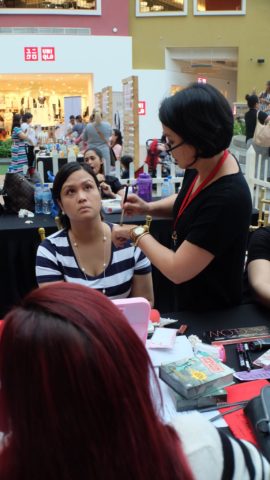
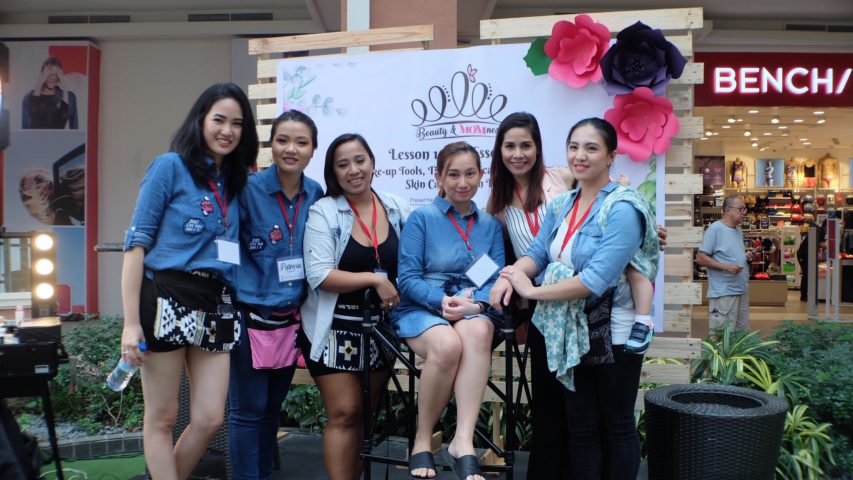
Acie Fores, together with the UMAP team members headed by Charisma Vergara President of UMAP had the privilege to be a keynote makeup artist assistant at the Beauty & Momness event in Evia Center this weekend. Like all harried mothers with no time to spare for themselves, pampering oneself is key in keeping your sanity intact. Beauty is not an option but an outlet to express your creativity and spark an inner joy that makes you feel you are right in this world.
In this workshop, UMAP member volunteers taught the ladies how to do their own makeup from skincare, choosing the right products that match their skin type, using the proper tools, applying proper methods and techniques to create a polished looking face ready to face any challenge.
Mom Beauty Tips:
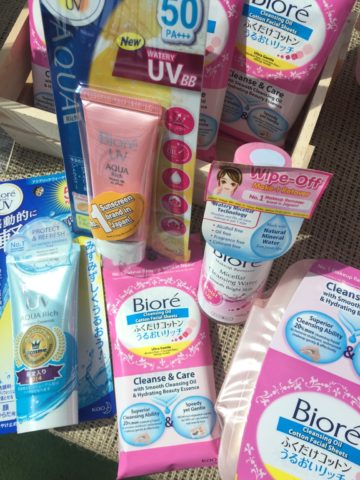
Skincare is essential in creating a good makeup application. The 4 key steps of a good skincare routine is cleansing, toning, moisturizing and applying sunscreen.
Biore products were at the forefront of skincare as they were one of the major sponsors of the event.
2. Choosing the right foundation or Base for your skin depends on the skin tone and type of skin. Usually when shopping for your base, choose 3 shades of foundation closest to your skin tone and swatch each shade from the jaw line extending to your neck. When blended, the closes shade that blends with your neck is the right shade for you.
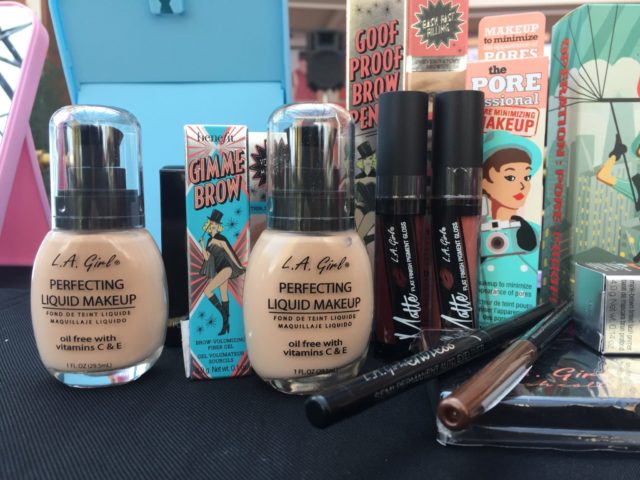
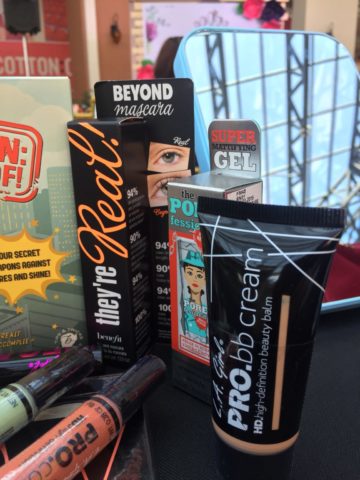
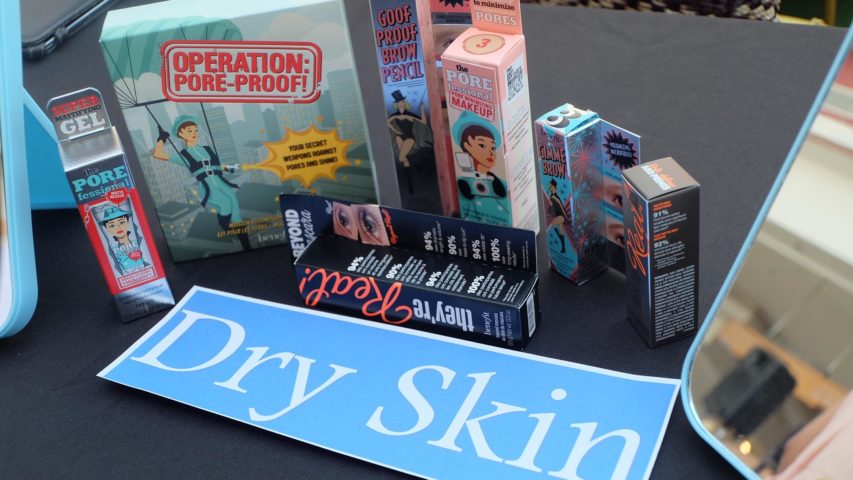
LA Girl and Benefit Cosmetics were also on hand to provide the ladies with great looking skin.
This LA Girl BB cream is a great all in one multitasker, it protects, hydrates, and blends easily,
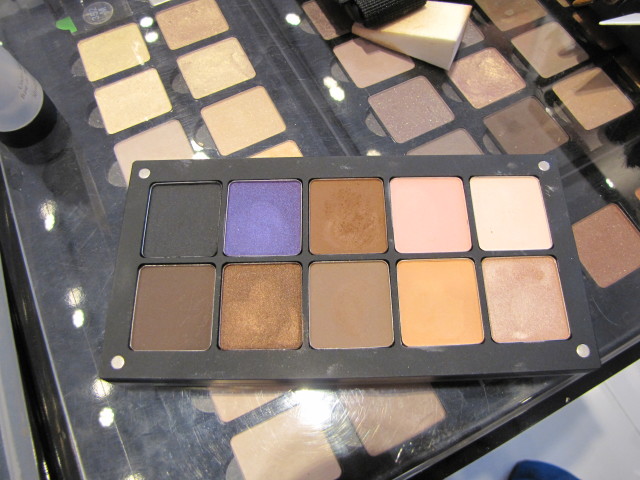
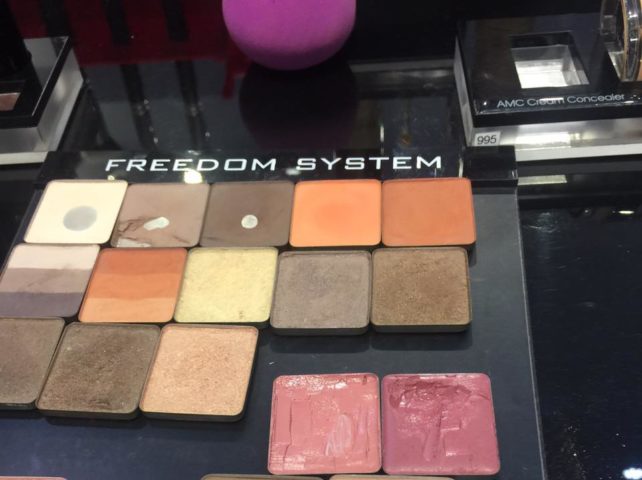
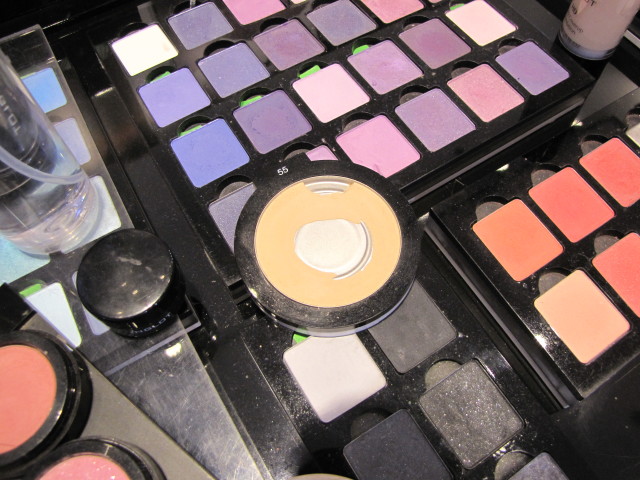
3) Choose earthy tones for your eye color palette. For newbies in the makeup sphere, warm browns, plums are your best bets for our brown colored eyes. They are complementary colors that bring out the eyes.
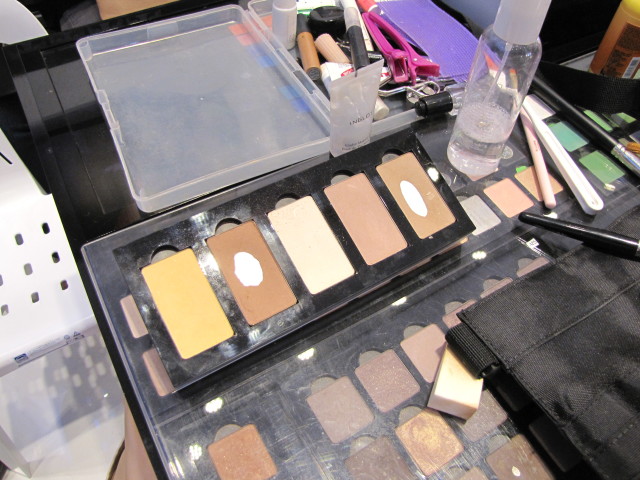
A sample of an earth color palette
4) #Kilayislife
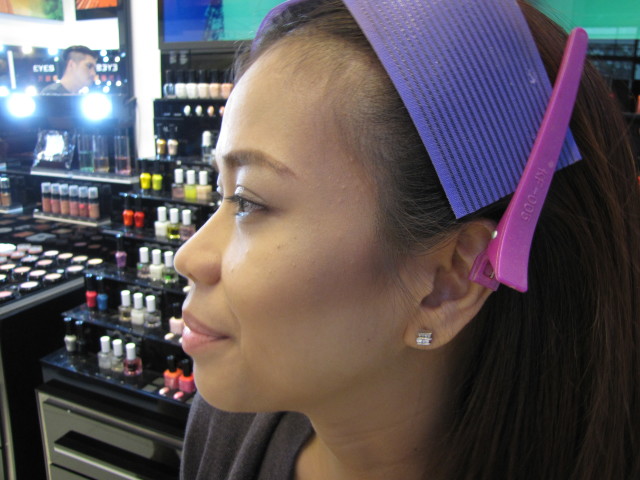
When you have groomed brows, half of your work is done. Groomed brows are easier to fill in whether your preference is a pencil or shadow. They frame the face and if you’re in hurry, killer brows and a good lipstick color is all you need.
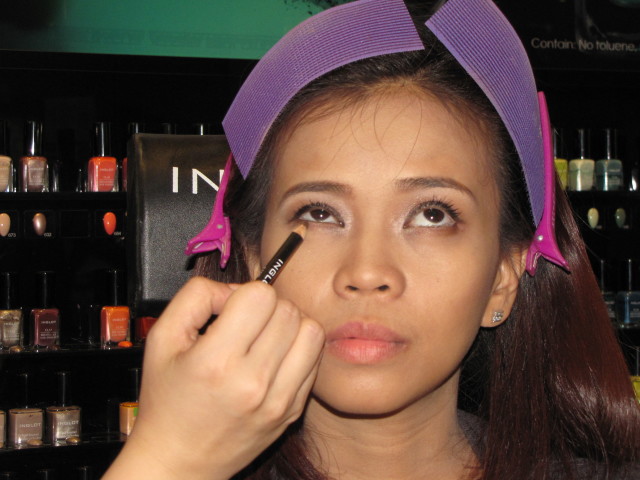
Start your brows at the end of your nose (1), the arch is above the iris of the eye, and your brow should end diagonally from your nostril to the end of your eye (3).
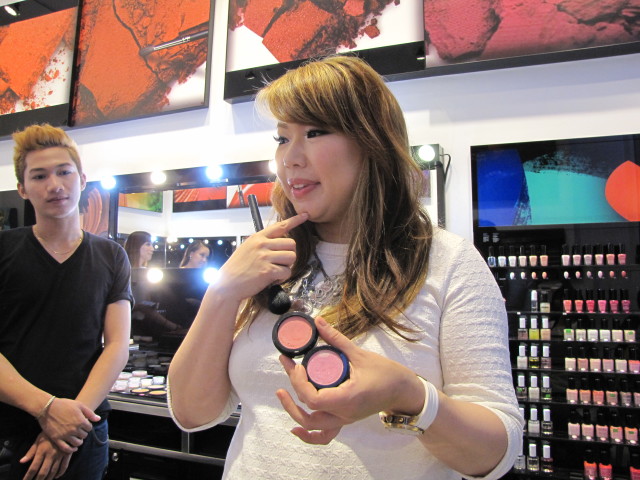
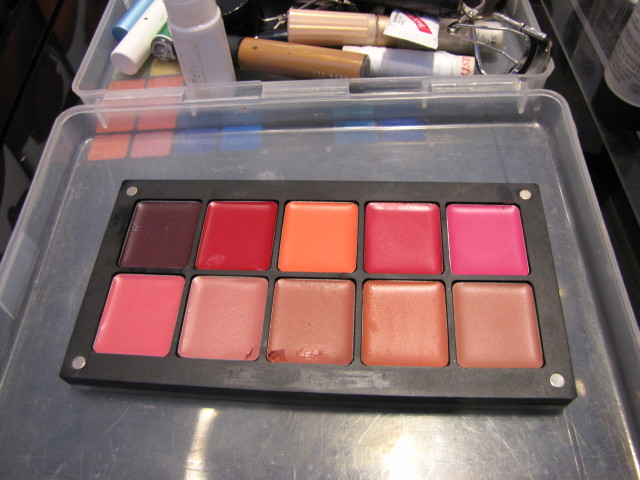
5) A good lipstick color that also suits your skin tone is all you need to complete basic everyday look. You can also wear bright colors like red or pink depending on your mood for the day.
Your lipstick palette may look like this, if you’re the type to experiment and mix shades to create that perfect custom blend color just for you.Our major sponsors in full display. Thank you Biore Philippines, LA Girl Cosmetics, Benefit Cosmetics, Inglot Cosmetics, Perfetto Salon and Spa, Jergens, Ellana Cosmetics, Dermagold, NuSkin
Our Model Mom receiving the day look demo with UMAP”S Charisma Vergara, Photos from Michelle Viray
The full Day look. Photo from Michelle Viray
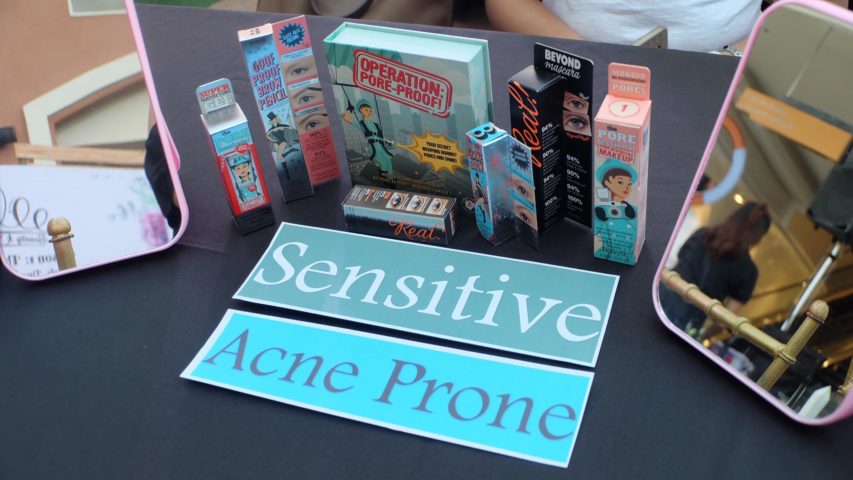
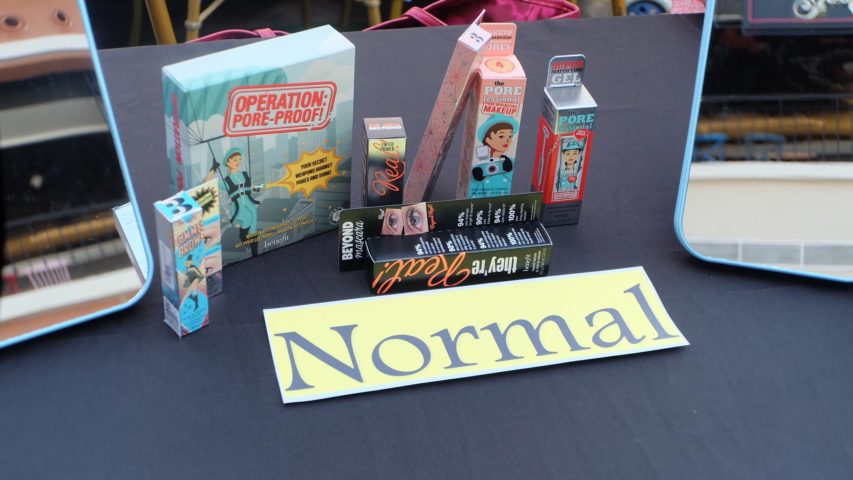
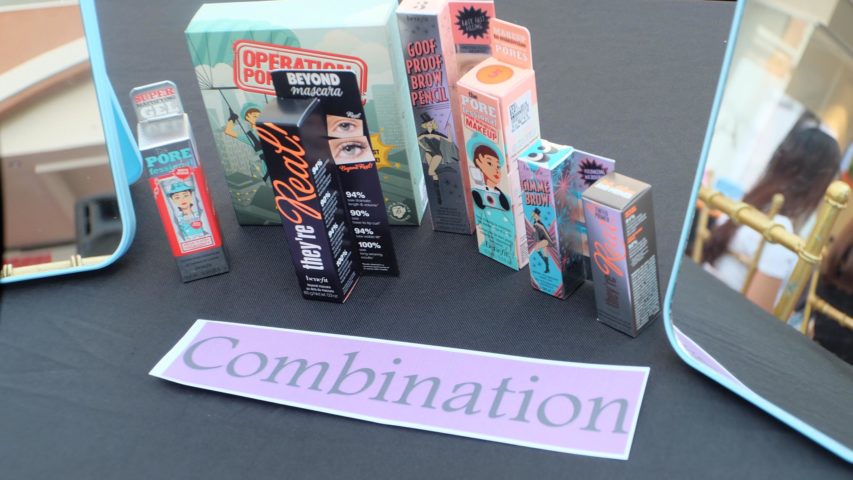
Moms were divided into different skin categories. All photos below are from Michelle Viray.
Maryann Obias was assisting moms that were under the Normal Skin category.
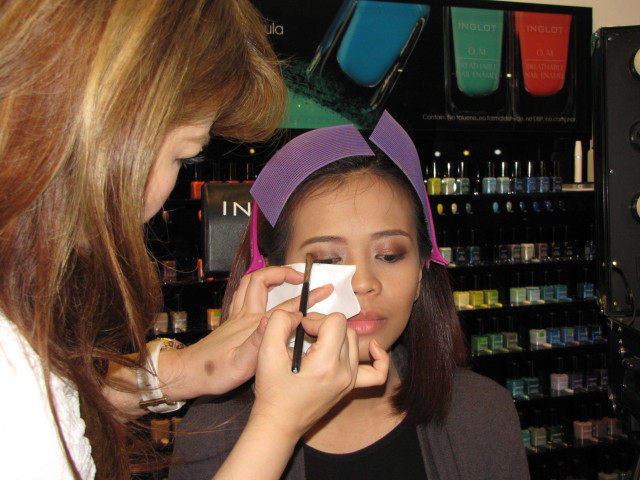
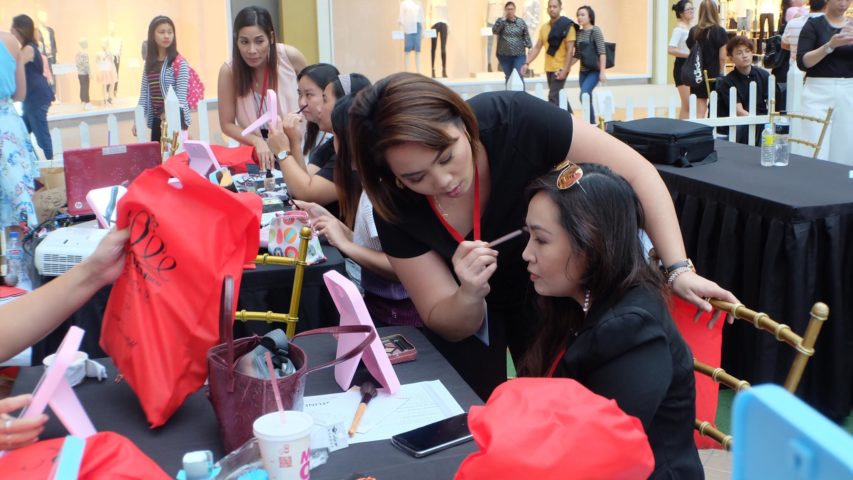
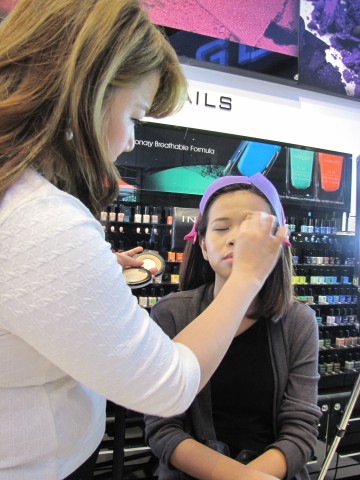
I was assigned to the Combination skin table, here I am assisting her with the concealer application.Kathrina Bautista UMAP member as well, assisting her participant with the day look.
Cha flanked by the organizers of the event
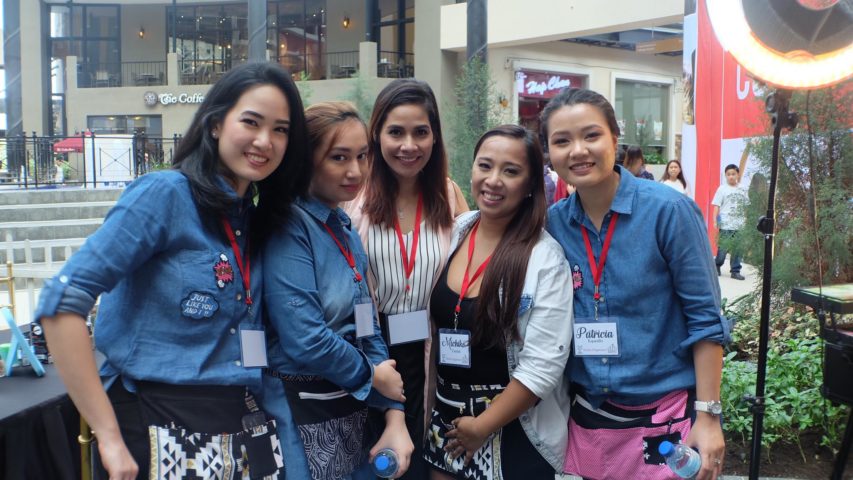
Breastfeeding Moms working in the event.
Finished Makeup looks under my Combination Table. Beaming and happy should I say.
A huge shout out to all our sponsors and organizers who made this event a fun activity for everyone! Looking forward to the next workshop Moms!
Denise Go Ochoa, Juan Sarte, Mickey See, Jigs Mayuga, are makeup artists. Not just makeup artists but Manila’s living legends in the beauty industry. They are literally the dream team to call when its’ your wedding day, or a have a photoshoot in the making, or when you are a Celebrity in need of glam time.
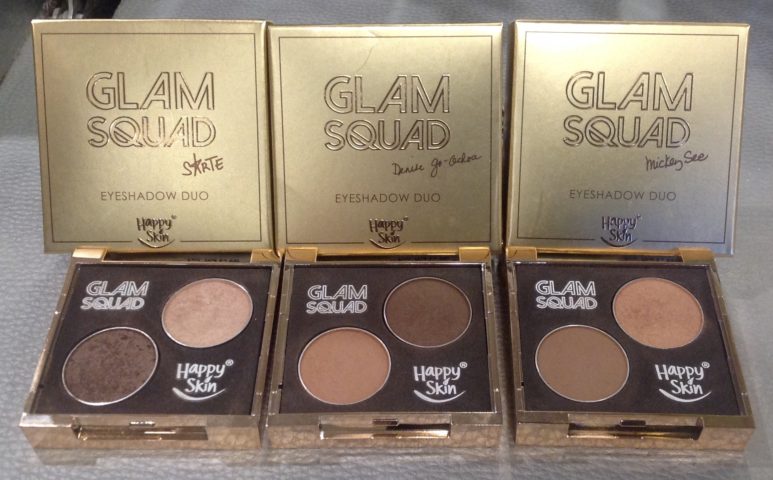
Happy Skin just made that connection 3 degrees smaller by introducing the Glam Squad Collection.
Glam Squad at your fingertips.
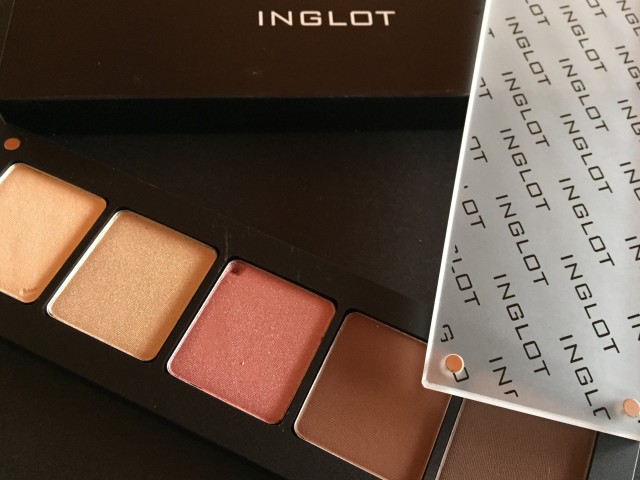
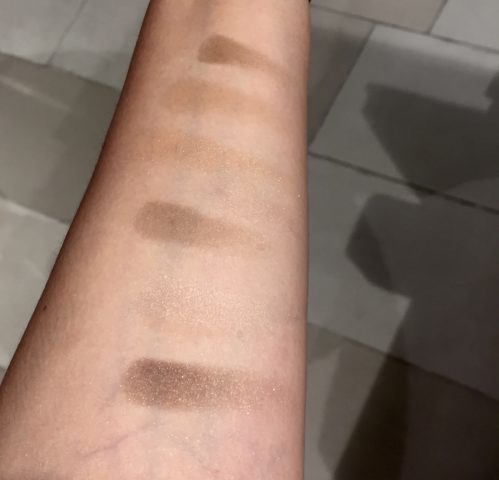
Encased in gold, these eyeshadows are pigmented and colors are very neutral, in earthy tones. Two shadows, one light and one darker, it makes applying as simple as child’s play. It has a very light shimmer texture but it glides on very smoothly. The darker shades are enough to give your eyes depth and dimension. From a day look to a smoky eye for the evening, it’s all you need for a simple glamour change.
From top to bottom, Denise Go Ochoa, Mickey See and Juan Sarte
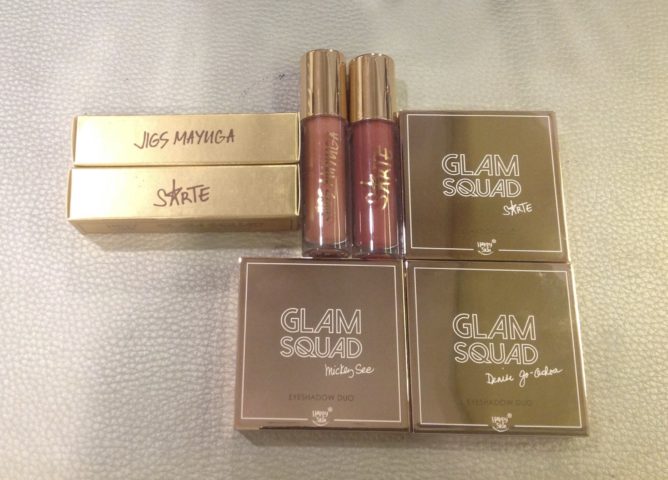
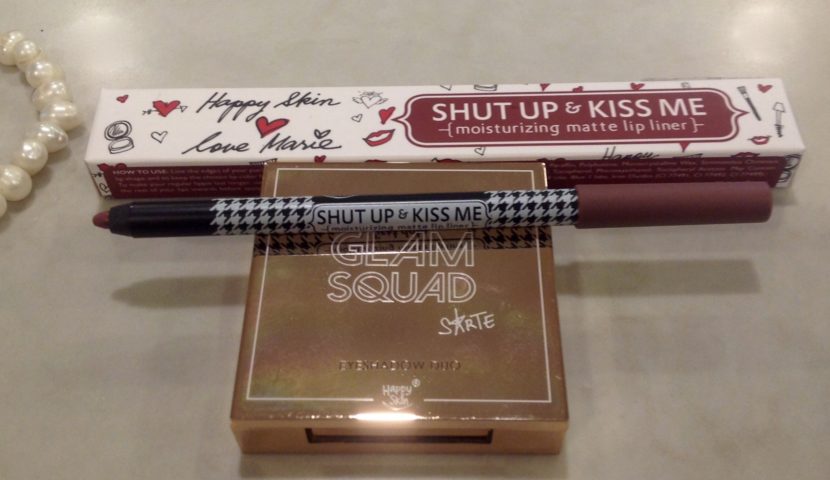
Matte lipsticks to stay all day
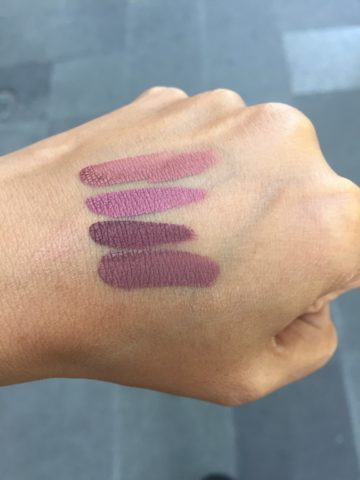
The lipsticks are very matte, glides well and lasts a long time. It has that nude retro 90’s look, nude pinky brown perfect for everyday and bridal looks. Jigs Mayuga has a deep plum color while that of Juan Sarte’s is a bit on the dark pink nudey beige color.
Top to bottom, Denise Go Ochoa, Mickey See, Jigs Mayuga and Juan Sarte
I didn’t get the Lipstick shades of Mickey See and Denise Go Ochoa because I was running late and I promised to return and try to purchase at a later time. I’ve tried Juan Sarte’s lipstick and it did stay for a good 6 hours without retouching. However since I ate Chinese food that day, the oil removed a little of the lipstick and I retouched it but before reapplying, there was a bit of a stain left so the staying power is really good. Is this Viagra Glam?
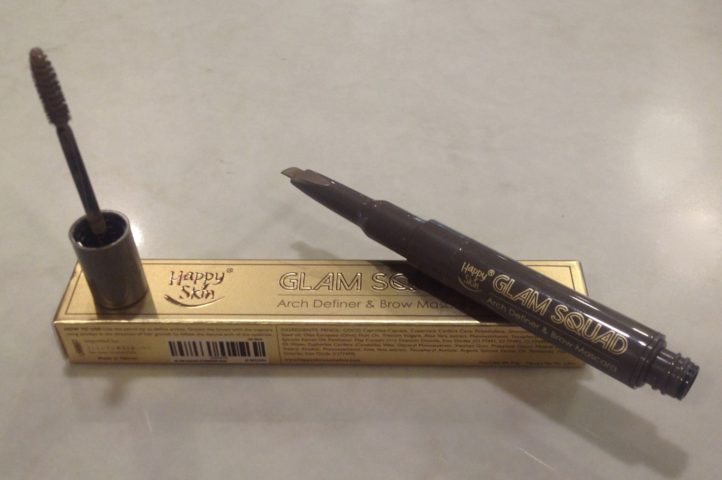
No excuse to have bad eyebrow days. Shade is Medium Brown
I would compare this to the Smashbox eyebrow pencil. It twists on one end with a very sword like shape and its very thin to give you precise hair like strokes on your eyebrows. Grooming them into place is simple with a turn on the other end of the pencil for a tinted brow gel. It’s pretty good, I would compare this to its Japanese and US brand counterparts and it does the job of giving you perfectly arched eyebrows.
Lock in that lip color with this smooth lip liner.
First Date is the name of this lip liner. This can go with any of the matte lipsticks in the Glam Squad collection.
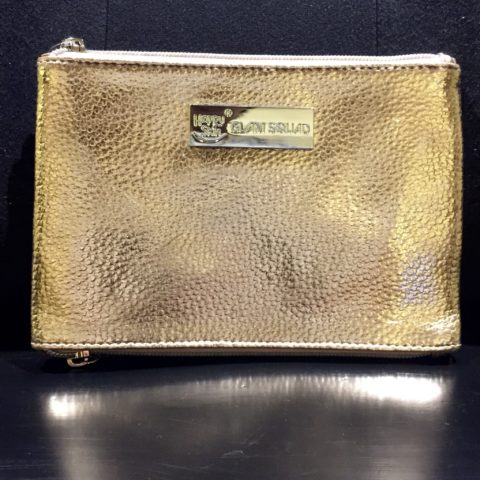
This lip liner is not part of the Glam Squad collection. I just had to buy it because I wanted to get the free gift with purchase kikay kit bag. Also in gold.
Final Thoughts:
The collection is a very precise collection, just like a well curated art gallery. All in earthy tones, it is a very neutral palette that can take you from day to night in a simple tap of a brush. Pigmentation and coloration is good, not chalky, it spreads smoothly and blends well. However, there is some pigment fallout but not that significant. You may start with the eye makeup first, then clean up any fallout and apply your base or foundation, concealer and the rest of your makeup after.
The brow pencil applicator needs improvement though, as it is very fragile. I just twisted it once to reveal the color and 1/4 of its refill broke off. It is not a decision breaker but it needs refinement in the twist type design.
The eye shadow palette inside is housed in a sponge like foam that protects it from fall. The metal pans is anchored by a smidgen of glue that is not enough to hold it in place. I mentioned this to the sales associate and I had mine replaced as one of the metal pans fell off.
Lipstick shades are all on trend with the matte lipstick bandwagon craze but very well suited to the Asian skin tone. You can transform these colors from sophisticated to glam and chic depending on the shade you get. It’s matte enough to last half a day with one touch up only.
Get your glam squad collection fast, stocks are running quickly, get all four of them and have the Glam Squad at your fingertips.
Glam Squad eyeshadow duo is priced at P899.00, Glam Squad Arch Definer and Brow Mascara is P949.00, Glam Squad Matte lipstick is P699.00 and the Shut up and Kiss Me Moisturising Matte Lip Liner is P499.00 Available at www.happyskincosmetics.com, Beauty Bar outlets and select SM Beauty Counters.
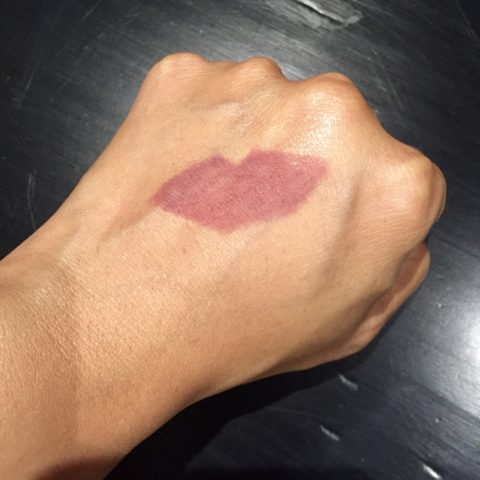
This is from the collection of Heart Evangelista and it is plum pinky brown beige shade which I think is perfect for everyday. Line your entire lip with this and apply a clear gloss on top in place of your lipstick.
Swatch of First Date lip liner
My thoughts:
I love this collection and like a beautiful art gallery, it is a well curated set, very precise, collection is small enough to give you what you essentially need to make you look like a celebrity. You can never go wrong with earthy neutral colors since it is universally flattering.
Packaging however can be improved, the eye palette discs have a tendency to fall off the compact. It is only held with a tiny smidgen of glue. The eye pencil mechanism is very sensitive, I had to exchange mine because the eyebrow refill broke in half and I only twisted it once.
Will this be a kit staple? Yes, I can’t wait for the other collaborations with other makeup
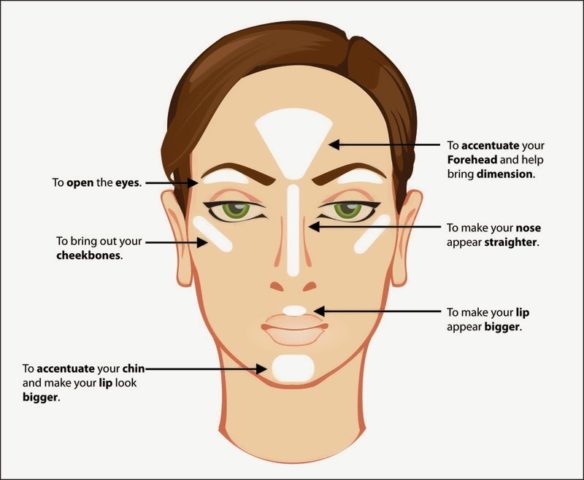
Social media has given makeup applications new terms, to make content in their feeds relevant. One of these terms we refer to is Highlighting which is now termed Strobing or Reverse Contouring, thanks to Instagram and Youtube. Both terms mean the same thing which is a makeup application that accentuates the high points of the face, the top of the cheekbones, underneath the brow bone, inner corner of the eye, middle of the nose and the Cupid s bow the area on top of the lips using products with high amounts of shimmer or shine .
A simple diagram on where to put highlight products on the face whether its cream or powder based.
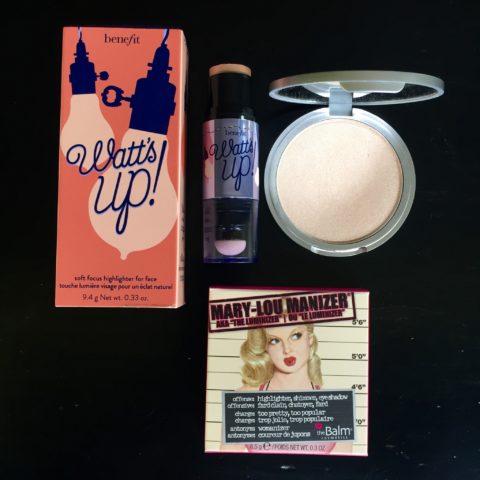
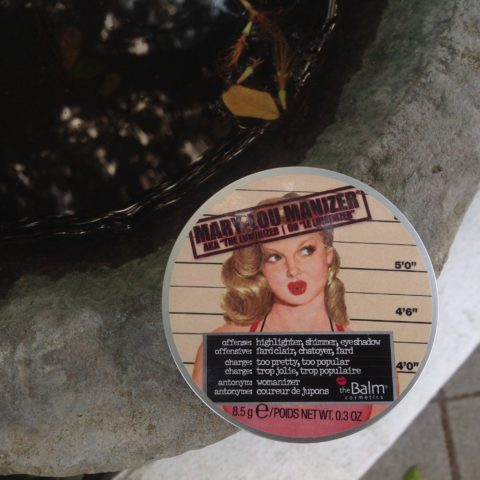
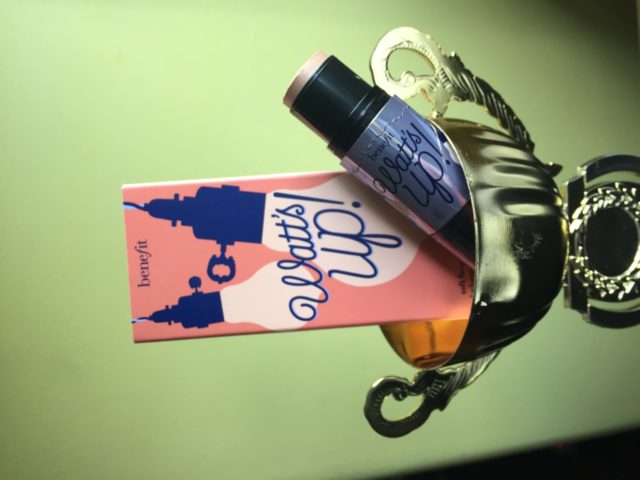
I discovered this product from a colleague and she considers this her Holy Grail of highlighters. Mary Lou Luminizer is an American product under the label The Balm Cosmetics. Packaging has that retro feel similar to Benefit Cosmetics which makes it appealing to makeup junkies.
Aptly named, Watts Up by Benefit Cosmetics and MaryLou Luminizer are highlighters that can lift your face all the way to the Diwata Satellite.
This can also be used as an eyeshadow for a natural day look and emphasized with a black cat eye. Simply divine.
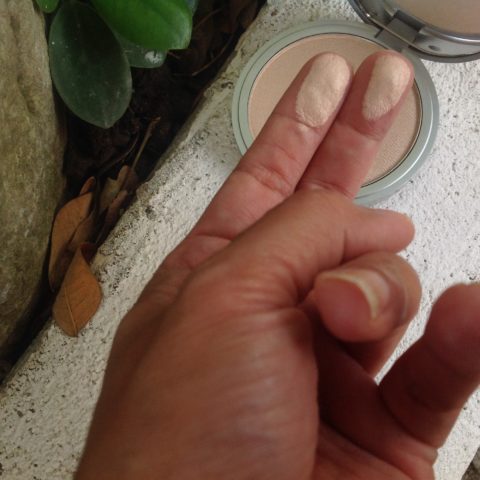
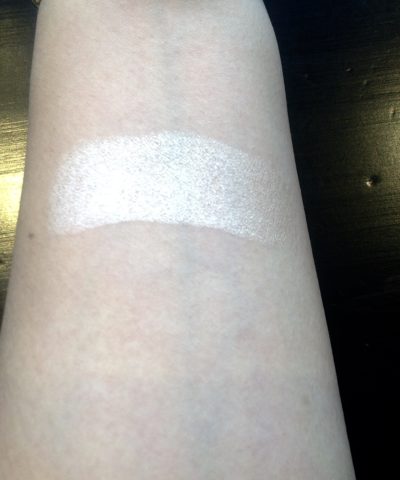
Its described as a “Honey Hue” warm champagne highlighter best suited for medium tones.
Has a pearly sheen and well pigmented.
Be careful when you apply too much. This is how it looks unblended
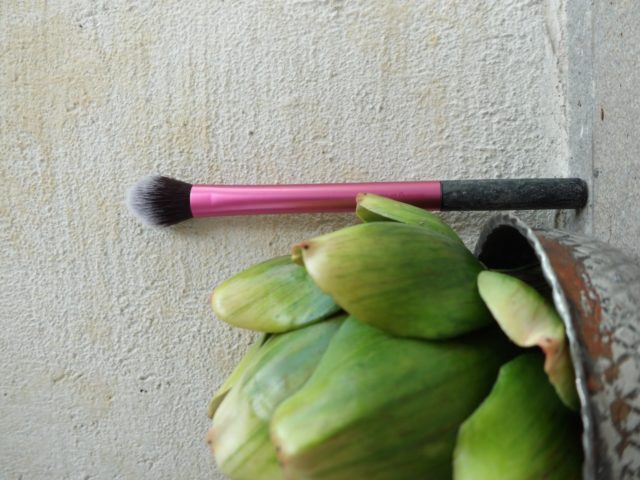
Blended with fingers, it gives a nice subtle glow.This is how I apply the luminizer on the face, Real Techniques Setting Brush
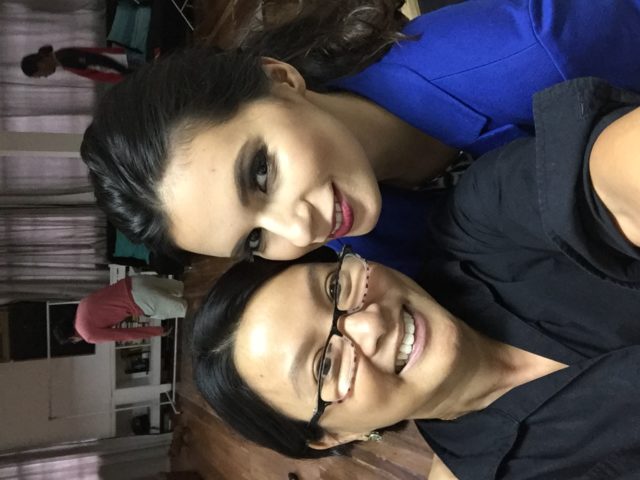
Used the MaryLou Luminizer on Shanen my model for a bridal shoot recently. Ate Glow
Famously used by Mario Dedivanovic on Kim Kardashian on her YouTube video on Strobing.
A Shining example. Not blended.
I think I blended it too much. But good news is, its buildable and you can use a Beauty Blender sponge to apply it.
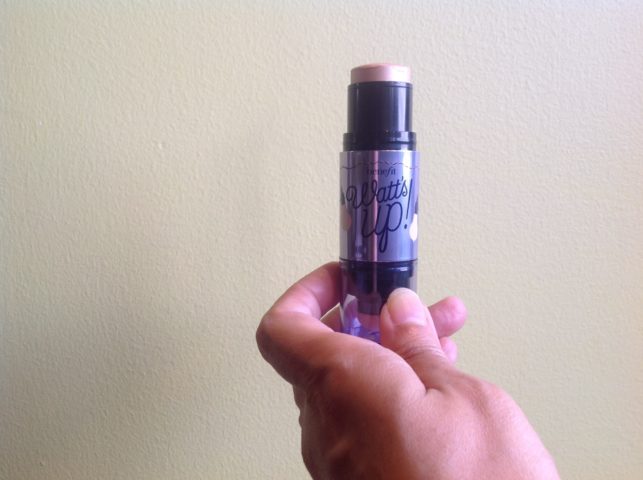
There is a rubber sponge at the opposite end of this stick which helps in applying and blending the product but i prefer to use the fingers or a Beauty Blender sponge for flawless coverage.
Watts up with her? Tried and Tested on my model on a bridal shoot.
Final thoughts on these two highlighters:
Use them sparingly and the key to not making you gleam like a greasepan is to blend it with your fingers, brush or sponge.
When applied too much, highlighters can sometimes look oily and sweaty in photos. Do not use this on oily skin, it will look like a disco ball.
Apply them with ample lighting or across a window with natural light streaming so you’ll know how much to use.
Apply on the inner corner of the eye or tear duct to make close set eyes bigger or when you want to highlight that corner a la Korean pop star.
Layer this on top of your lipstick and tap a little amount on your ring finger and apply on the centre of your bottom lips to give the illusion of a fuller mouth.
Apply to the collarbones for a glowing sheen that makes everyone look good in photos.
Benefit Cosmetics is available at Greenbelt 5, Trinova, Mall of Asia, SM Megamall, Alabang Town Centre, BGC Central Square, Rustan’s Makati, Rustan’s Shangri-la and SM Seaside Cebu. Watts Up Highlighter is priced between P2500.00-2700.00 (Online or at the store)
MaryLou Lumber is available at all Beauty Bar outlets. Priced between P1200.00-1700.00 depending whether its bought online or at the store.
July 30 and 31 were one of the best working weekend dates I had after coming from a long vacation. Remember the Inglot Polishing Workshop I wrote about before? While I only had 2 days to work with these lovely ladies, the rest of the United Makeup Artists of the Philippines (UMAP) artists had a month to bond with these beauties. Saturday was for the “Mutya ng Pilipinas” Candidates 2016 and Sunday belonged to the Mr. and Miss Chinatown 2016.
Both events were sponsored by Inglot Cosmetics and by Cynos Hair products. Status Salon Manila provided the hair and makeup requirements while the rest of the team was composed of the UMAP members.
Here is what I learned from this gig:
1. Be prepared to wait.
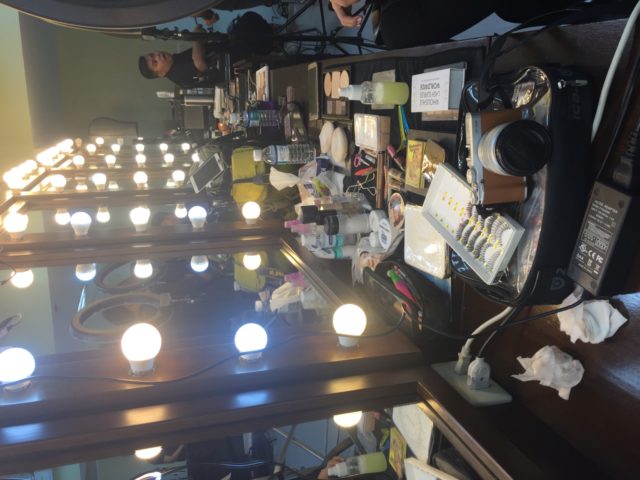
Patience is a virtue you need to master, if you are a makeup artist. Call times are usually early (like 7 am at the venue in this case). It was in Resorts World Manila Newport Theater and we considered ourselves lucky that we had ample time to set up. Mirrors with lights and a table were provided, so we were thankful for any kind of help. Candidates showed up at 8:30 am and we began working on them between 9:00-9:30 am. In between this, all candidates are being called by the director for a technical rehearsal which lasts from 2 -6 hours depending on the amount they have to cover. While waiting, we went through our pegs, makeup and saw to it everything had to be ready when the ladies came back. Clean your tools, glue single lashes, tidy your work space were some of the things we did to while the time.
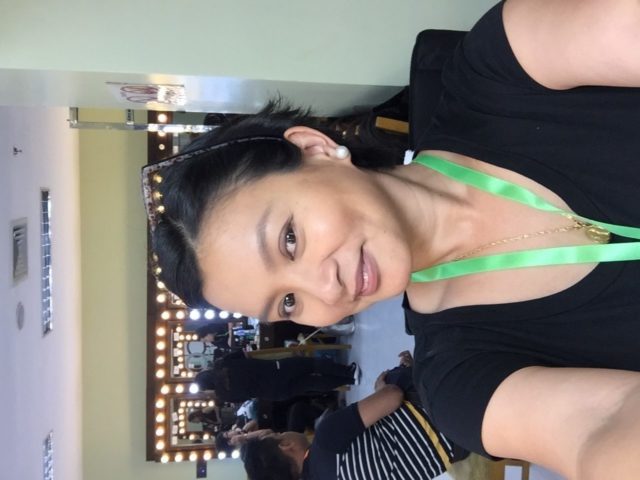
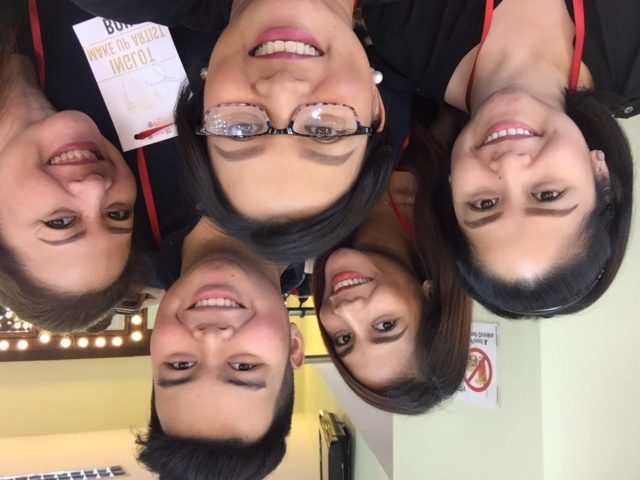
Selfie while waiting for the candidates to return from a technical rehearsal.
Our Working Tables
2. Be flexible in your expectations.
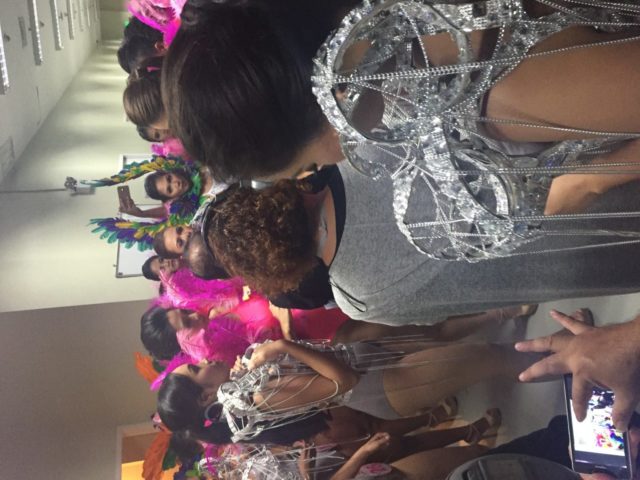
This is not about you but more importantly this is a test of character. There are many things going on simultaneously from the floor and stage directors screaming. “Girls, you have 3 minutes to change” to“Girls, you have to run! We’re starting the evening gown portion!” Mind you, these gowns are heavy and difficult to put on. Part of the job is to be able to help these ladies move as fast as they can by helping them dress up, strap on their stilettos and sometimes be a fashion stylist like securing their gowns with a safety pin because the gown is simply a size smaller than expected. Yes, you will be a multi-tasker in events like these, and you have to be OK with that.
Backstage, Prayer before the show
Hazel anothet UMAP member is practicing the art of Zen in her touch up before the show.
3.Pageant Makeup is designed to be seen.
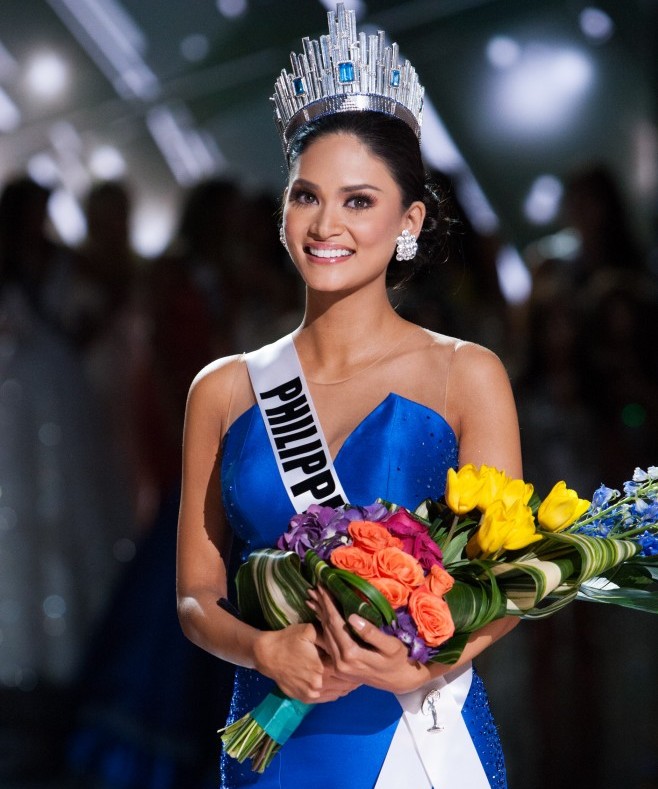
Because of the Polishing Workshop we had to undergo with Inglot, pageant makeup is a glamourised version of the classic look, a bolder version of your traditional smokey eye. Harsh lights can drown out the colours you’ve put on. It is important to layer your makeup, and make sure it is still blended and well put together. Peg for all seasons, Pia Wurtzback, 2015 Miss Universe.
Pageant Makeup Peg
Photo from Xyrene Eugenio, Inglot makeup affiliate who spearheaded this event for UMAP. Onin Bolos UMAP Member also did the makeup here which we used as our peg for the makeup look.
4. Be a Jack of All trades
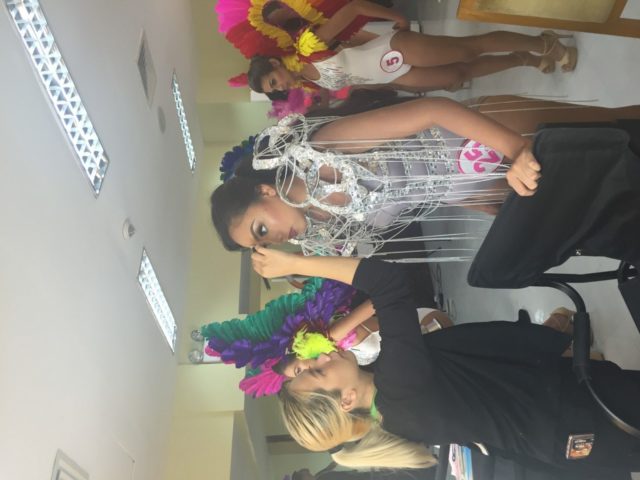
When we were all done with the candidates, our work did not end there. We were assigned tasks to do last minute touch ups before the ladies were whisked away onto the stage. Two artists were in charge of applying powder and blush, one was assigned to check the lashes and bring glue, and one was in charge of applying lipstick and gloss. The hair team was also divided so they can do touch ups for the hair. It didn’t end there: We were looking at the TV monitor to check the makeup to see if we needed to add or lessen the makeup. We were required to always be on standby behind the wings for costume changes.
Mindset: You are the hired help for the day so leave your ego at home.
5. Makeup tips learned from the event
Ace of base was the Inglot HD foundation in shades 71, 73 and 77 to create that flawless “Cutis Porcelana” look. No airbrush here, we layered this 2x and buffed it well into the skin,
Kutis Porcelana
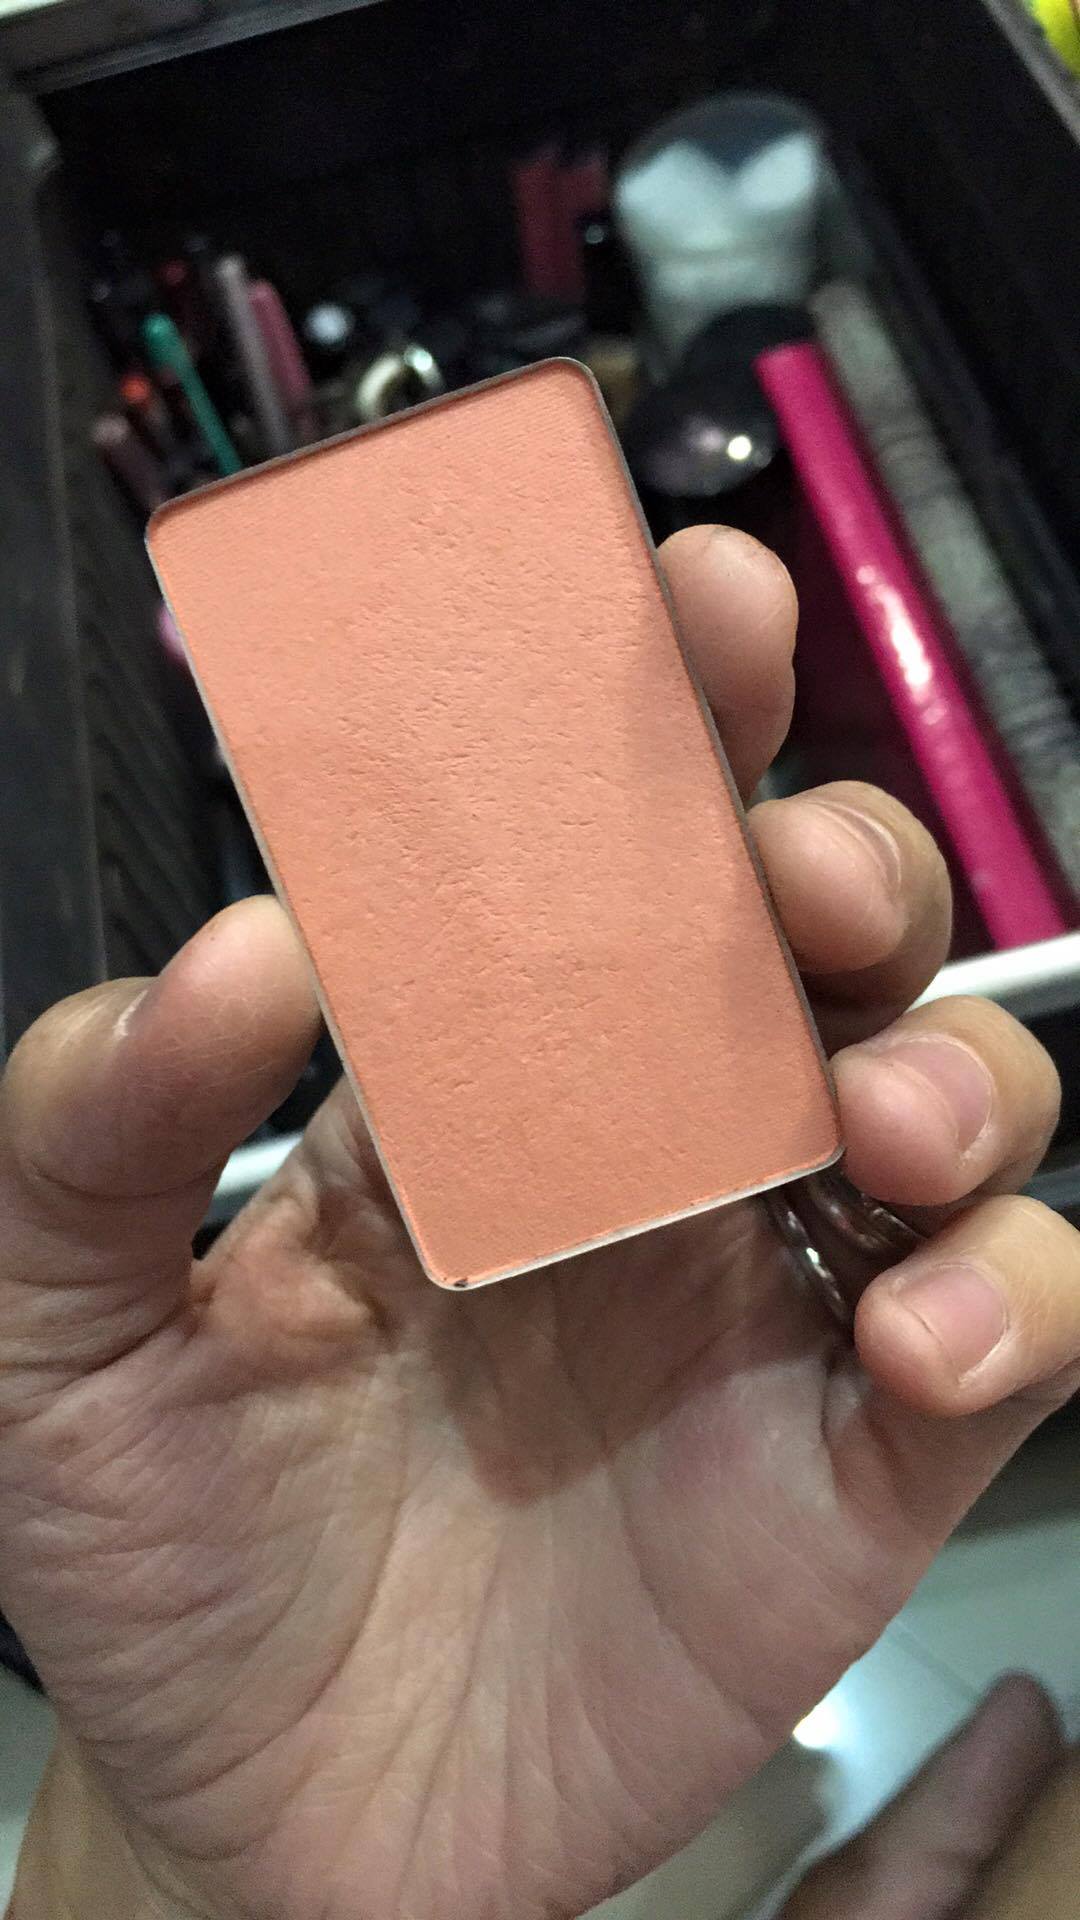
Blush Palette used were:
Coral Peach tones Inglot #46. Photo from Xyrene Eugenio
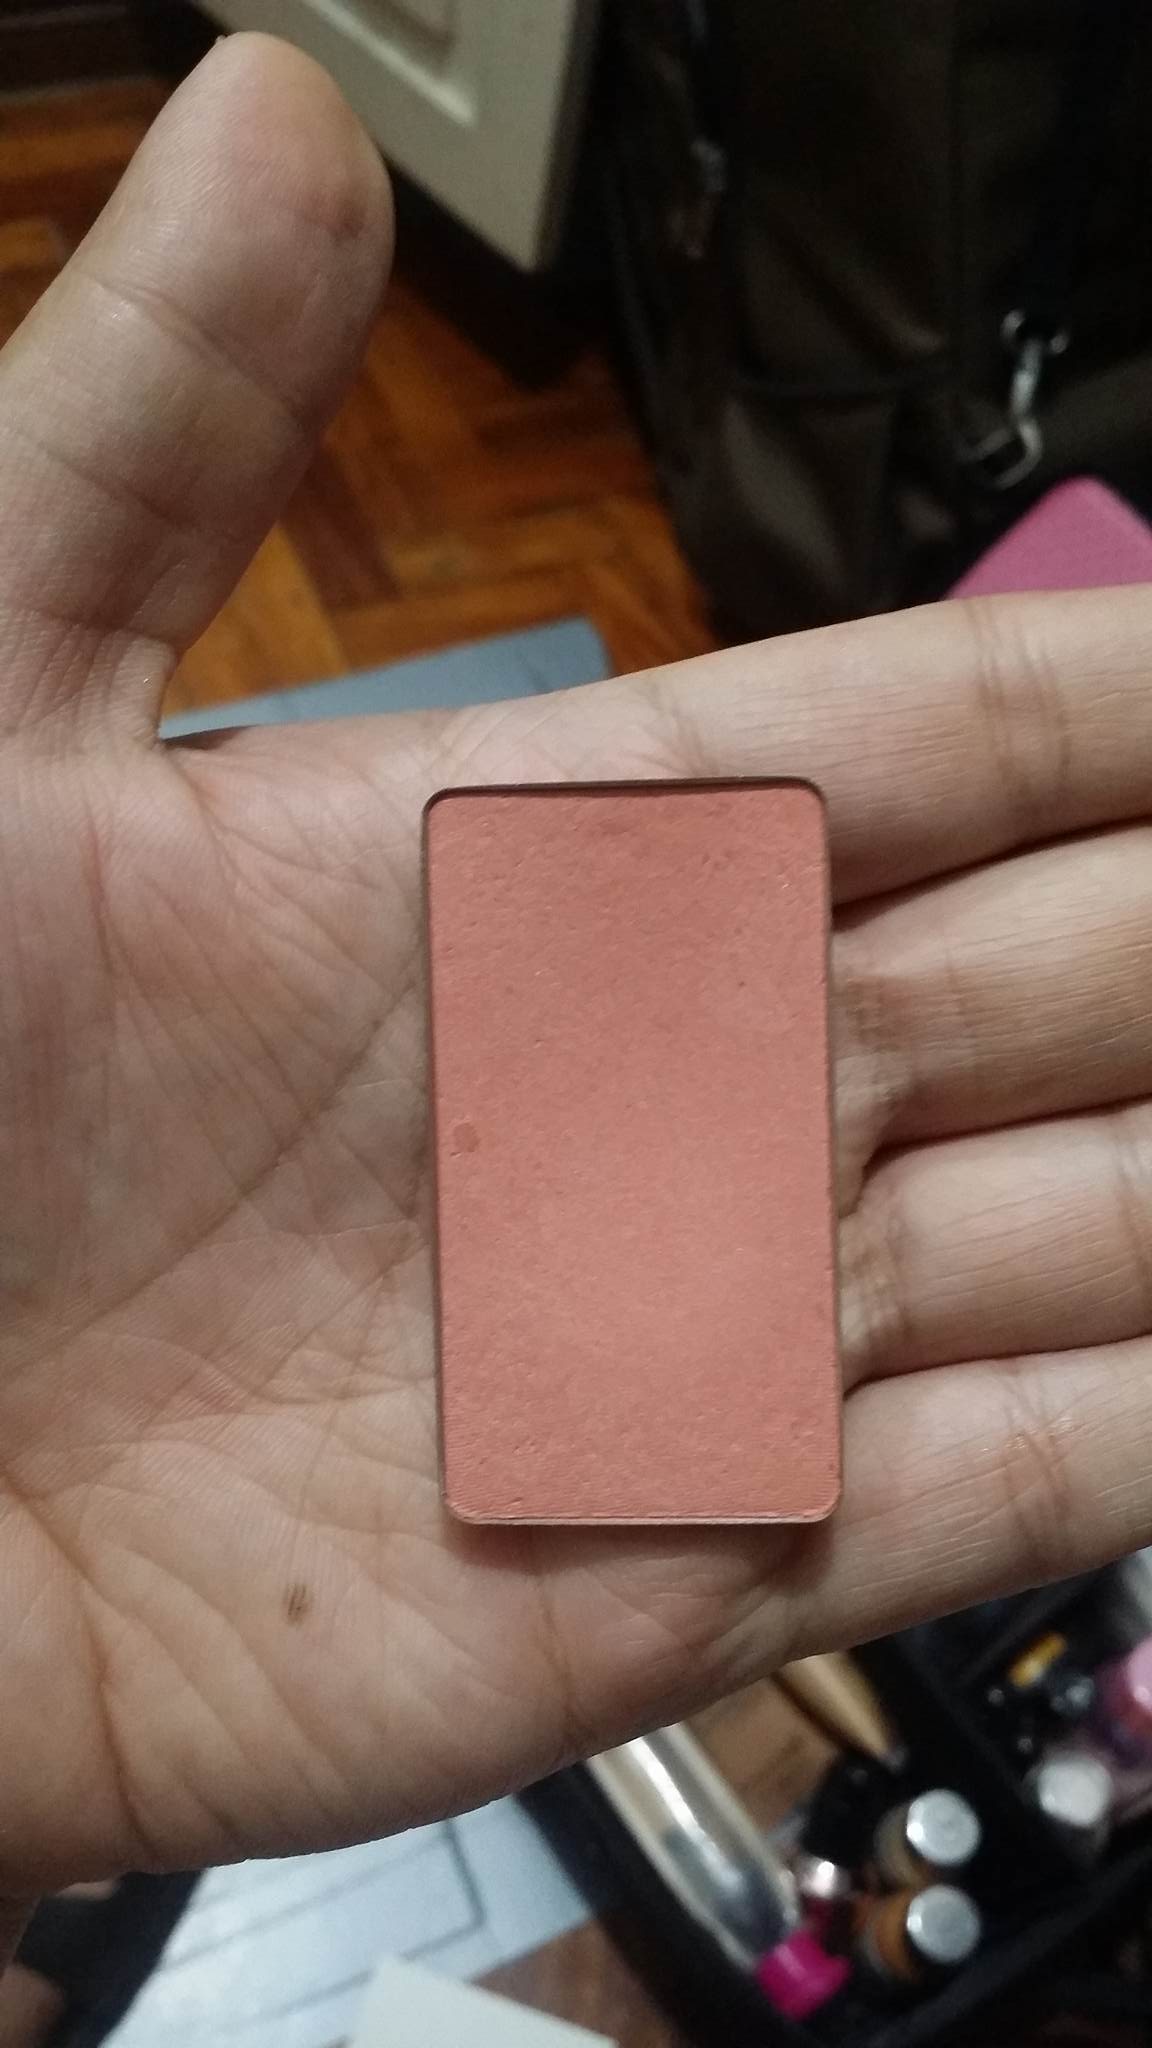
Inglot blush #29 another coral peach tone blush. Photo from Onin Bolos, another UMAP member
Inglot blush #28, a neutral pink blush. Photo from Xyrene Eugenio
To set the makeup and make it last longer, we used the baking technique. We also had to use a lighter concealer to give the face a nice highlight.
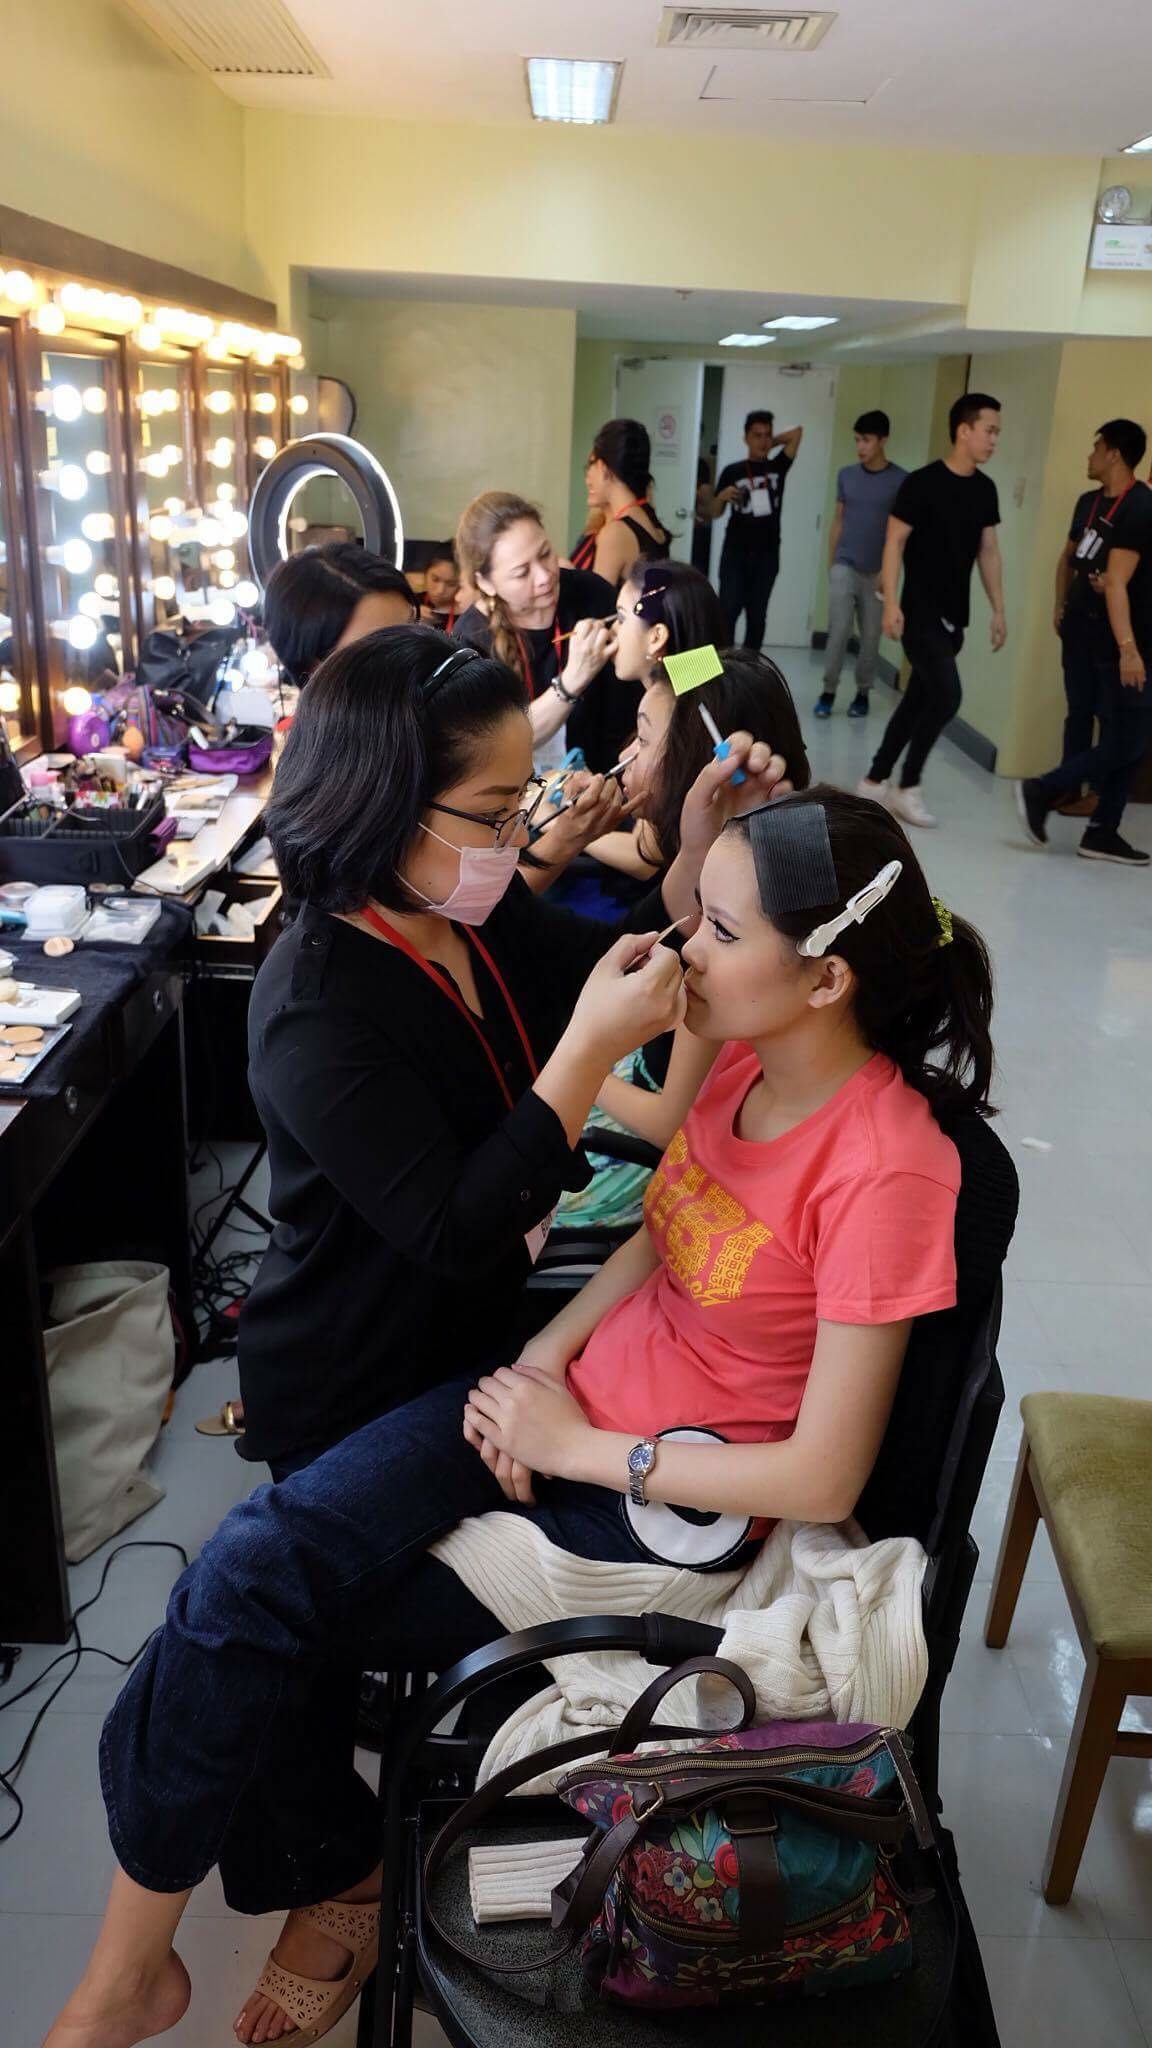
I just buffed the powder on my candidate. Check out the candidate on the left side. Maryann Obias is applying this technique on her candidate. Photo from Michelle Viray UMAP Member
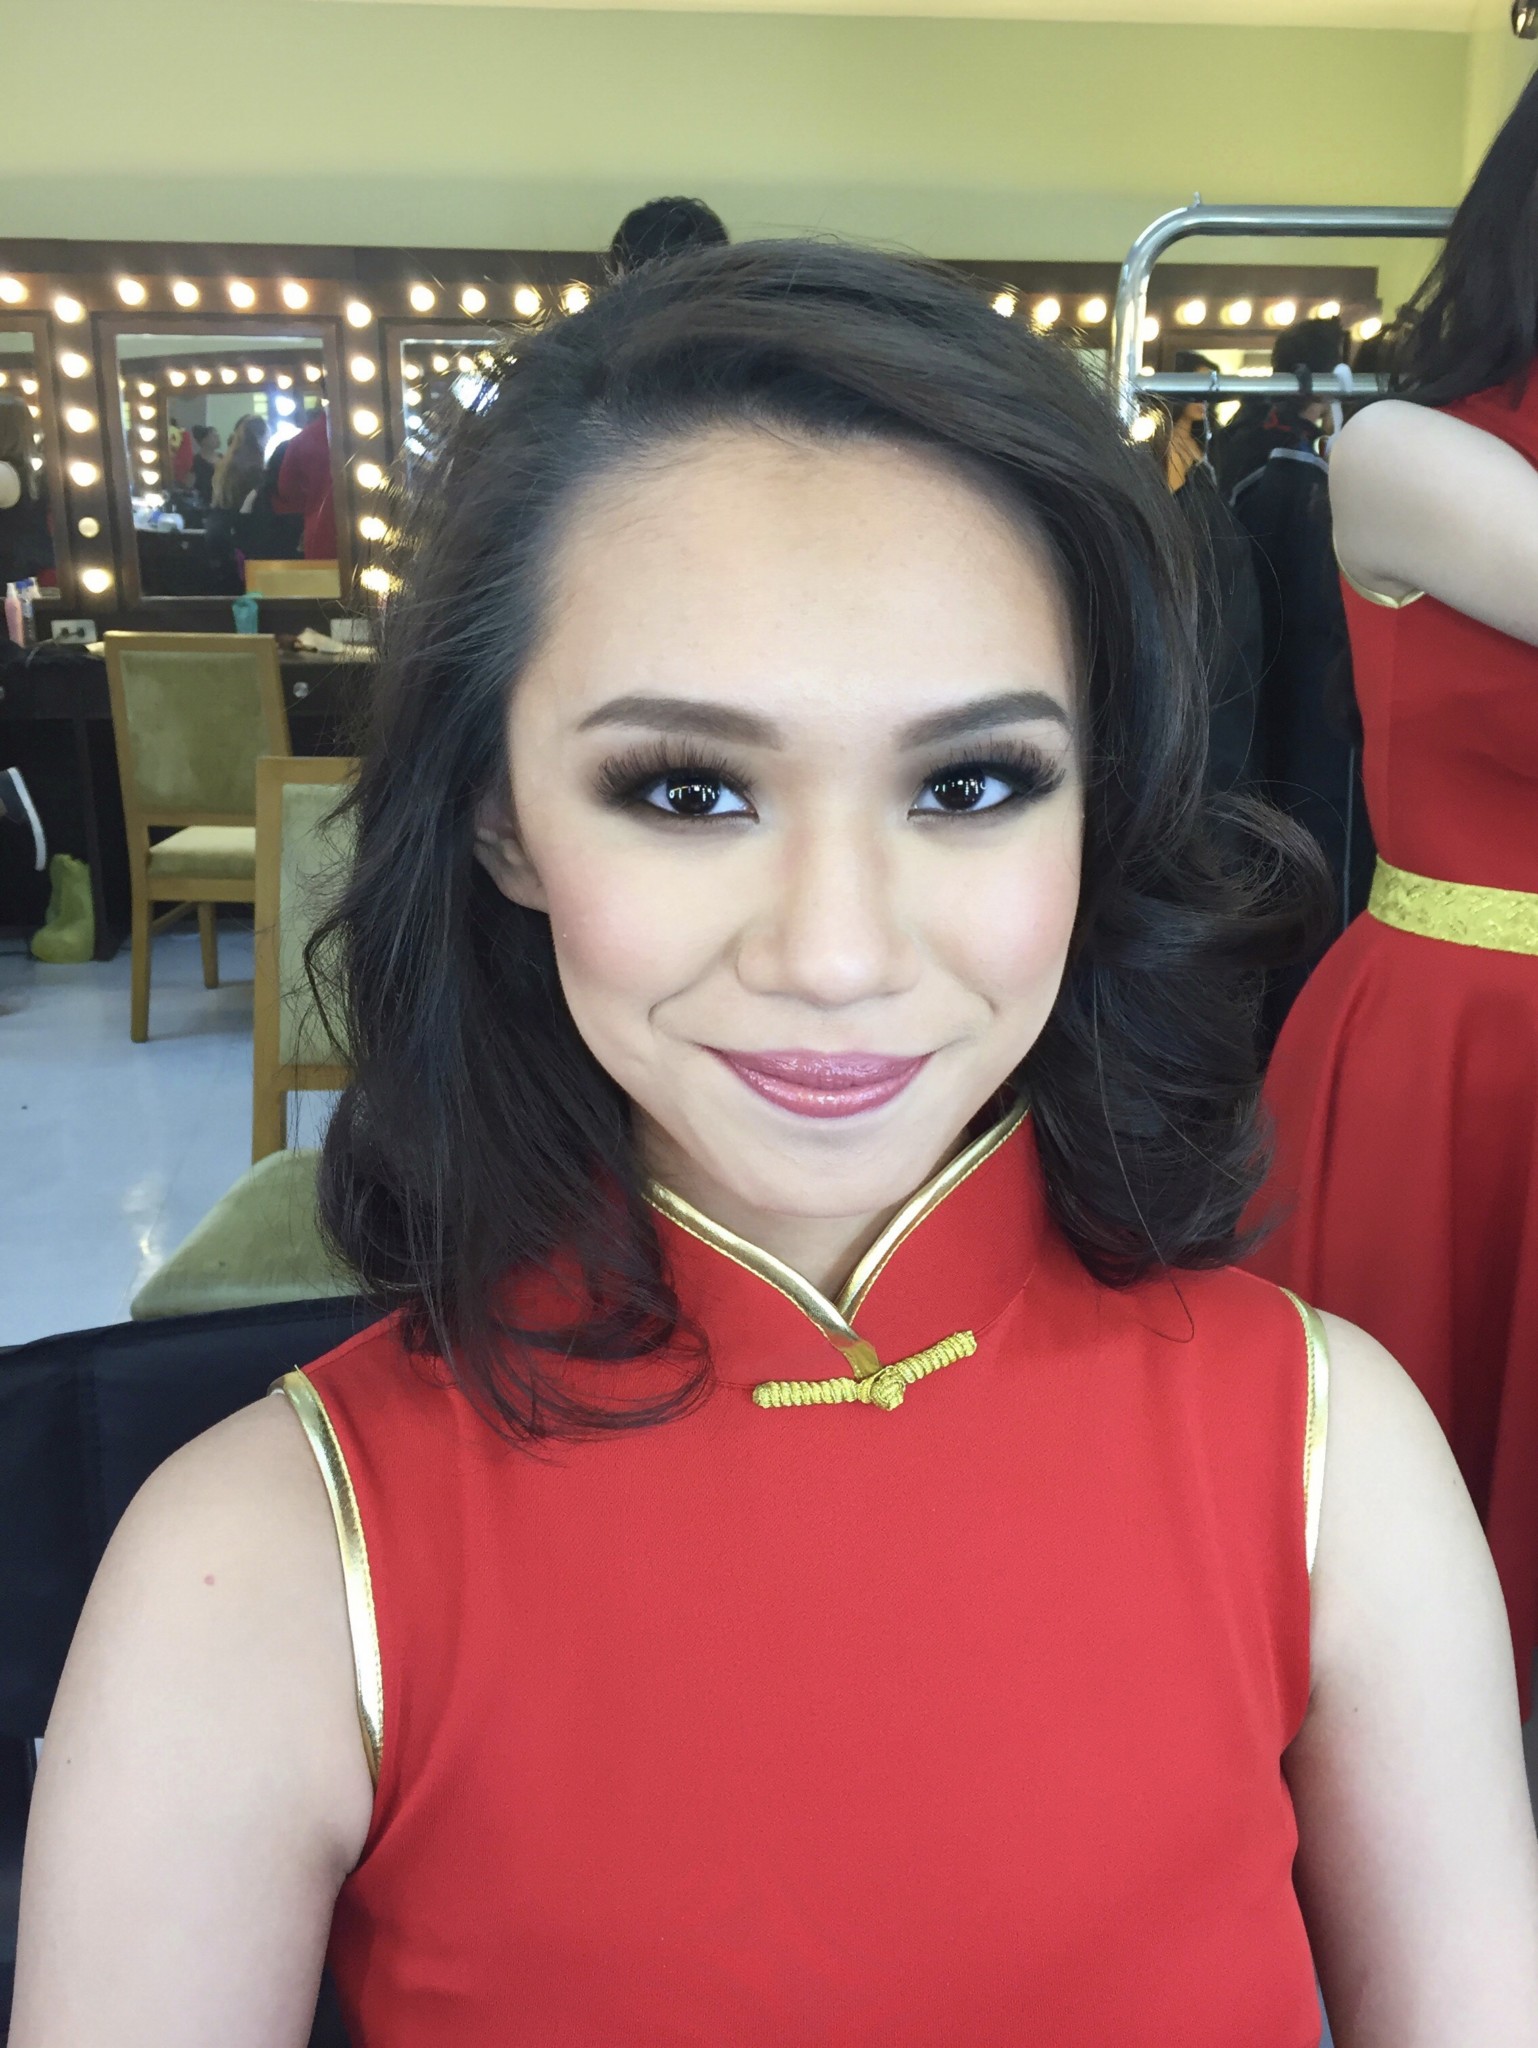
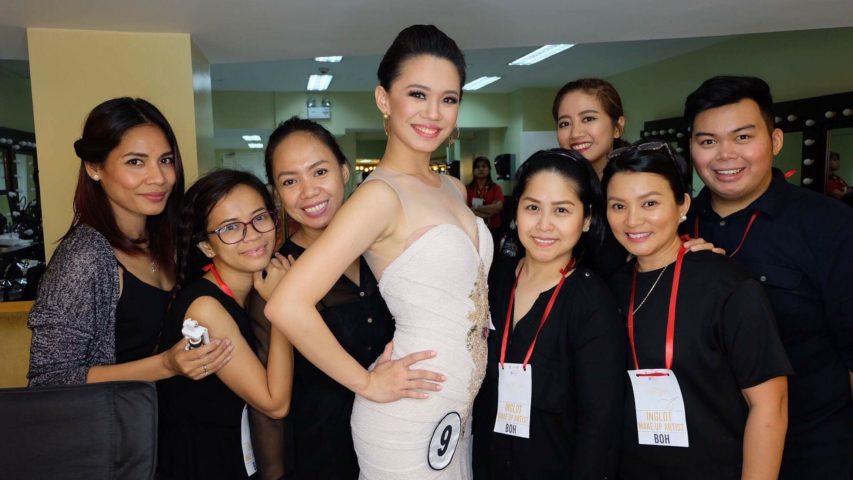
Finished result on Aeryka Chu Candidate #7 for Mr and Miss Chinatown 2016
Contour does not need to be heavy but sculpted cheekbones were a must for this event to give depth to the face. We used Inglot no. 505
Inglot 505 was used to sculpt the cheeks and give the face depth.
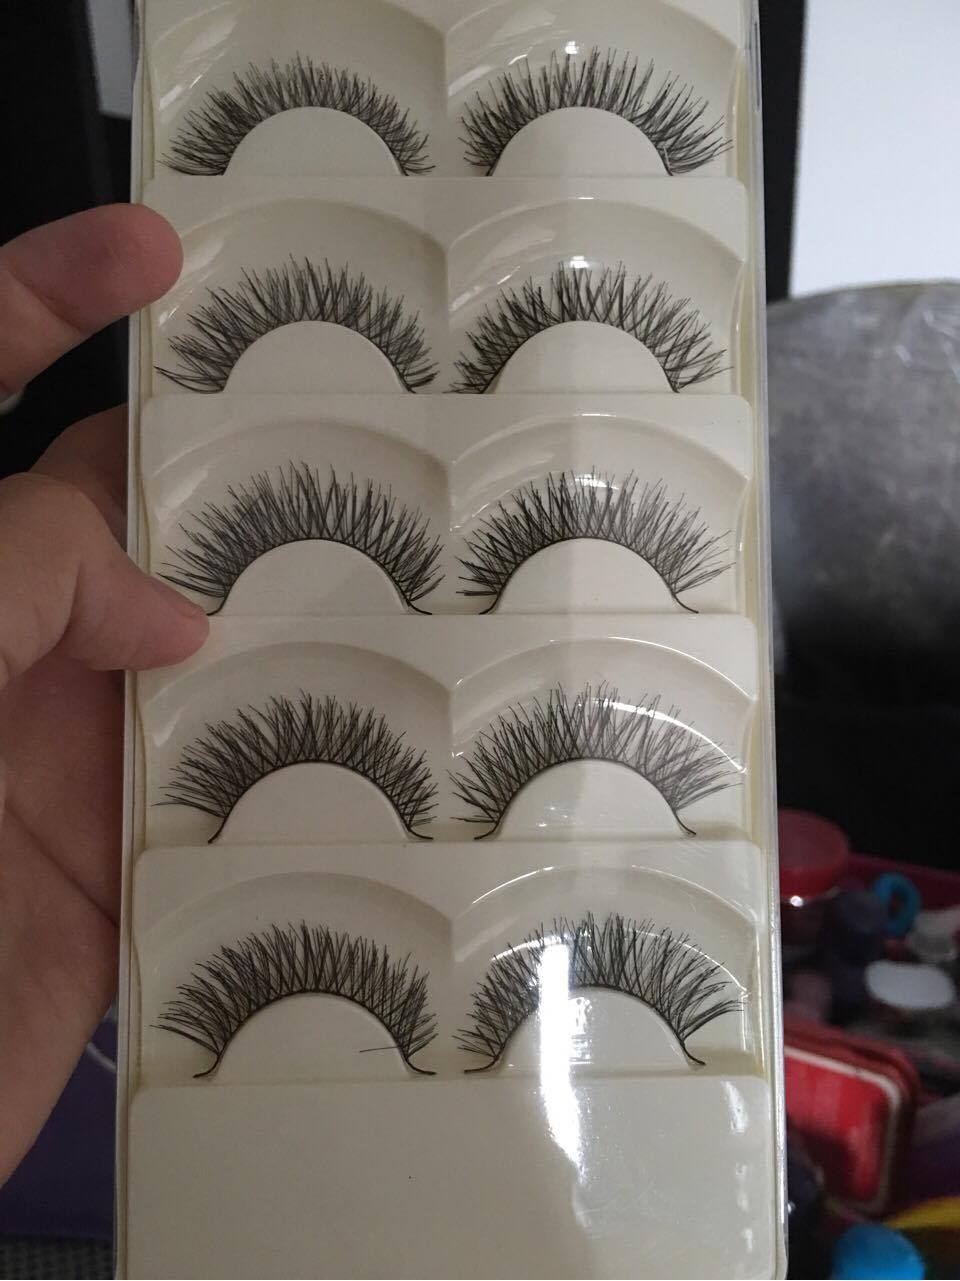
Since the eyes needed to stand out, we were instructed to use fuller, wispy lashes to add drama.
Photo from Xyrene Eugenio. She used these wispy babies. Notice the full stack but they were still light when applied.
Photo from Michelle Viray. Like a surgeon, Maryann OBias skilfully applies the lashes.
Neutral palette was used on the eyes. No blue, green, pink or lavender colours here, just earthy brown tones. No glitters or frost as this looks dirty on camera.
I doubled up on my lashes. Since I had fairly light ones, sometimes I glued 3 thin lashes to get the desired effect.
Mr and Miss Chinatown Candidate # 9 Shireen Rosales.
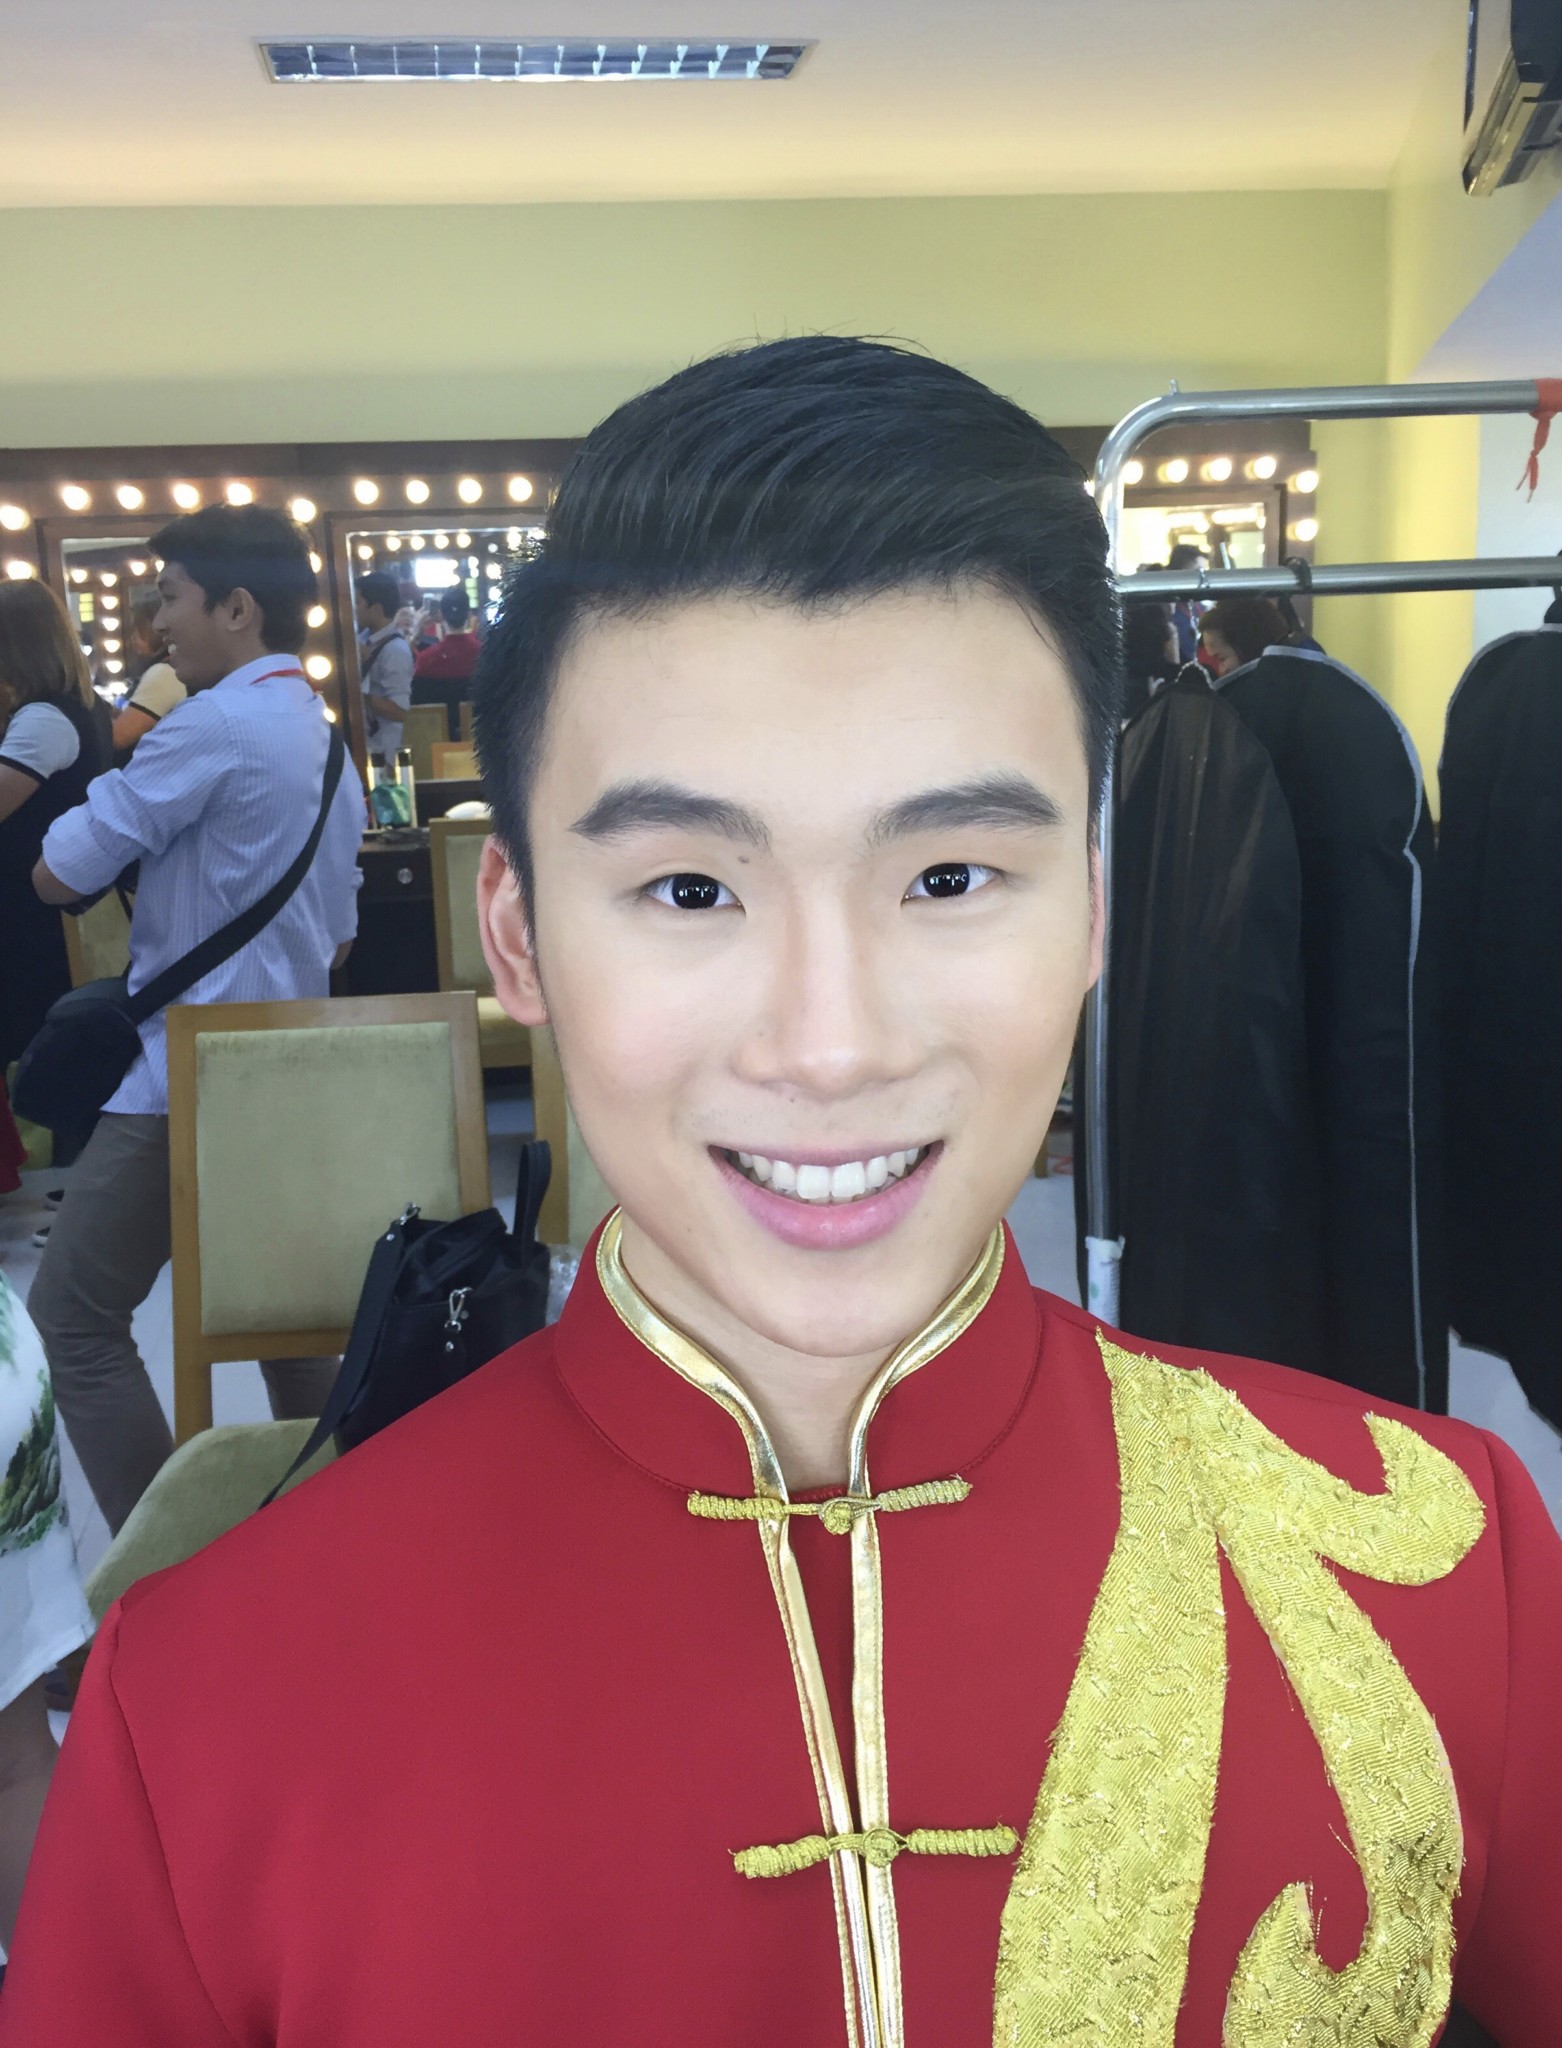
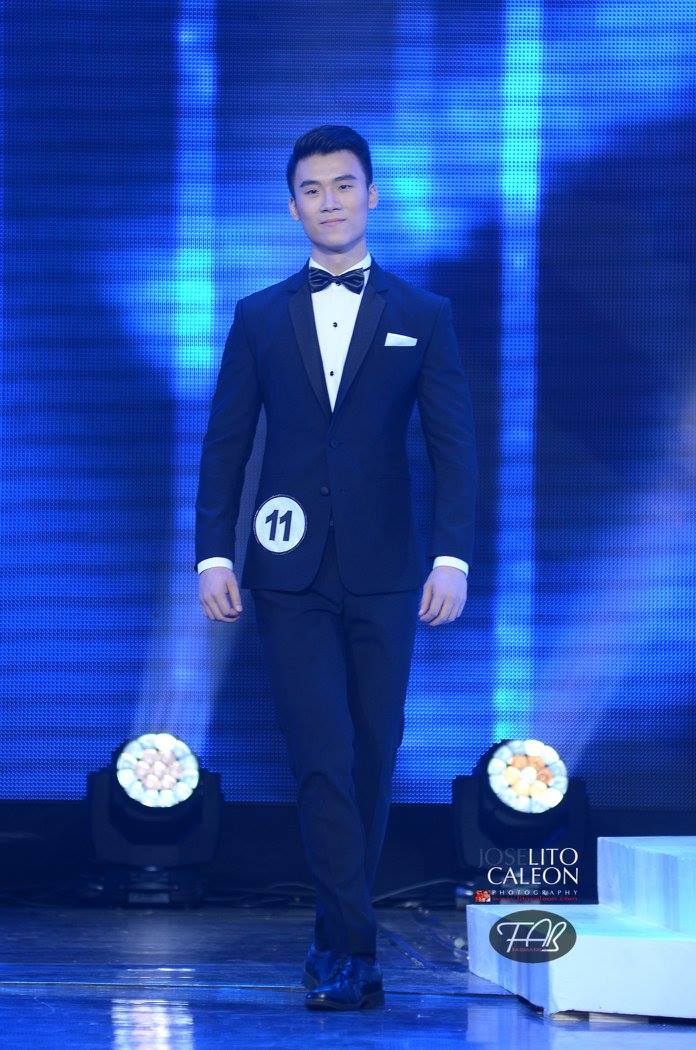
Male grooming should be simple and natural. Bronzer was used to warm up the face. Skin tone was evened out with a light application of foundation, concealer when needed and loose powder o set the makeup. A touch of lip balm was applied to make the lips soft.
Mr and Miss Chinatown 2016 Candidate no. 11 Richmond Balila
Contact lens were used by the candidates to make the eyes stand out in front of the camera.
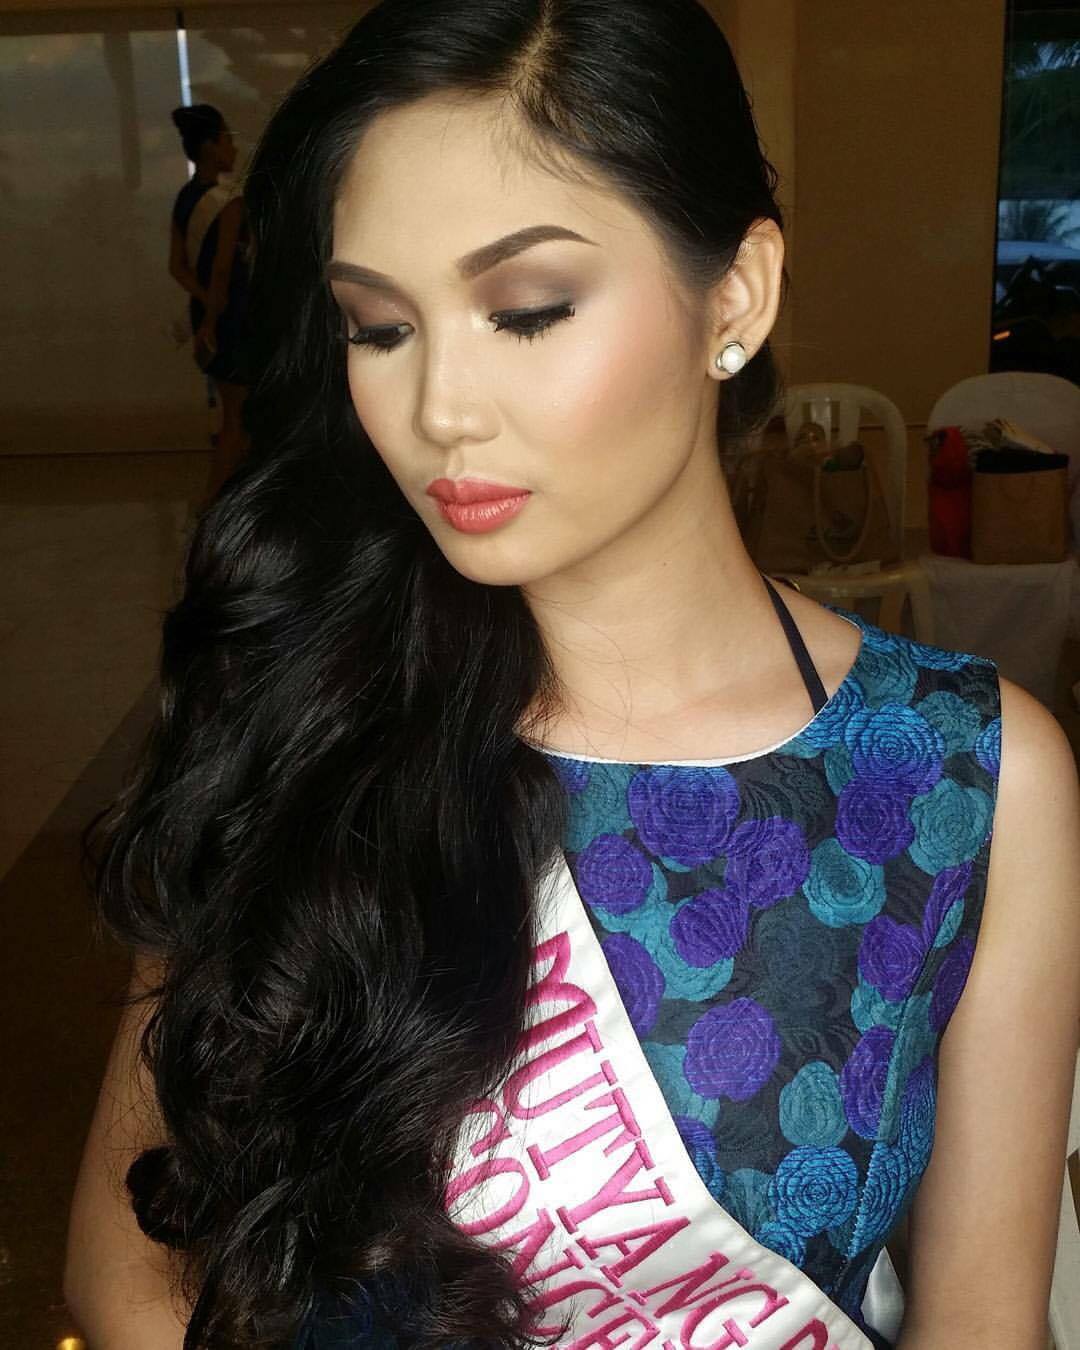
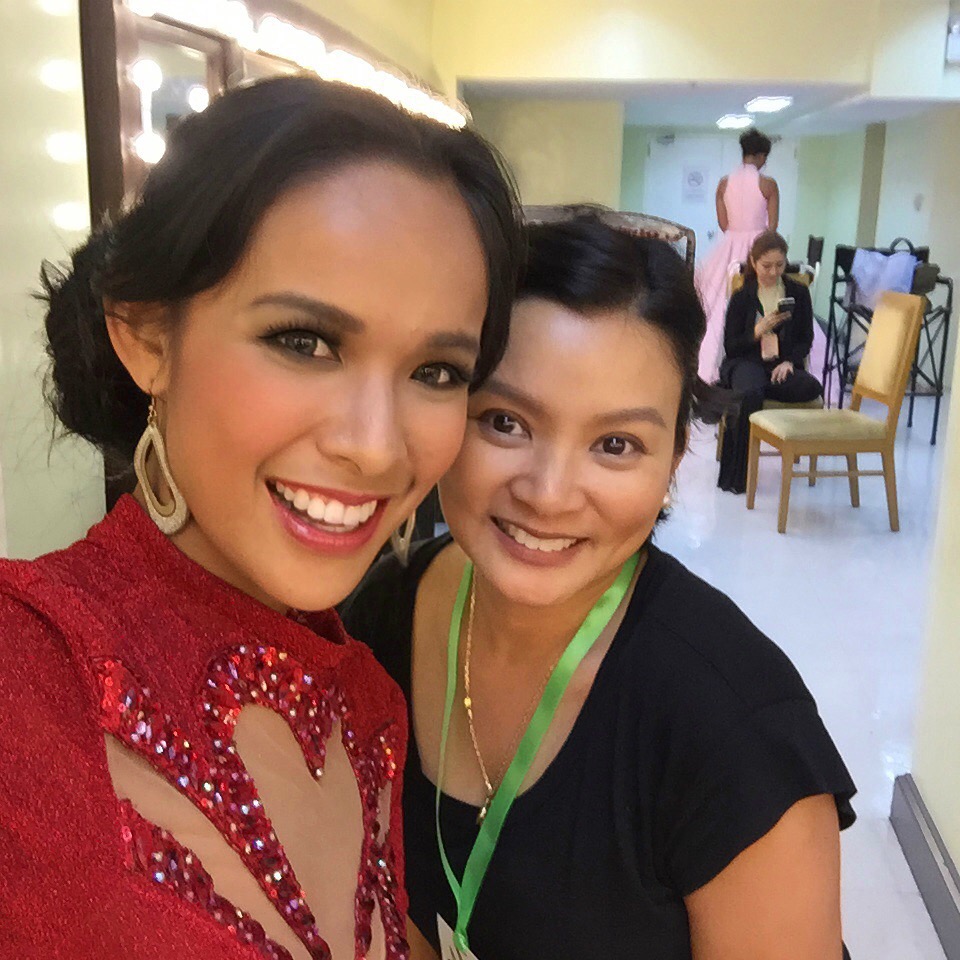
Mutya ng Pilipinas Pampanga 2016 Candidate no. 11 Rhancoise Mayangitan
Photo taken from Rhancoise Mayangitan. Credit belongs to owner
Mutya ng Pilipinas Batangas 2016 Candidate # 22 Rianne Kalaw
Mutya ng Pilipinas Japan 2016 Candidate # 13 Mayu Murakami.
Mayu made it to the Top 10! Candidate #13 is her lucky number!
Scenes from the 2 events
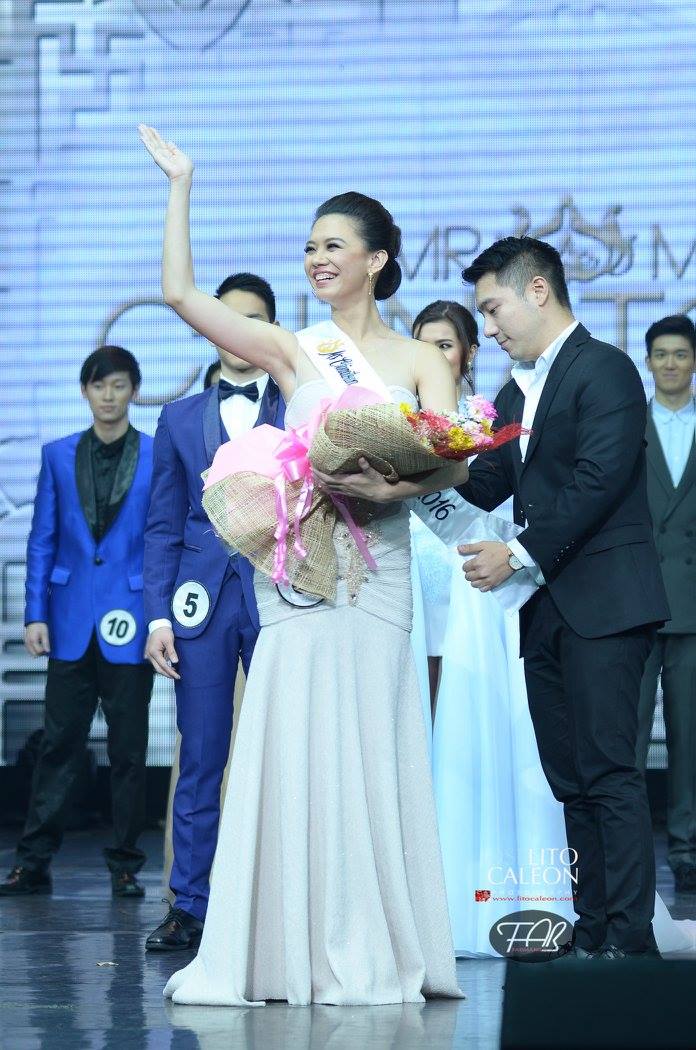
Shireen Rosales Candidate #9 Mr and Miss Chinatown 2016 won Best in Talent. Photo courtesy of Michelle Viray
Photo courtesy of Joselito Caleon
Photo courtesy from Joselito Caleon. Candidate #11 Richmond Balila
A quick photo before heading out to the stage for their opening number. Candidates of Mr and Miss Chinatown 2016
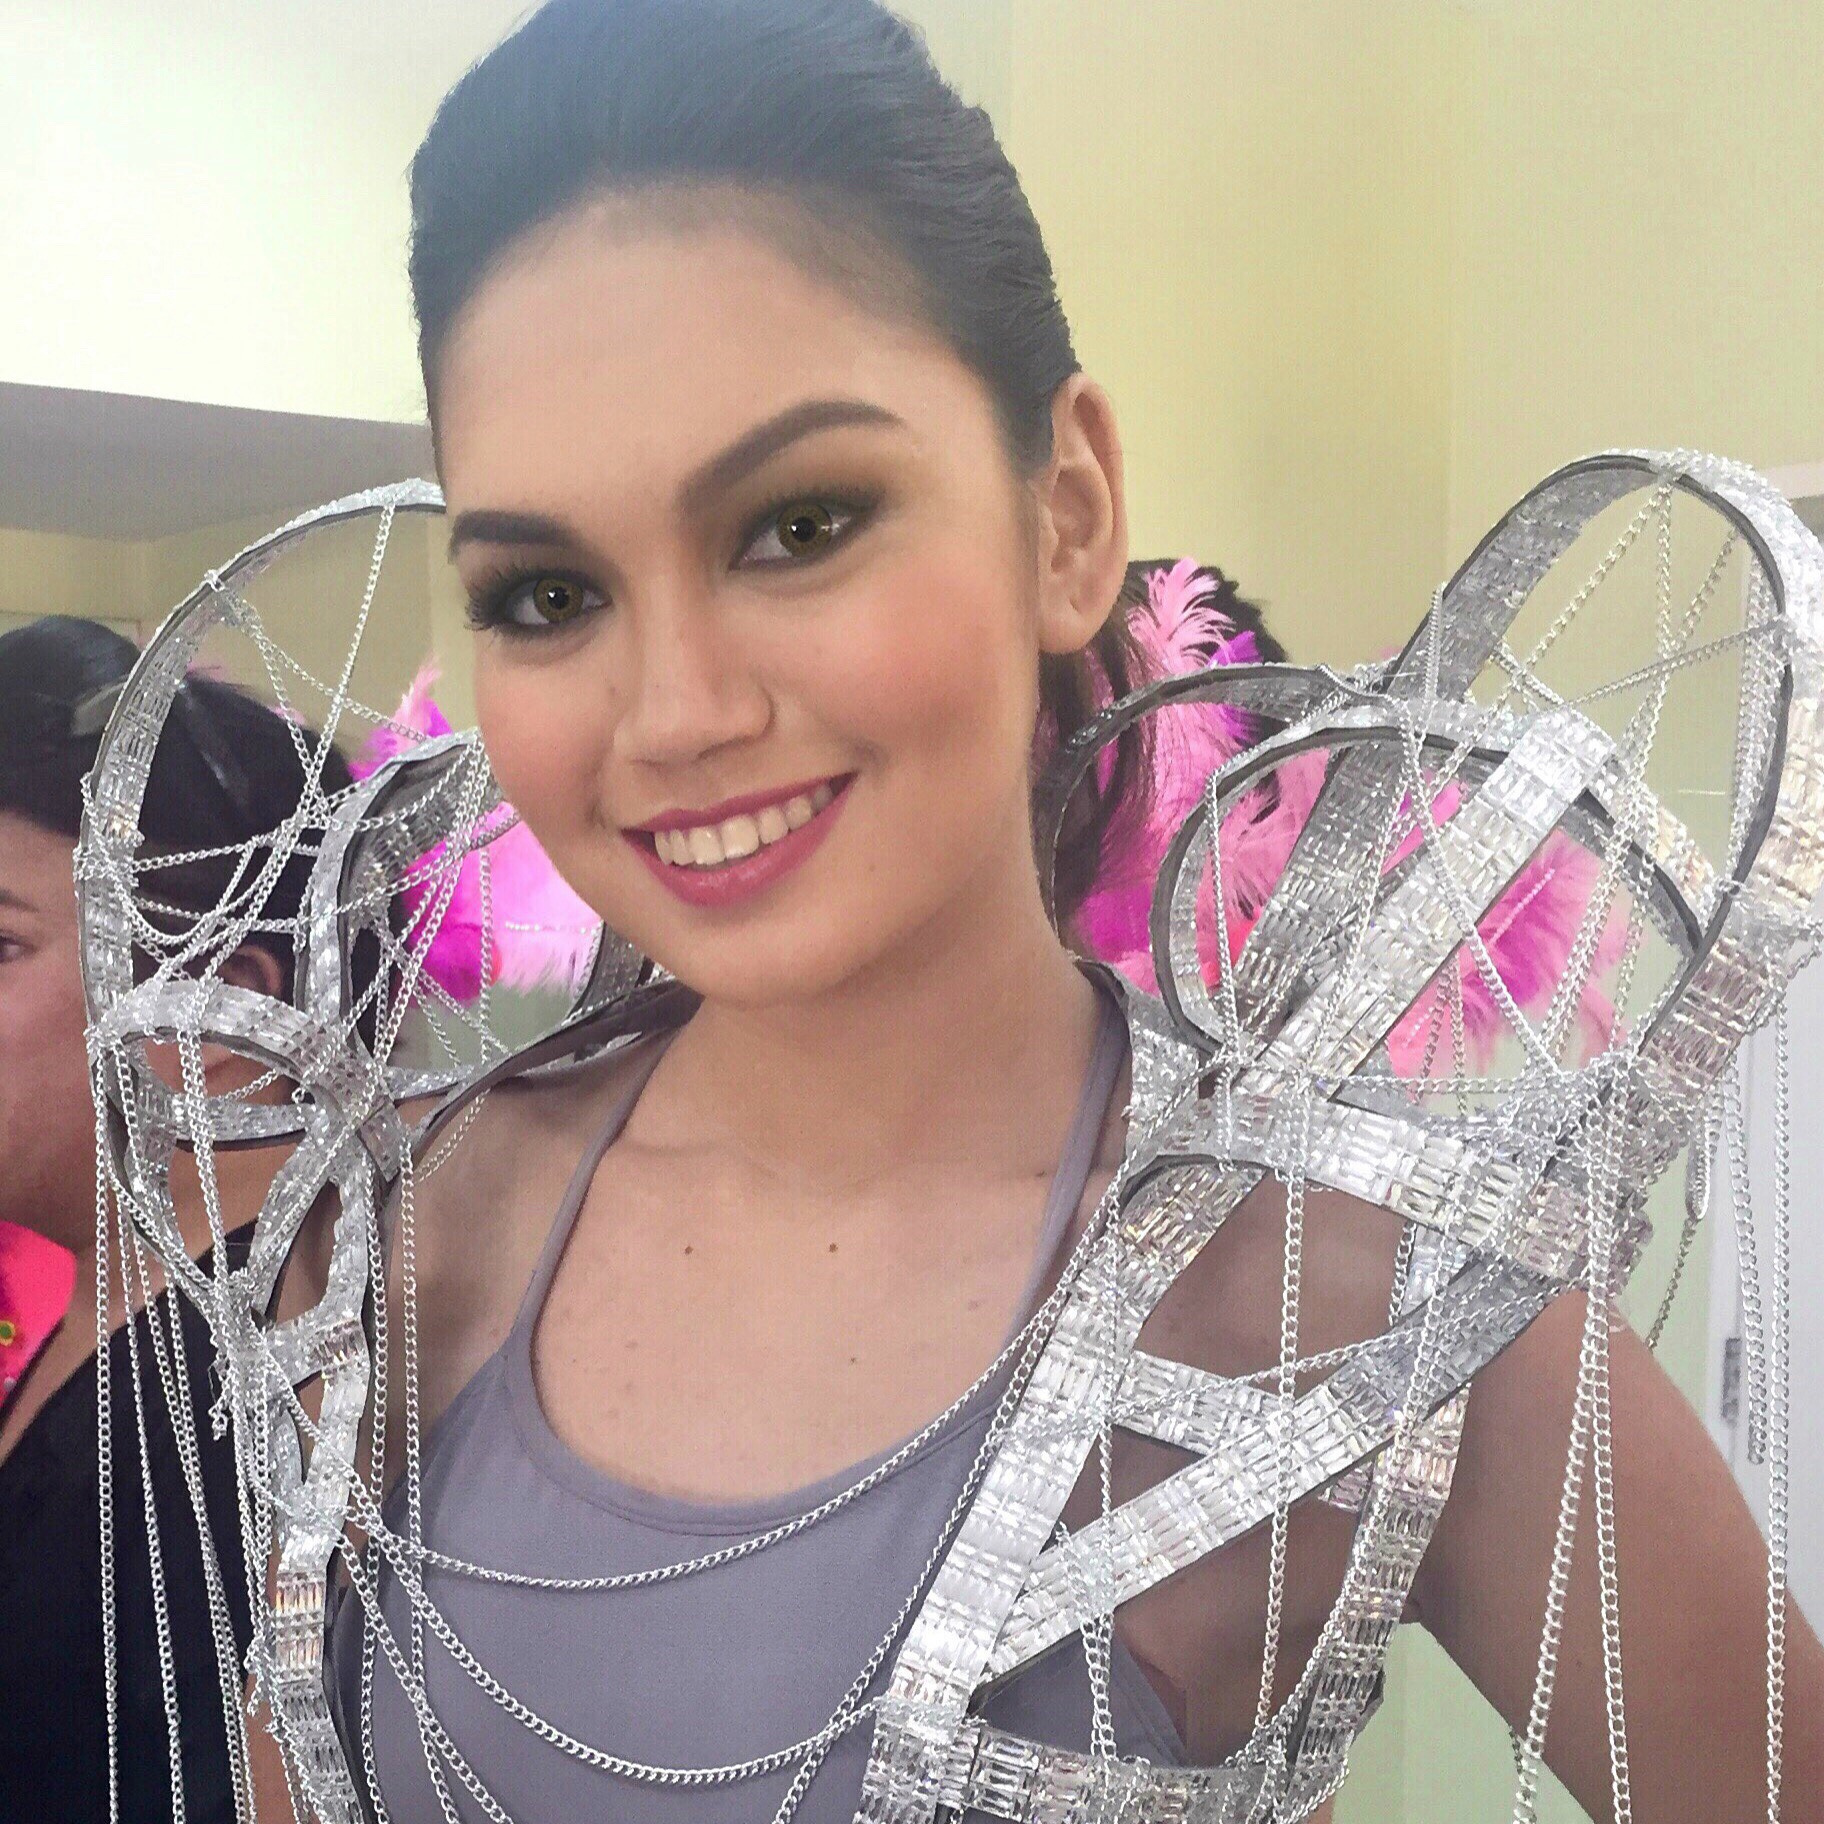
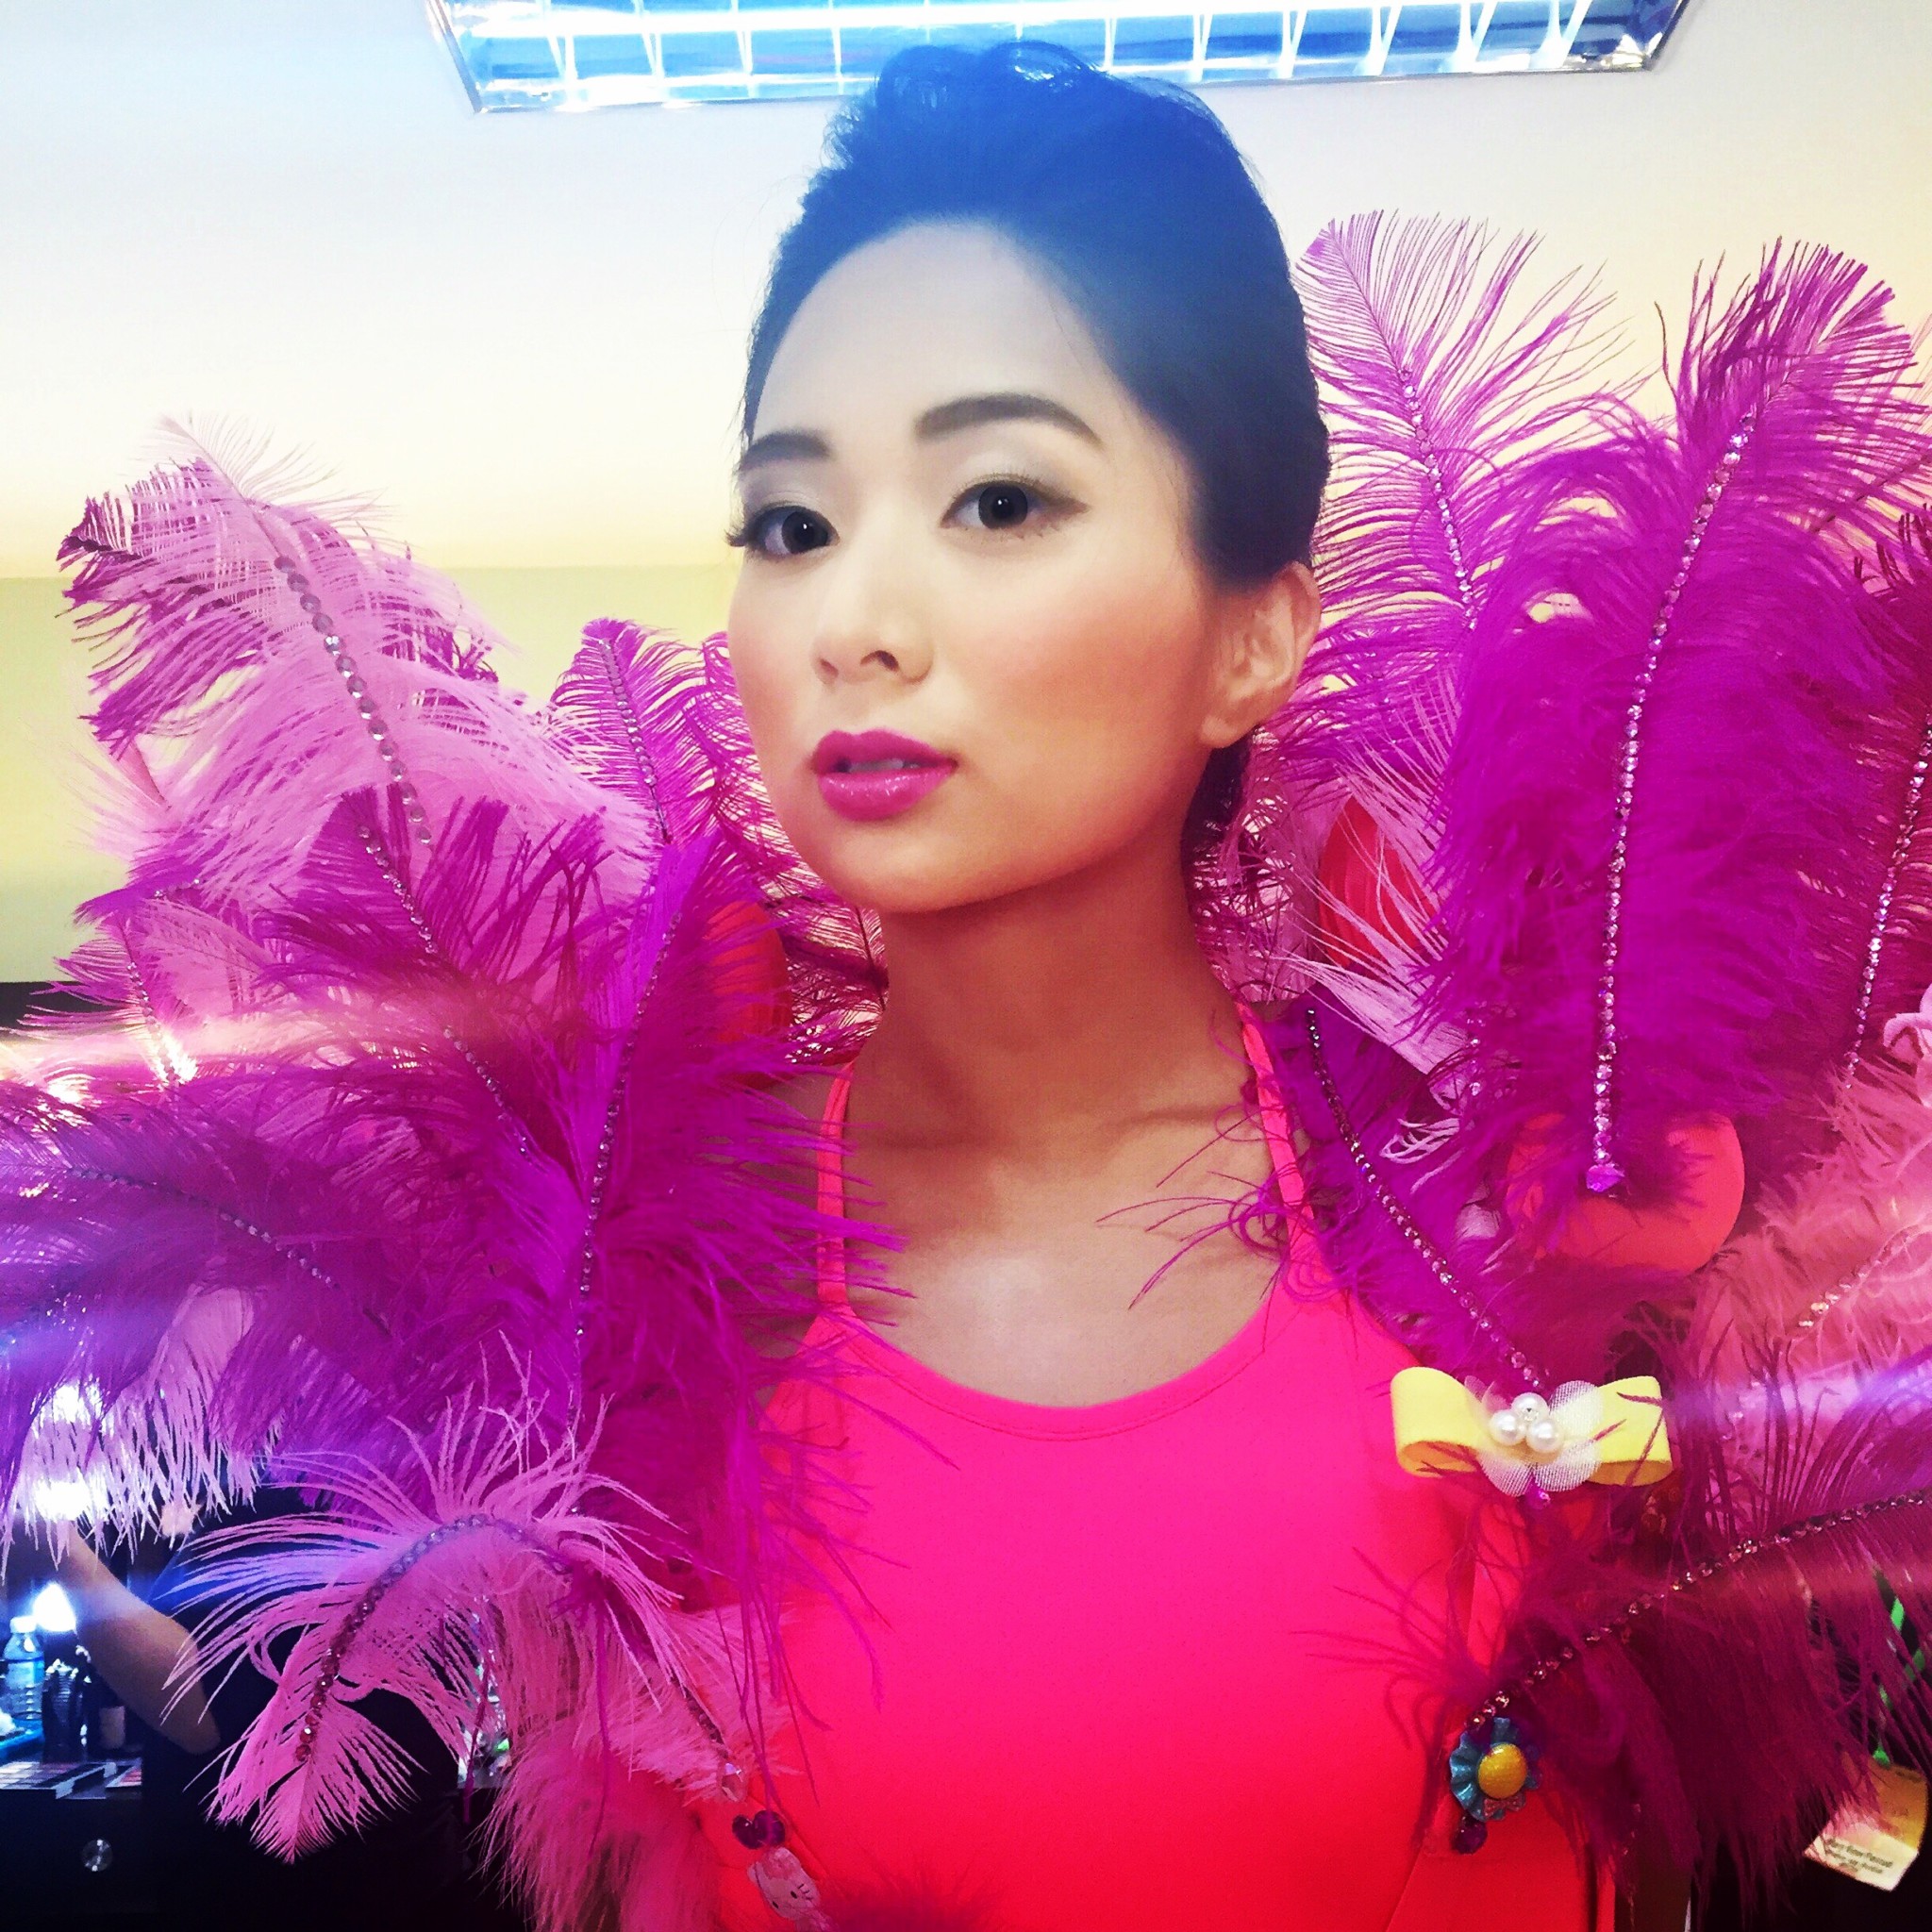
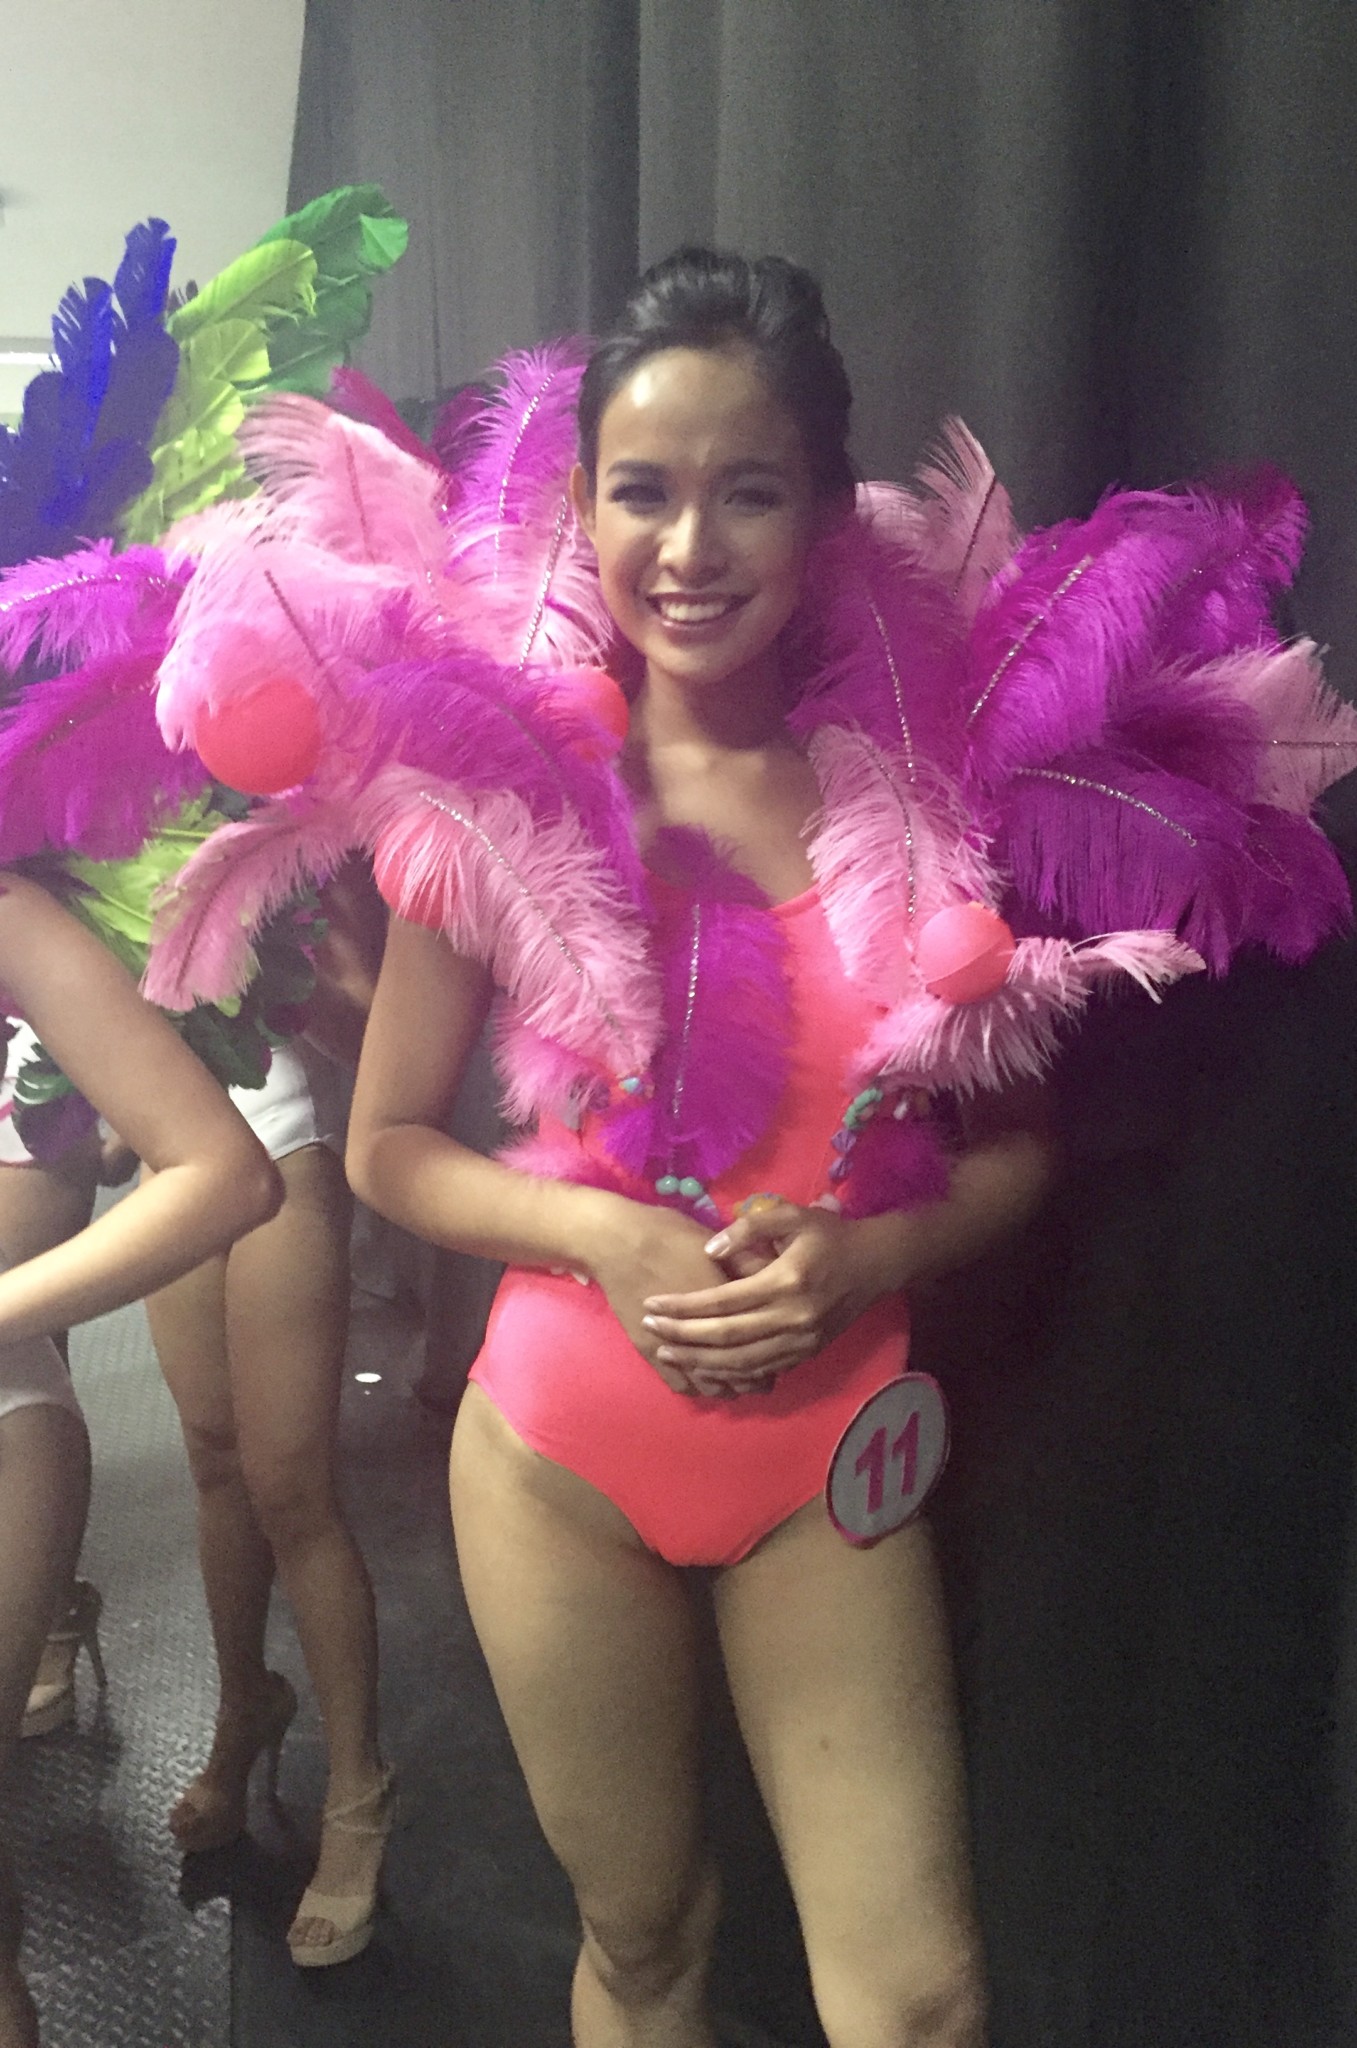
Feathers and Boas for the opening number of Mutya ng Pilipinas Candidate # 11
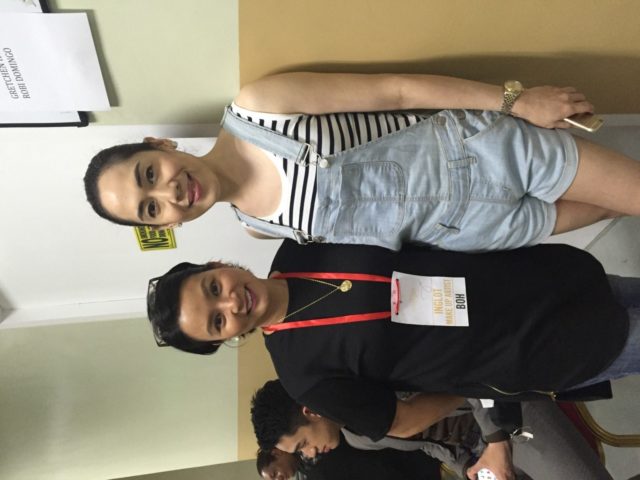
At a days end actually it was 10:30 pm. We were a tired but happy bunch. L-R Pilita Guadines, Onin Bolos, Charisma Vergara, Maryann Obias and Acie Fores
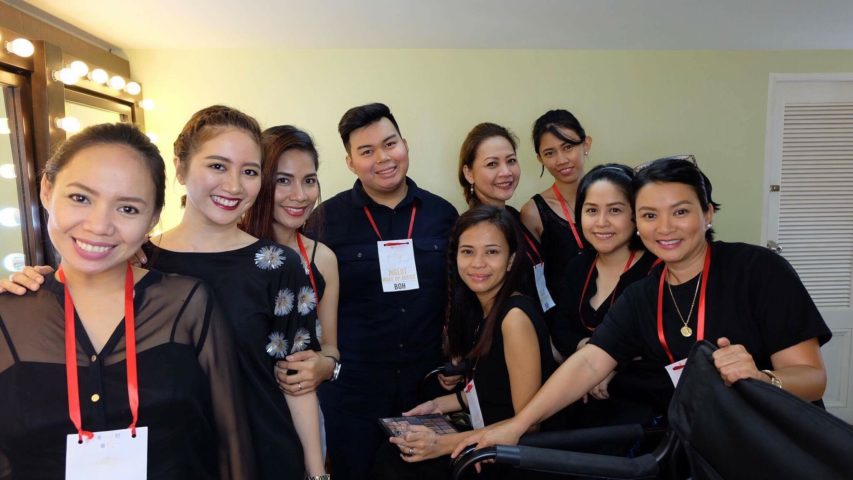
Another shot of the working group, From L-R, Michelle Viray, Amy Villatuya, Charisma Vergara, Onin Bolos, Pilita Guadines, Marjorie Divina, Maryann Obias, Acie Fores and Xyrene Eugenio
Bulaga of the night, Selfie with Makeup artist to the stars, RB Chanco backstage. Thrilled to the max!
Being on the other end of this event, pageants are definitely hard work both for the candidates and for us hair and makeup artists. It is a stepping stone for most of them and while they pursue their dreams of becoming ambassadors of change or tourism, for us makeup artists, we are glad to share in their experience on their path to success and hope.
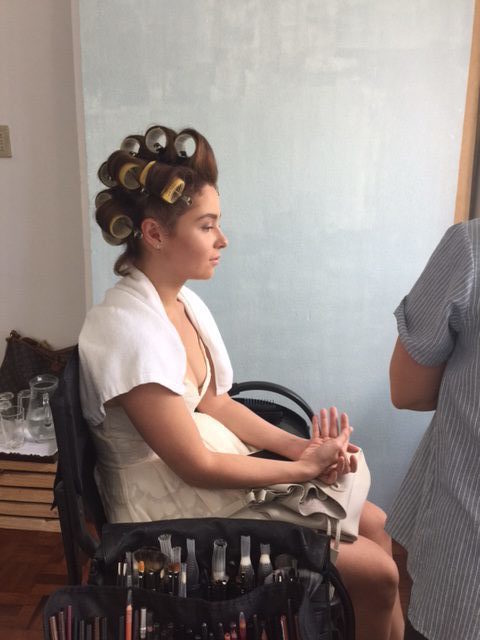
Unknown to me, I was going to hit the lotto last weekend. I was fortunate enough to put my working hands on none other than Andi Eigenmann. Petite and fresh faced, she arrived with an apology that her hair smelled of smoke due to the place she came from. When she came in the studio of photographer Janina Teodoro, the fangirl in me came out — and I hope I didn’t blast her ears off when I said, “Hi, Andi, so nice to meet you!” I don’t even remember what she said but I instinctively led her to my chair.
Photos from Roxanne Roman
Photo from Roxanne Roman
Photo courtesy of Janina Teodoro
Photo courtesy of Janina Teodoro
Fresh from her French Riviera experience I got to ask her what it felt like standing on stage next to mom Jaclyn Jose bagging the best actress in the Cannes Film Festival. Feelings of pure joy, pride and gratefulness surrounded both mother and daughter as we’ve seen in all social media. Below is her selfie with Kirsten Dunst on their elevator ride after her mother’s win ready to face the press. She bested Charlize Theron and Marion Cotillard in this category!
With Kirsten Dunst and at the back is Vanessa Paradis. Kirsten Dunst was so moved by Jaclyn’s speech and the gesture of her holding her daughter’s hand was very touching to the jurors.
“Ma Rosa” is slated for commercial release here on July 6. It is based on a true to life story of a couple who own a sari-sari store, and are forced to sell illegal drugs on the side to make both ends meet. They become victims of unscrupulous and corrupt policemen who extort money in exchange for their freedom. (Scenes from our social landscape? You be the judge.)
Here are my favourite looks on Andi during her Cannes trip
Patty Ang designed this cream pantsuit ensemble which she wore to their press con. This is my absolute fave which incidentally made her land on Vanity Fair’s best dressed list
Boom Sason designed this rose coloured gown which she wore to the film screening. She really held her own here. Love this, too.
Mark Bumgarner made this royal blue gown which she wore to the awarding night. “Wow” is all I can say!
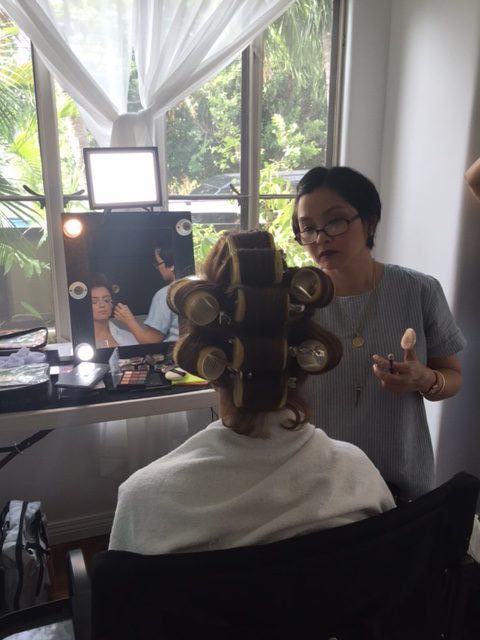
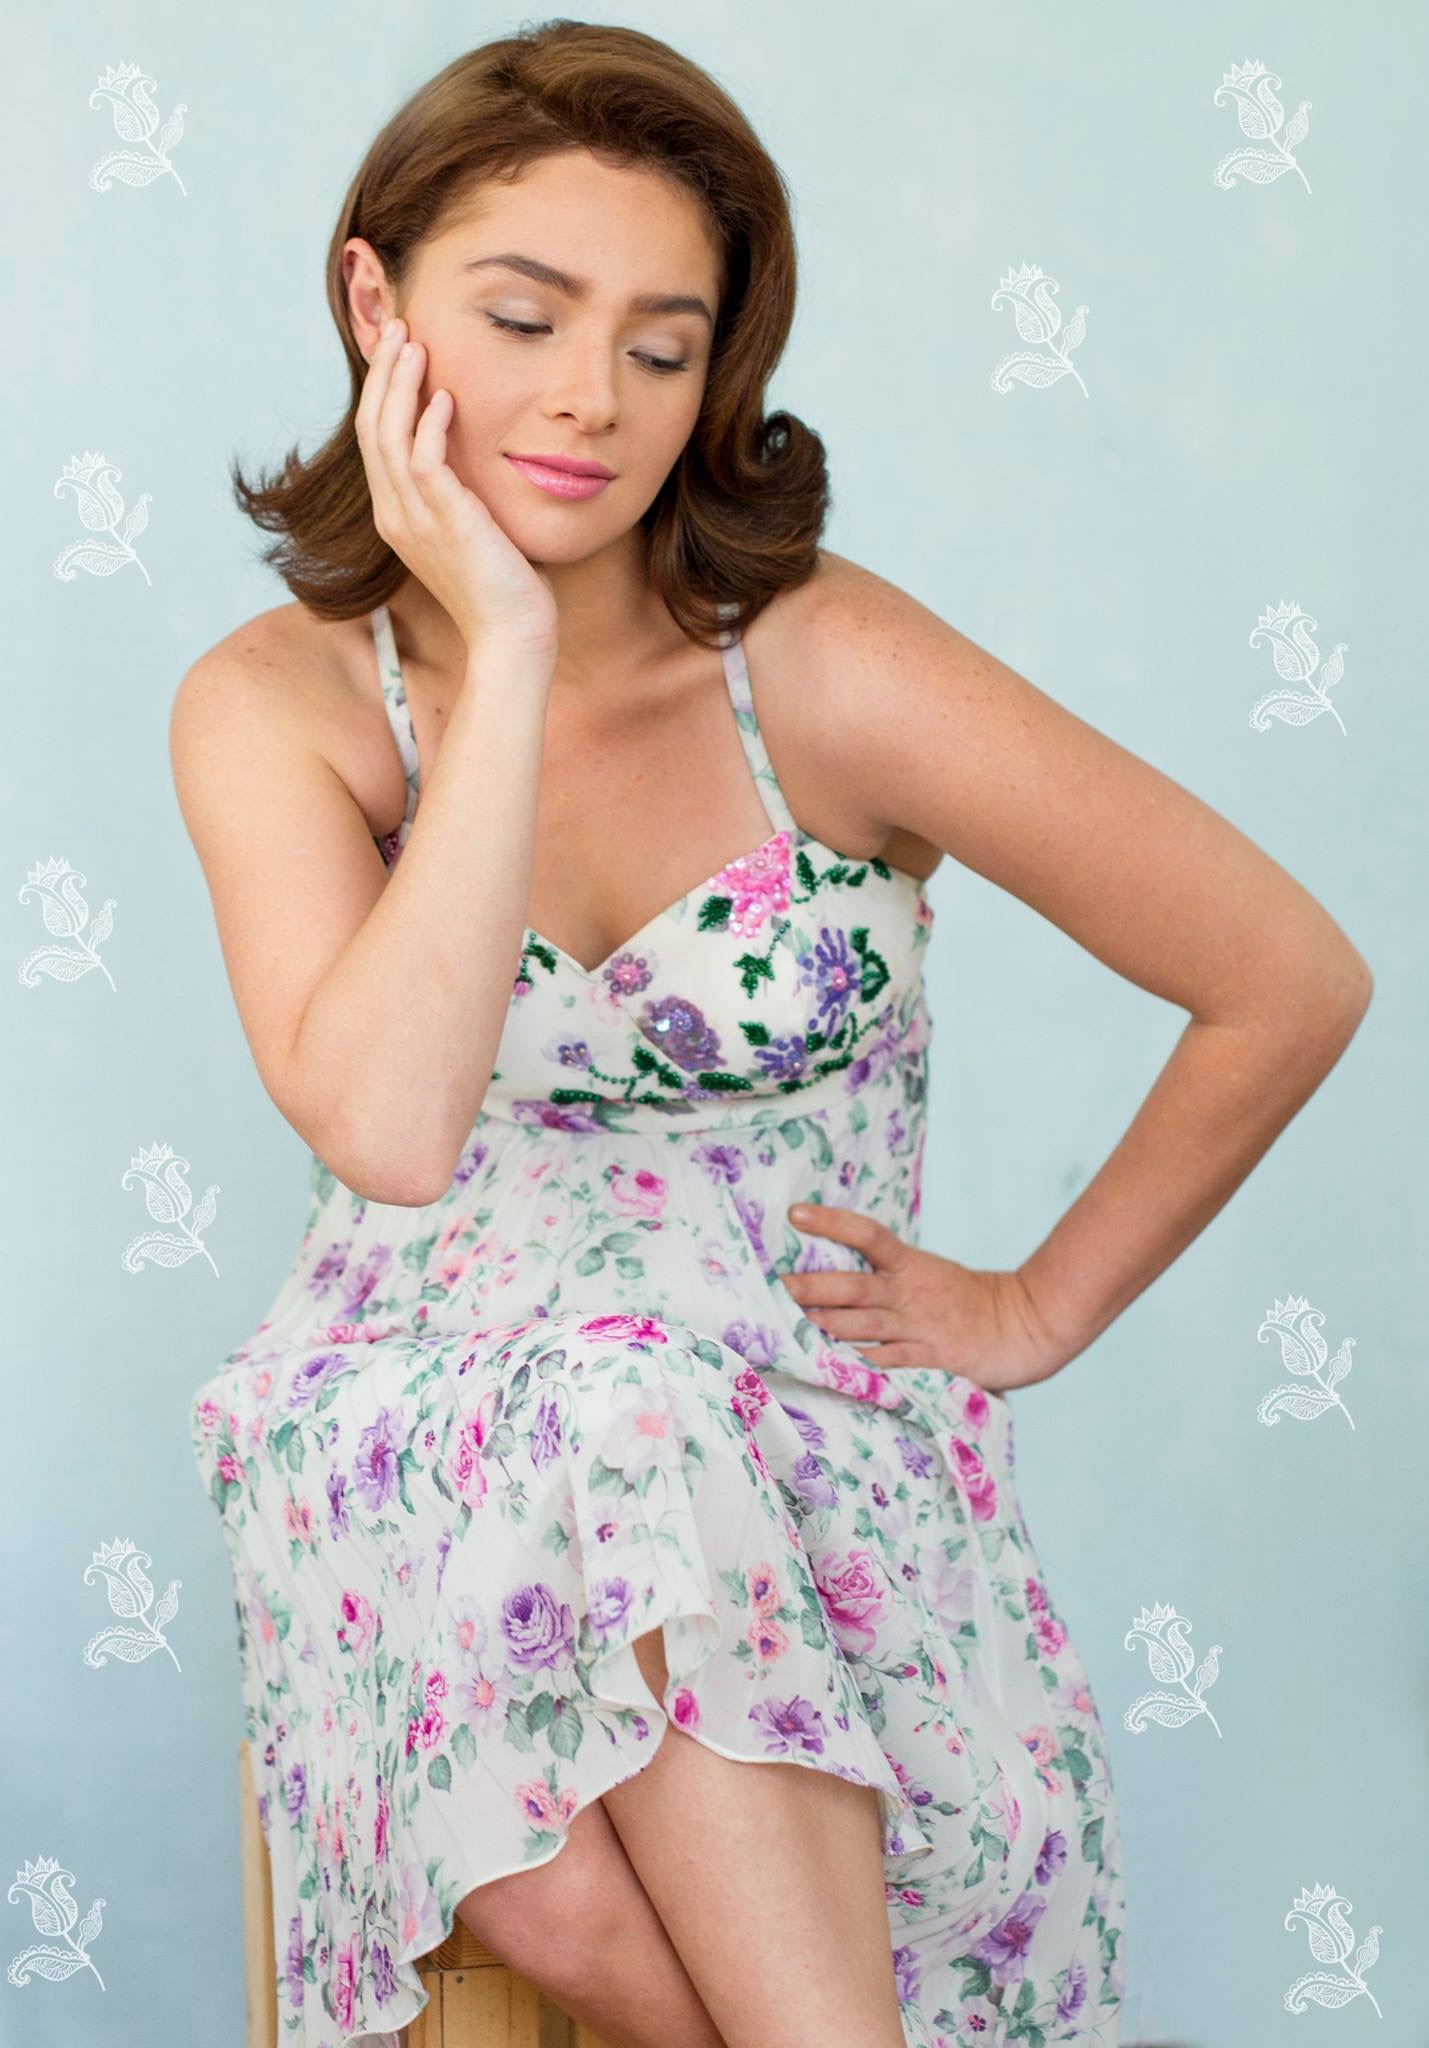
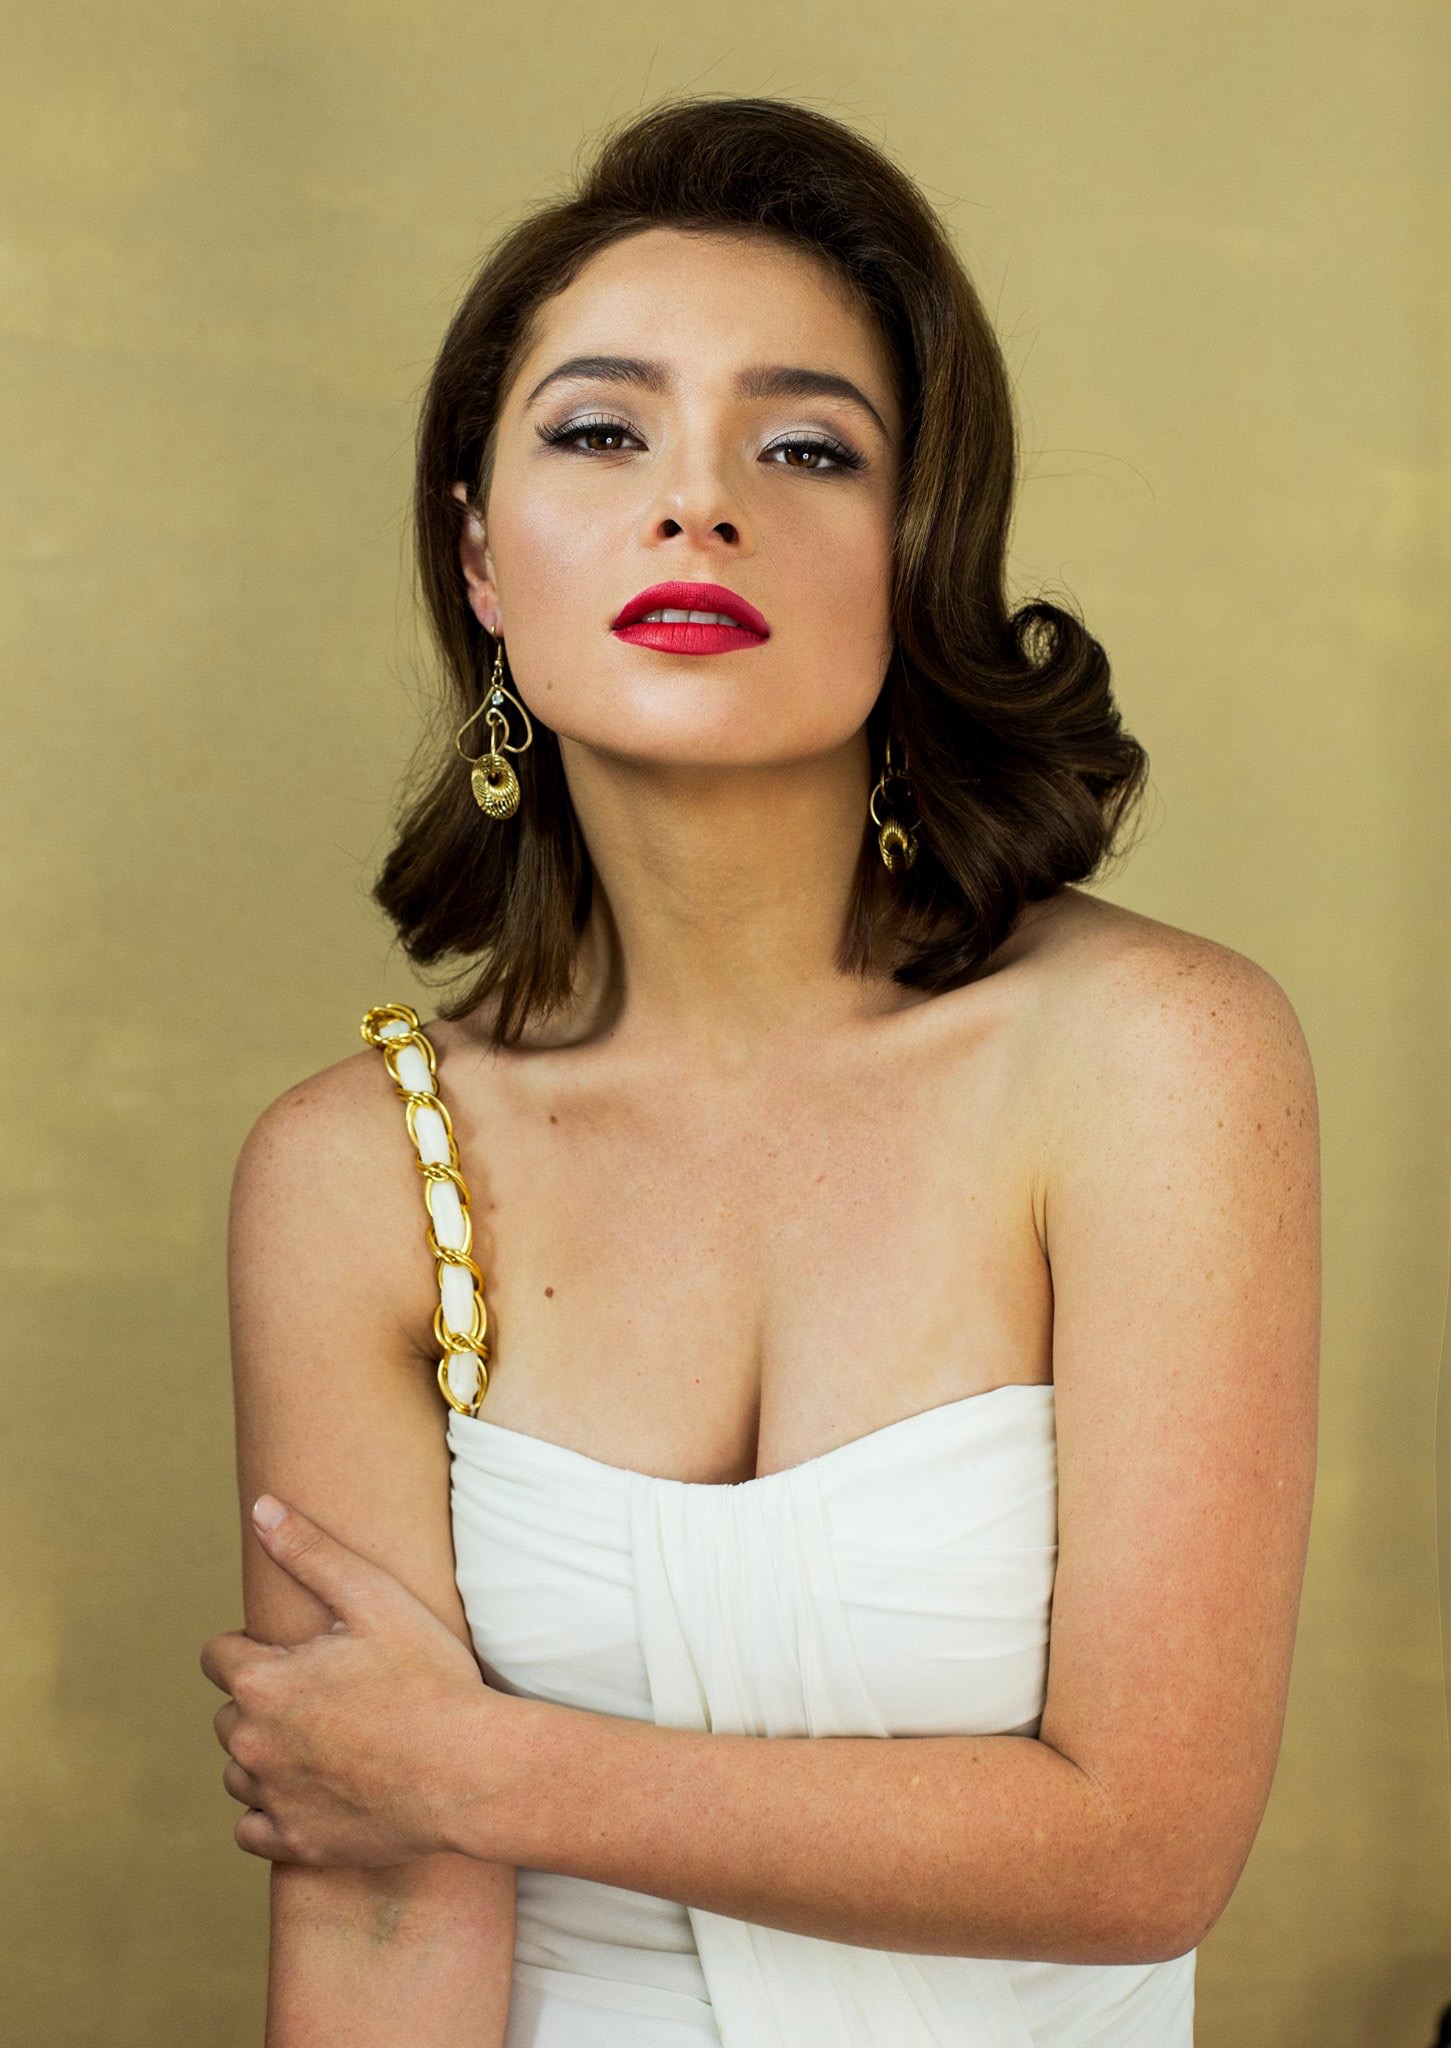
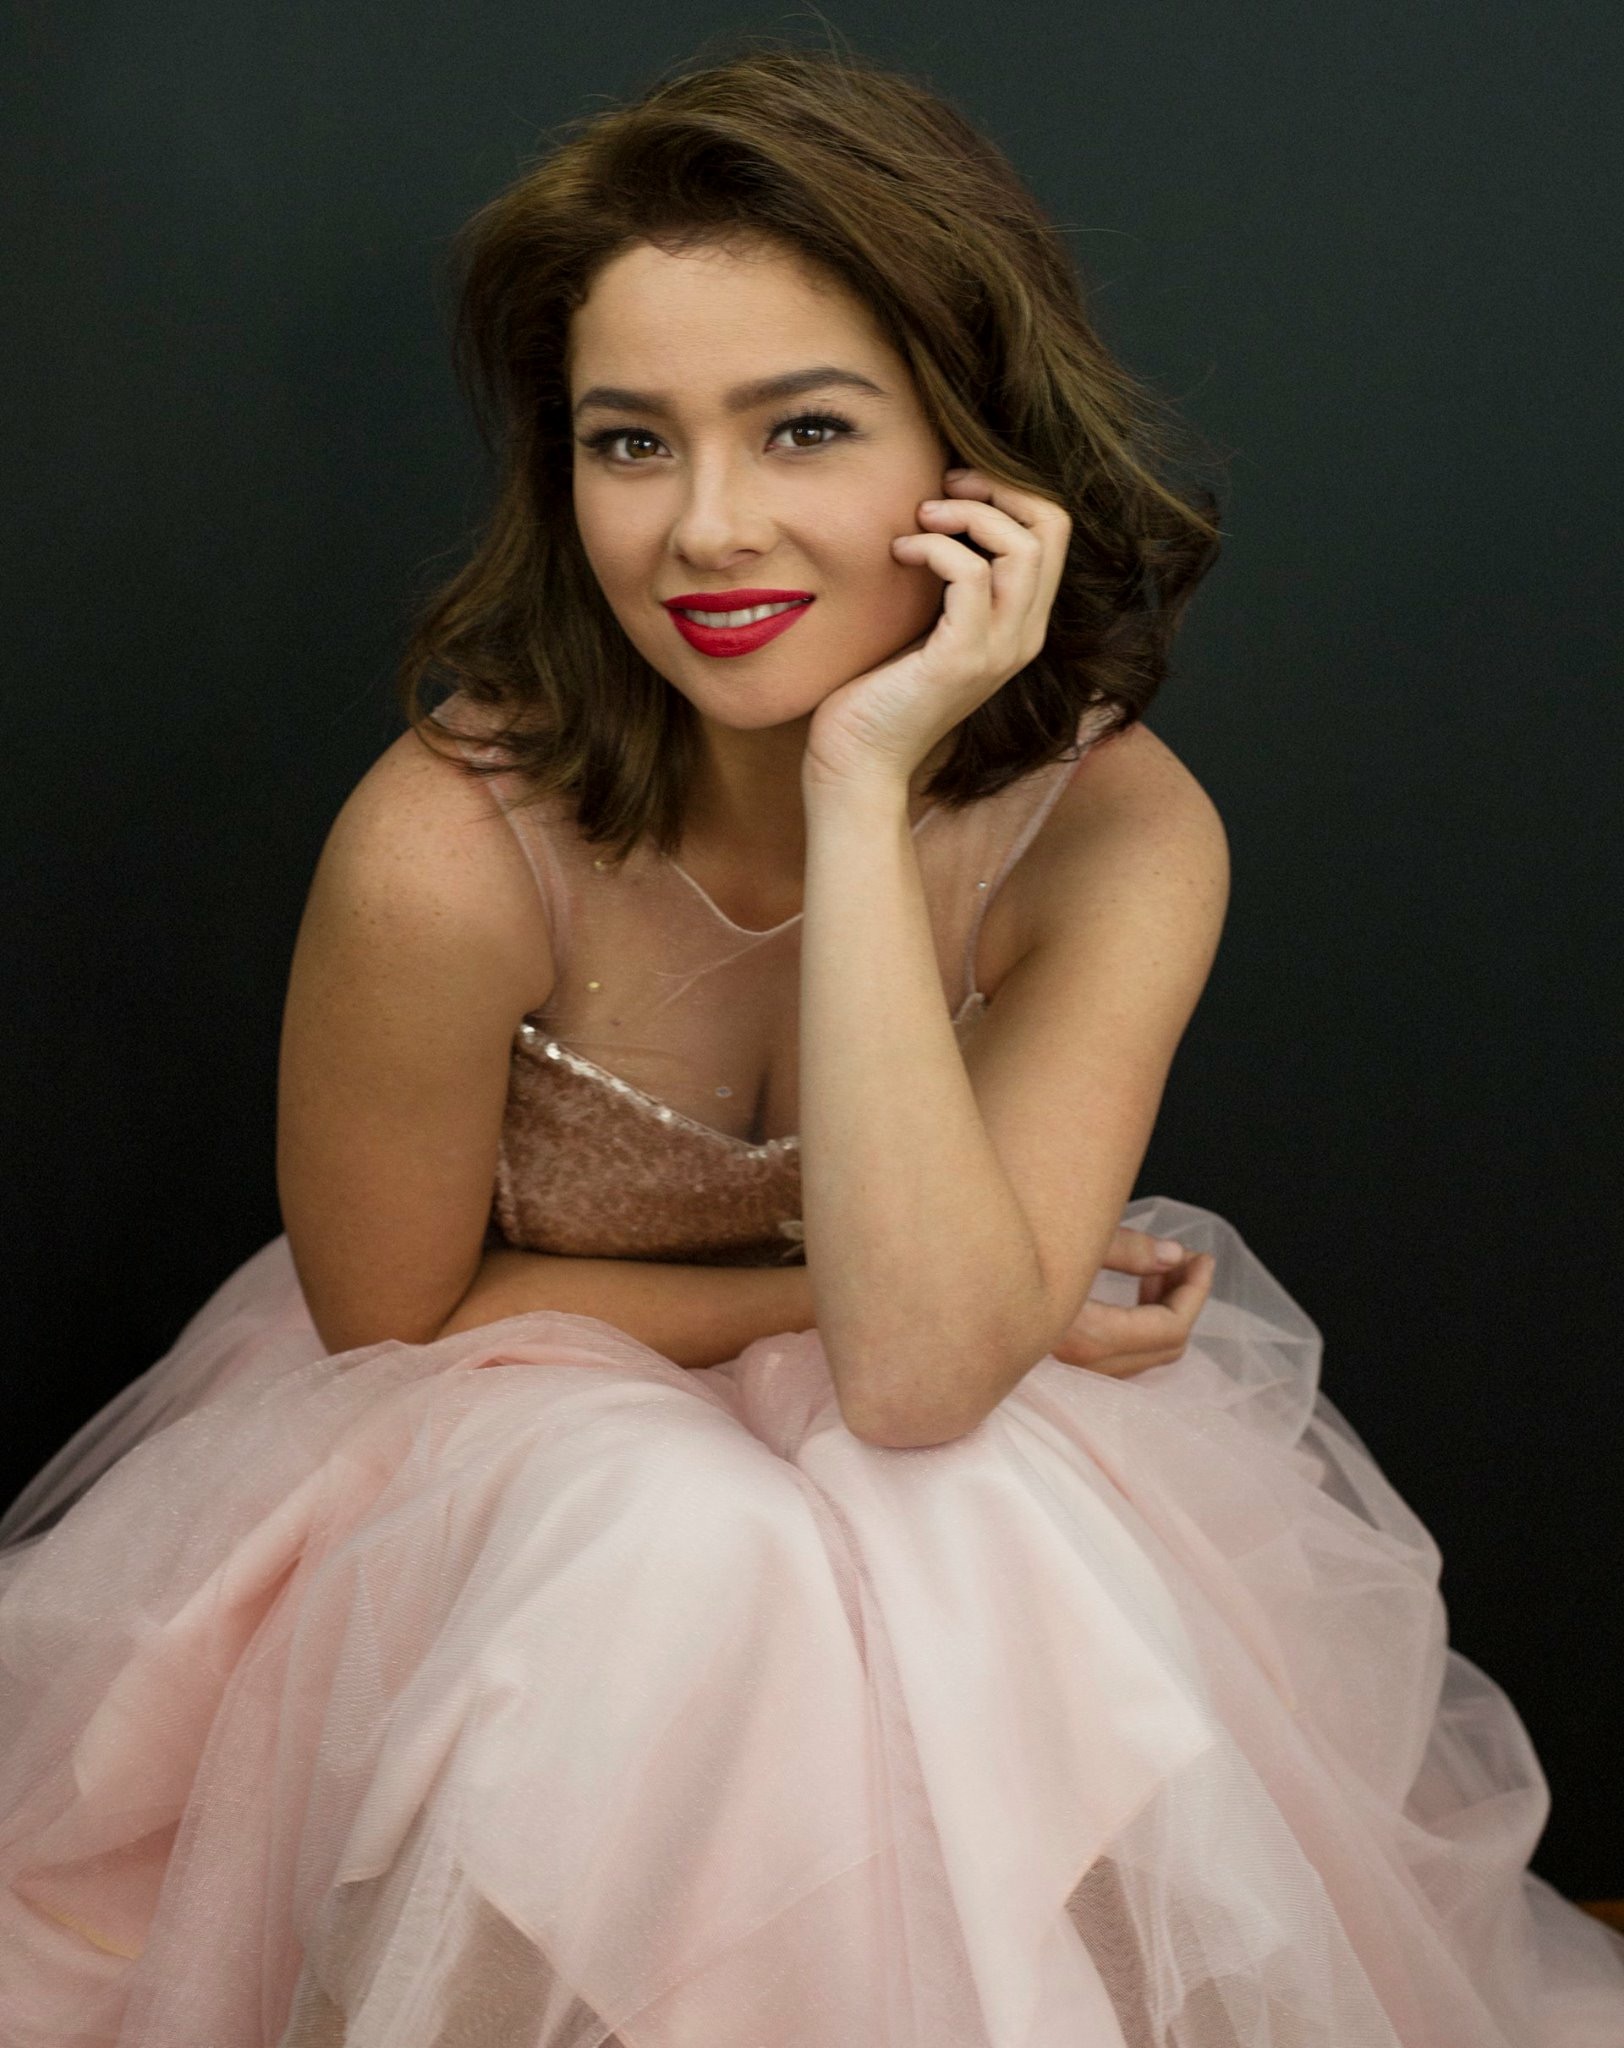
Channeling Marilyn Monroe was our mantra that afternoon, but it was more of a stylised version of her iconic look. More of Michelle Williams Marilyn Look, very modern. While waiting for Andi to arrive, photographer Janina Teodoro and stylist Roxanne Roman discussed the pegs for the shoot, which was a 1950’s inspired vibe and they gave me an idea as to how to interpret them with the hair and makeup.
A modern take on Marilyn Monroe
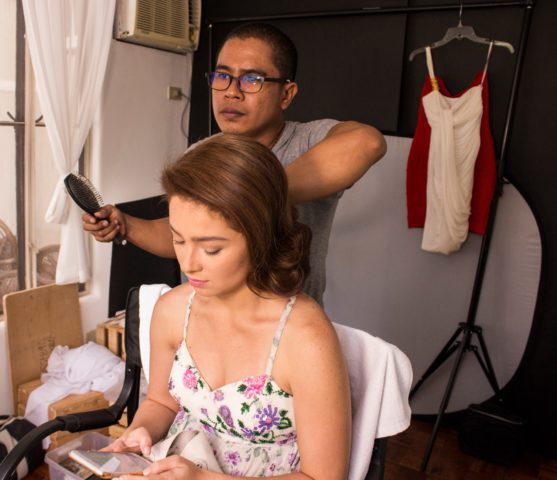
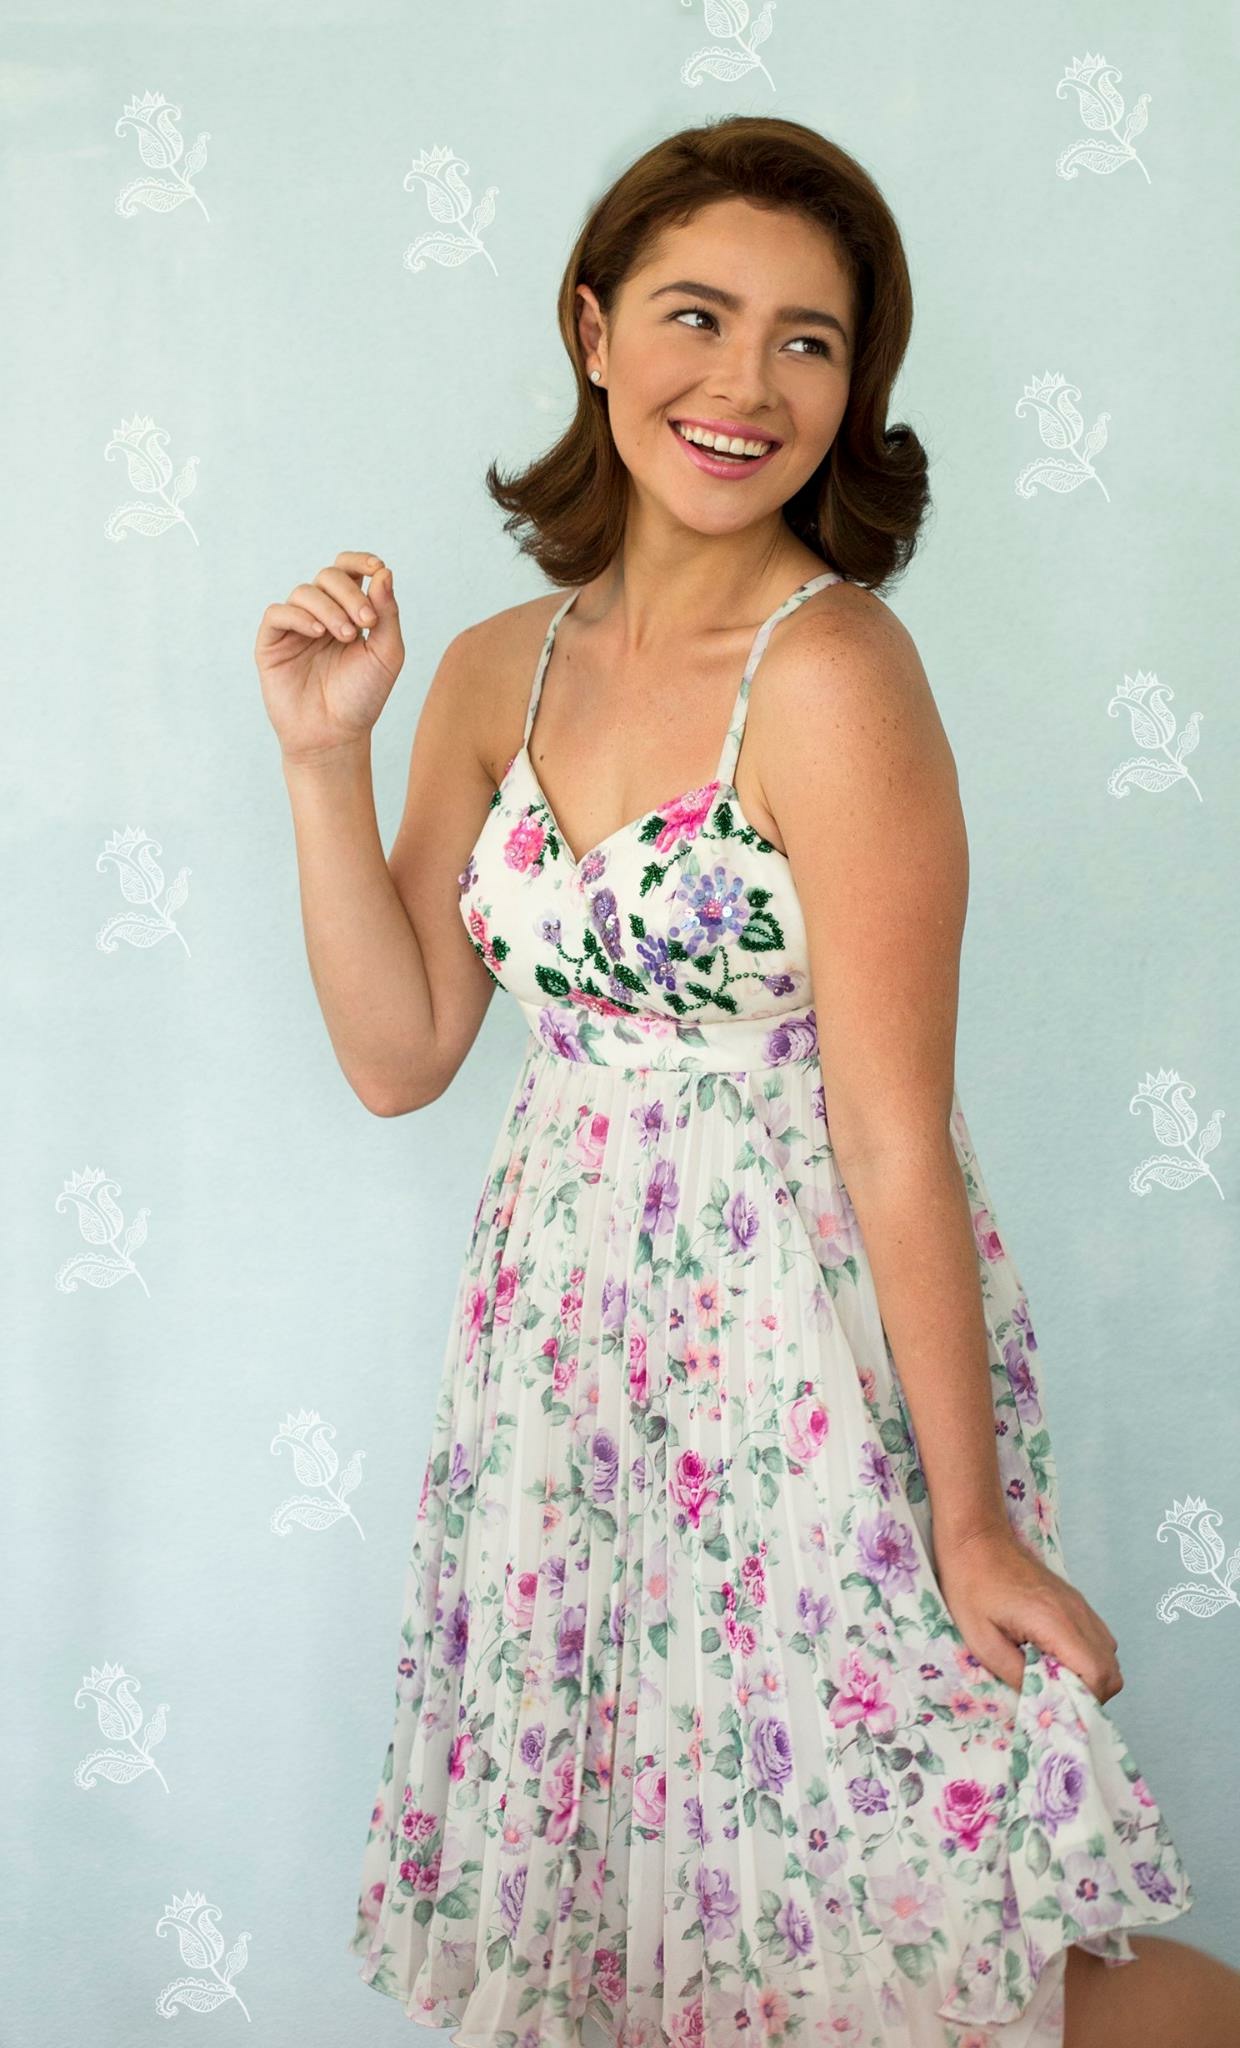
We came out with 3 looks based on the peg and the first layout was like a play on the 1950’s housewife, very January Jones in Mad Men.
Fun and Flirty
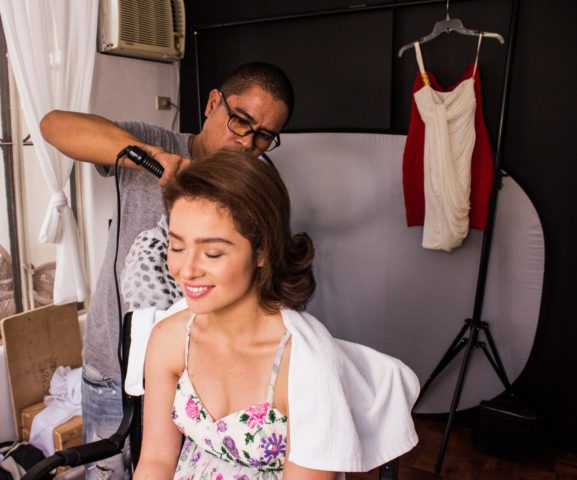
Fresh look
For the 1st look, makeup here was fresh as possible, her skin had some redness to it, I used a green corrector and mixed it with Makeup Forever Matt Velvet + in shades 35 and 40, Kryolan concealer in D4 mixed with a peach corrector for her concealer, Faceshop Style my Eyebrow Pencil in 03 and to keep them in place MAC’s Beguile did the trick. MAC Pearl Frost, Grain, and Groundwork for the eyes. I used MAC Coffee liner on her lash line and curled her lashes. A pinkish blush and matching lip color by MAC and Makeup Forever completed the look.
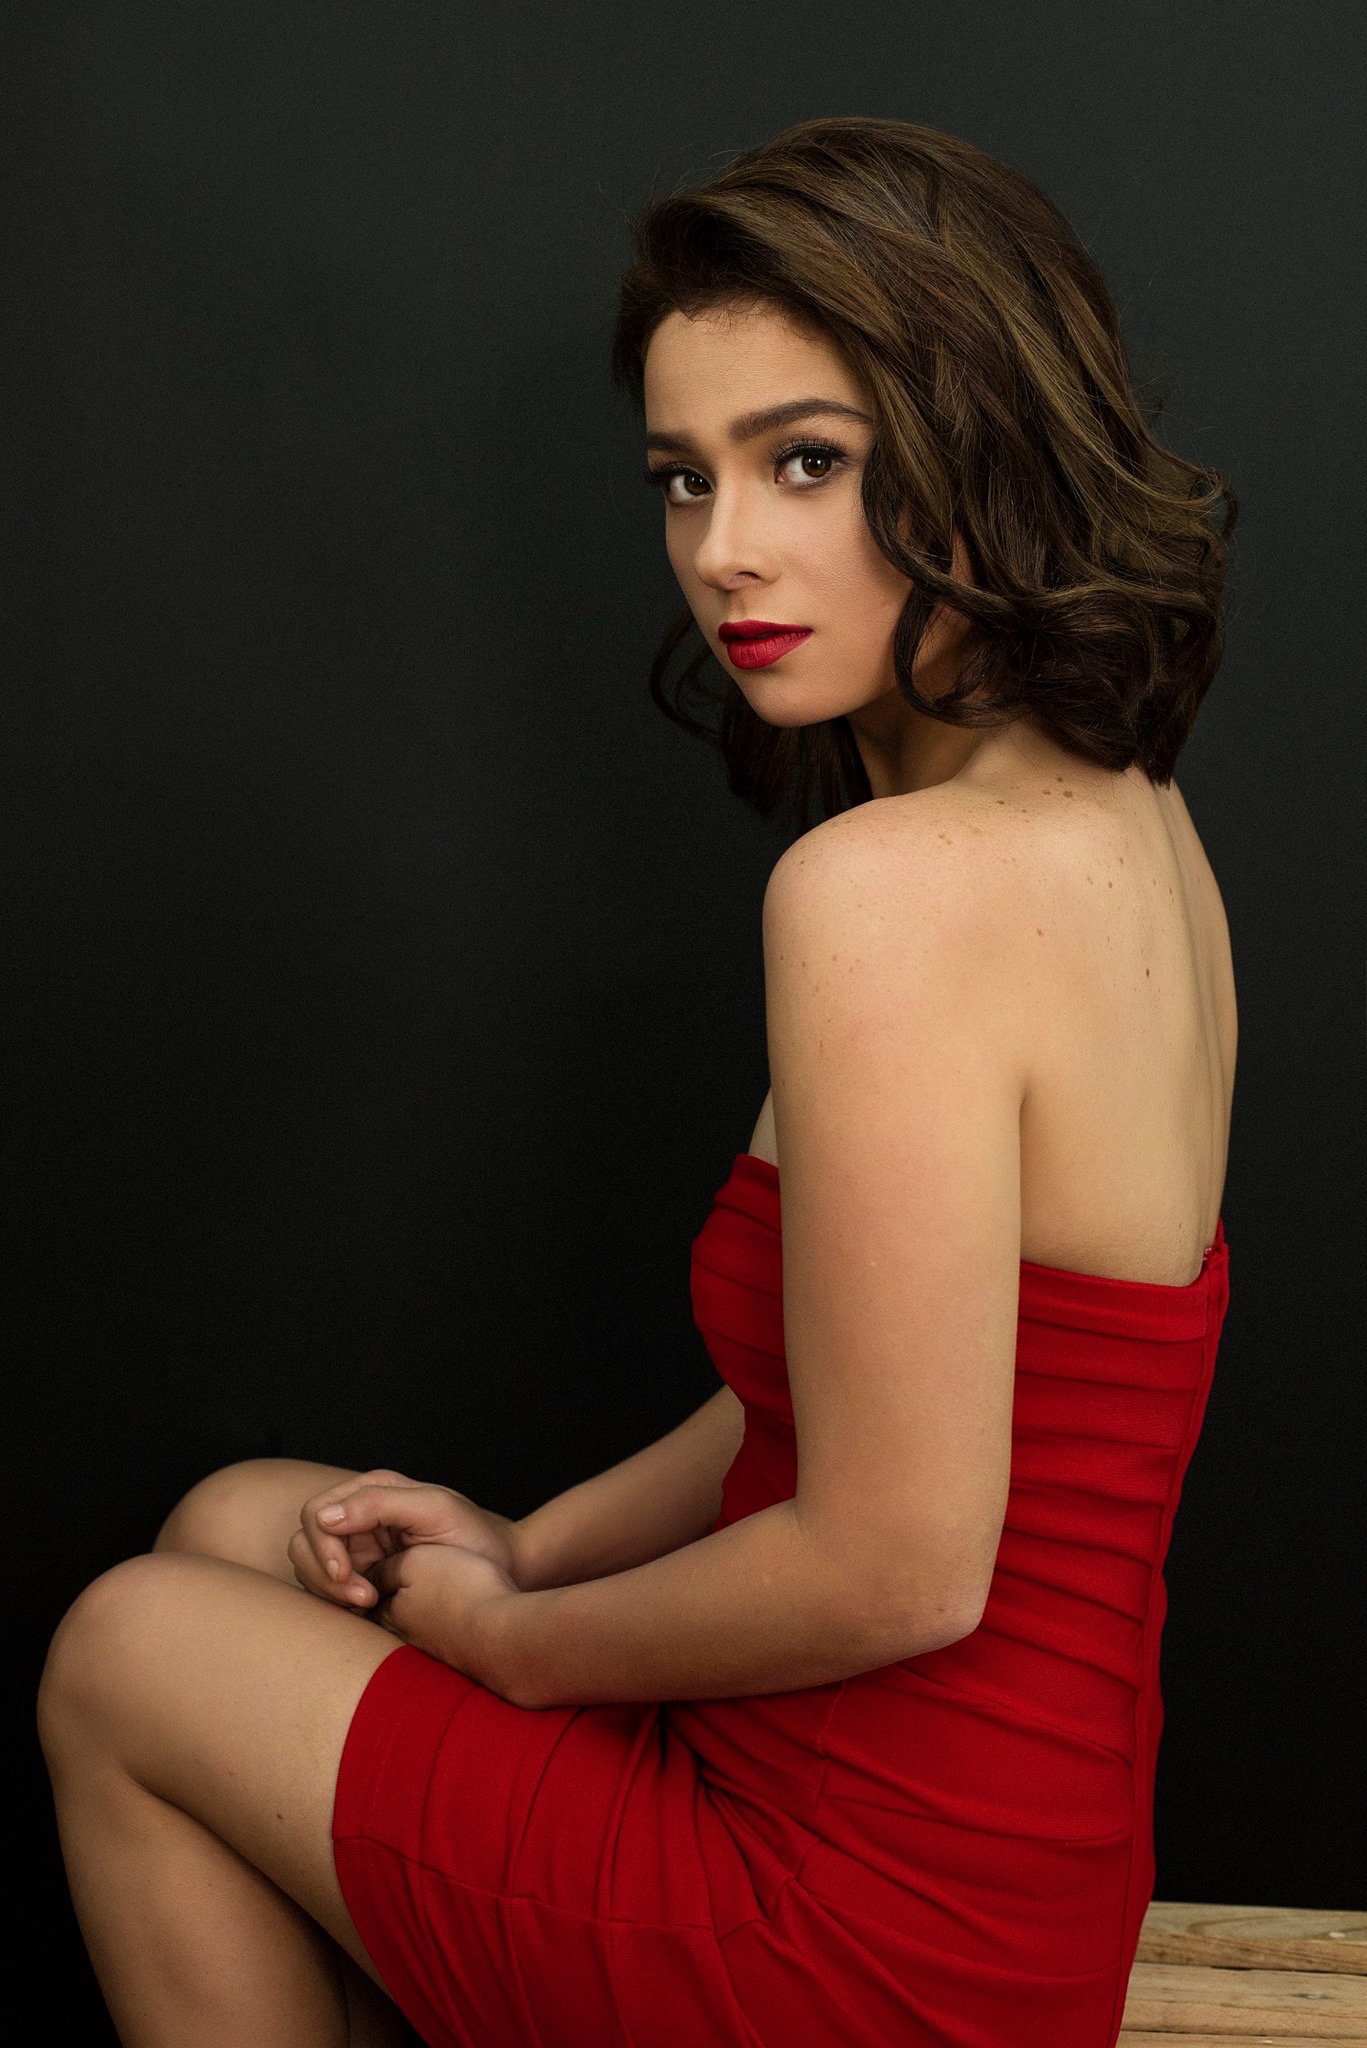
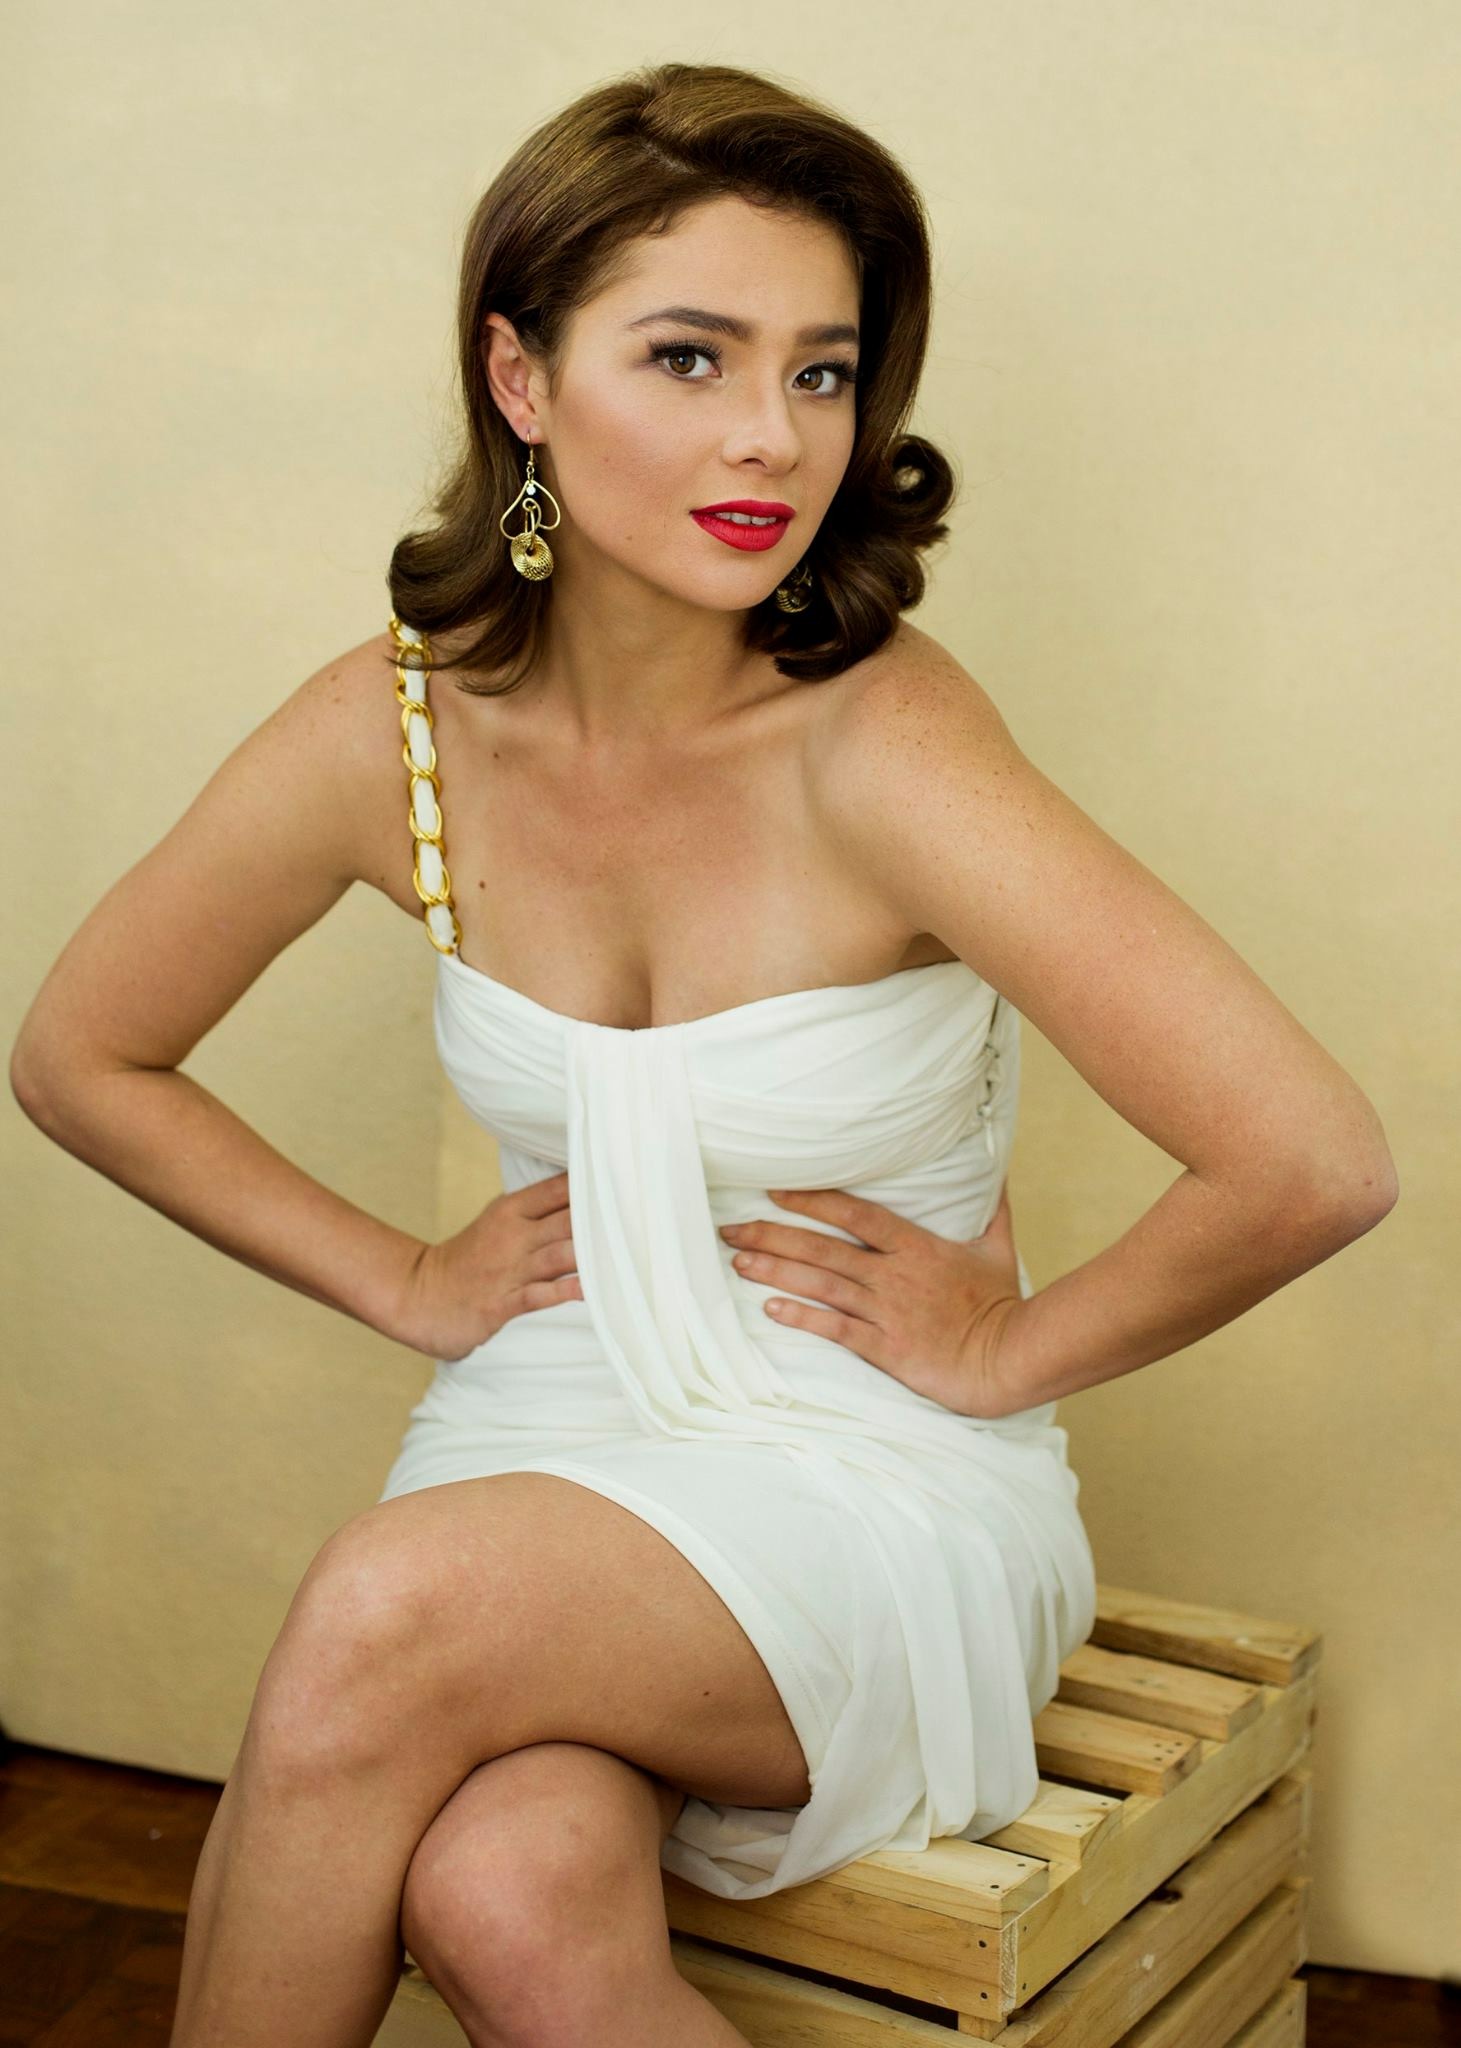
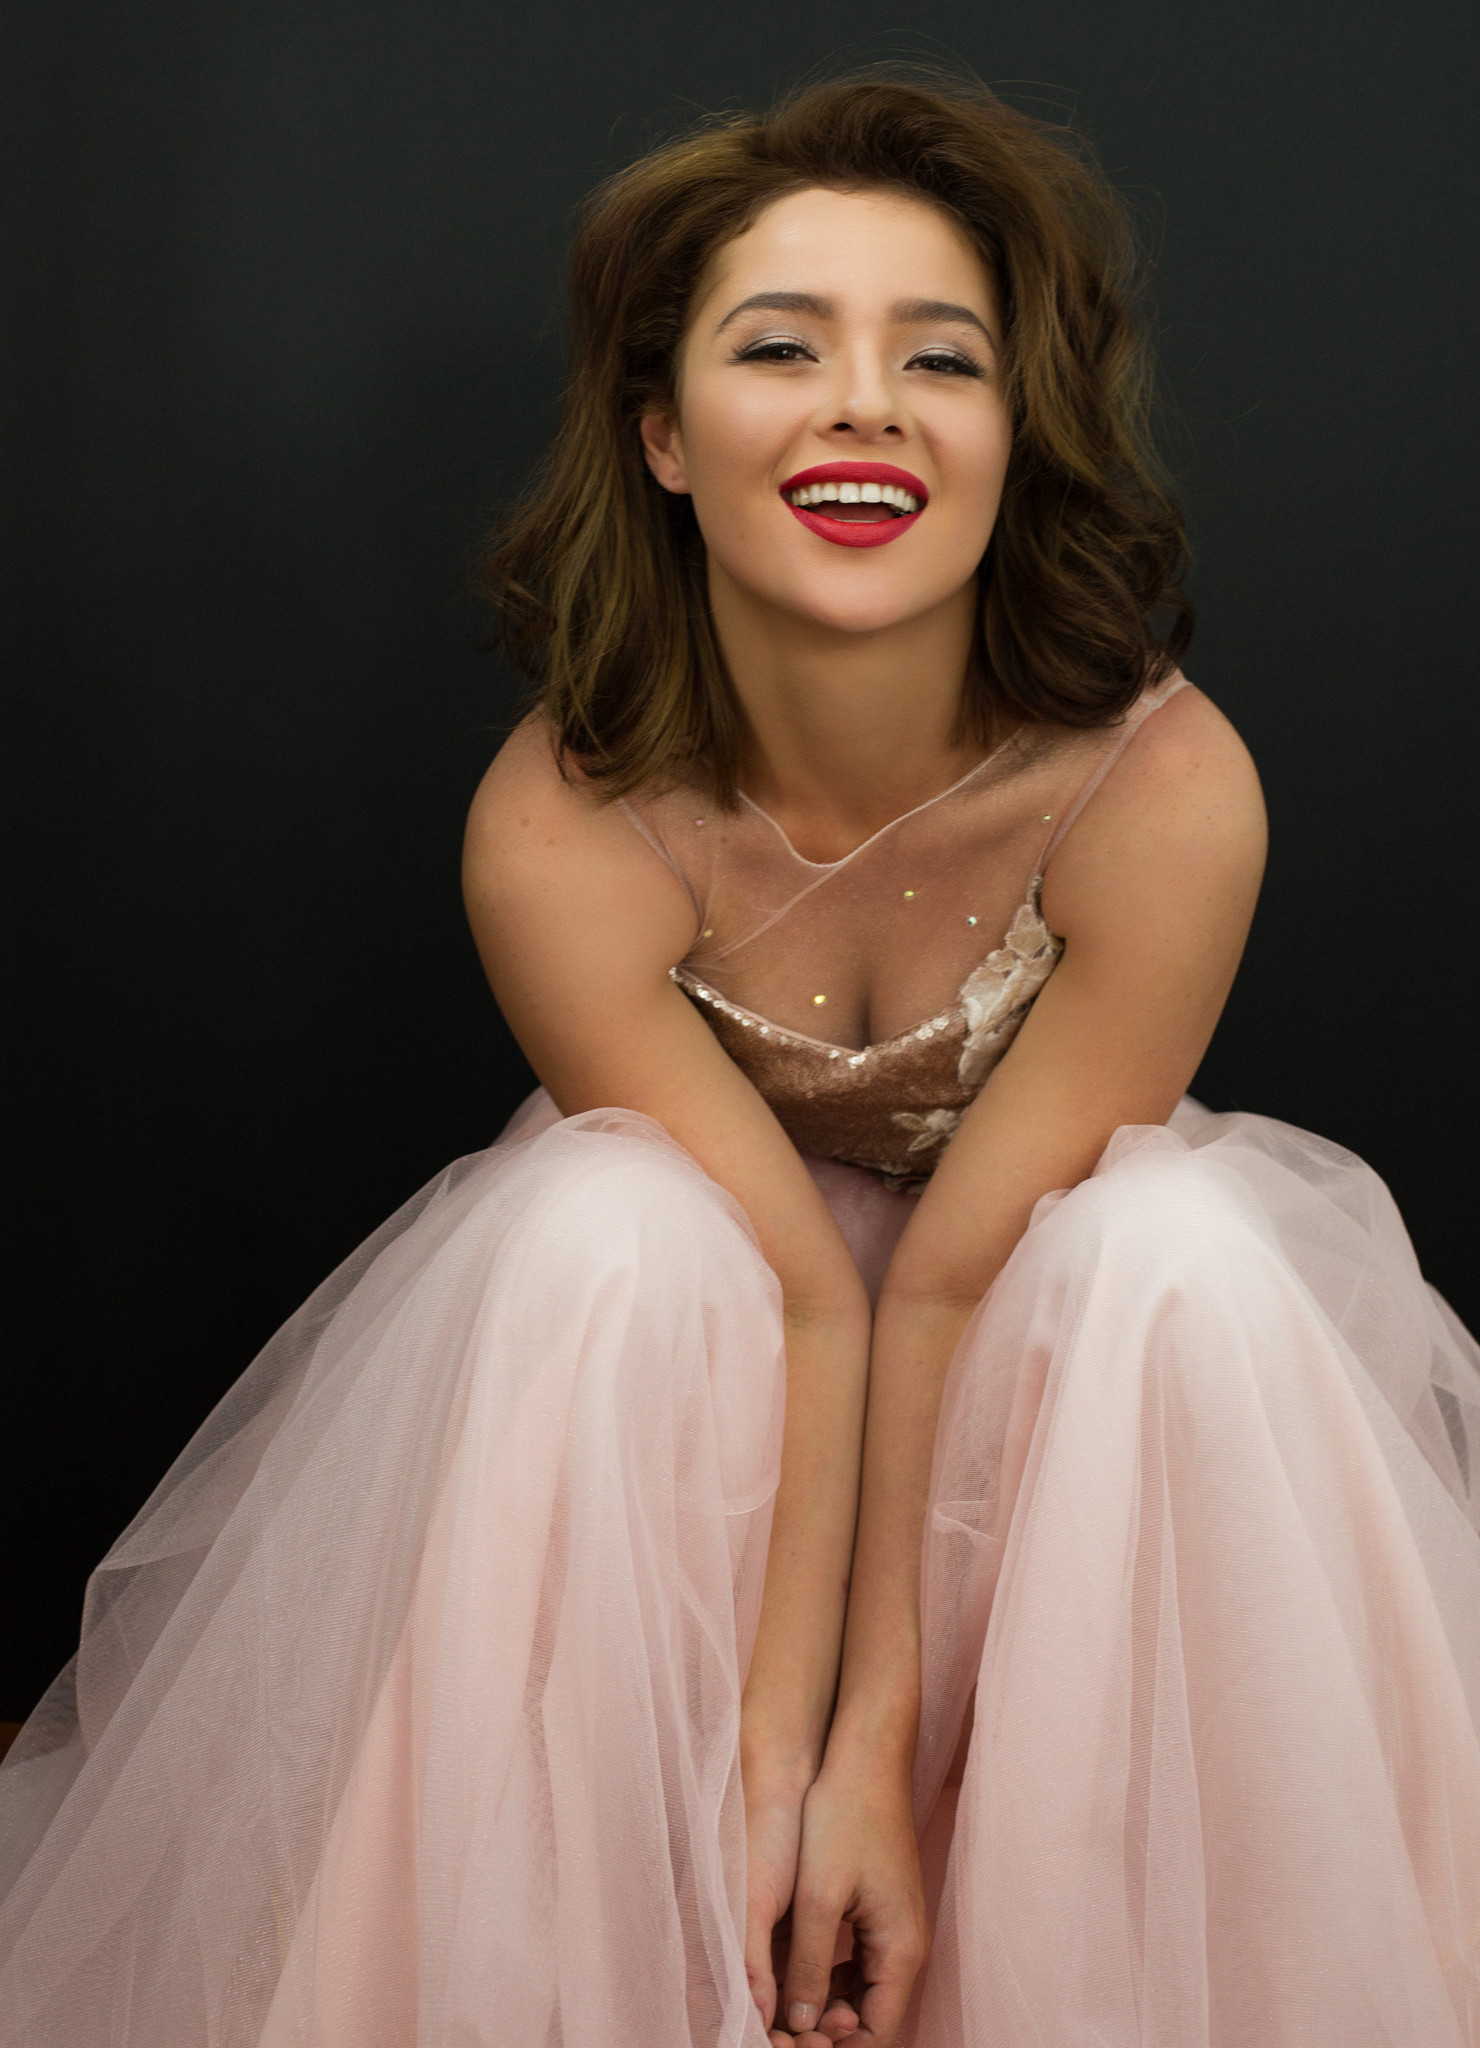
The 2nd layout was all about Glamour and Sophistication in the 1950’s and this was our peg.
Red is always a dramatic vibe.
Chic and Sophisticated
Here’s looking at you kid
I added a full natural lash and mixed it with demi wispy lashes on her eyes and accentuated her eye crease with a dark, brown gray powder and lined her upper lash line with a gel liner in MAC Dipdown. For her lips I combined MAC’s Ruby Woo and Morange to give her a statement lip that is synonymous with glamour.
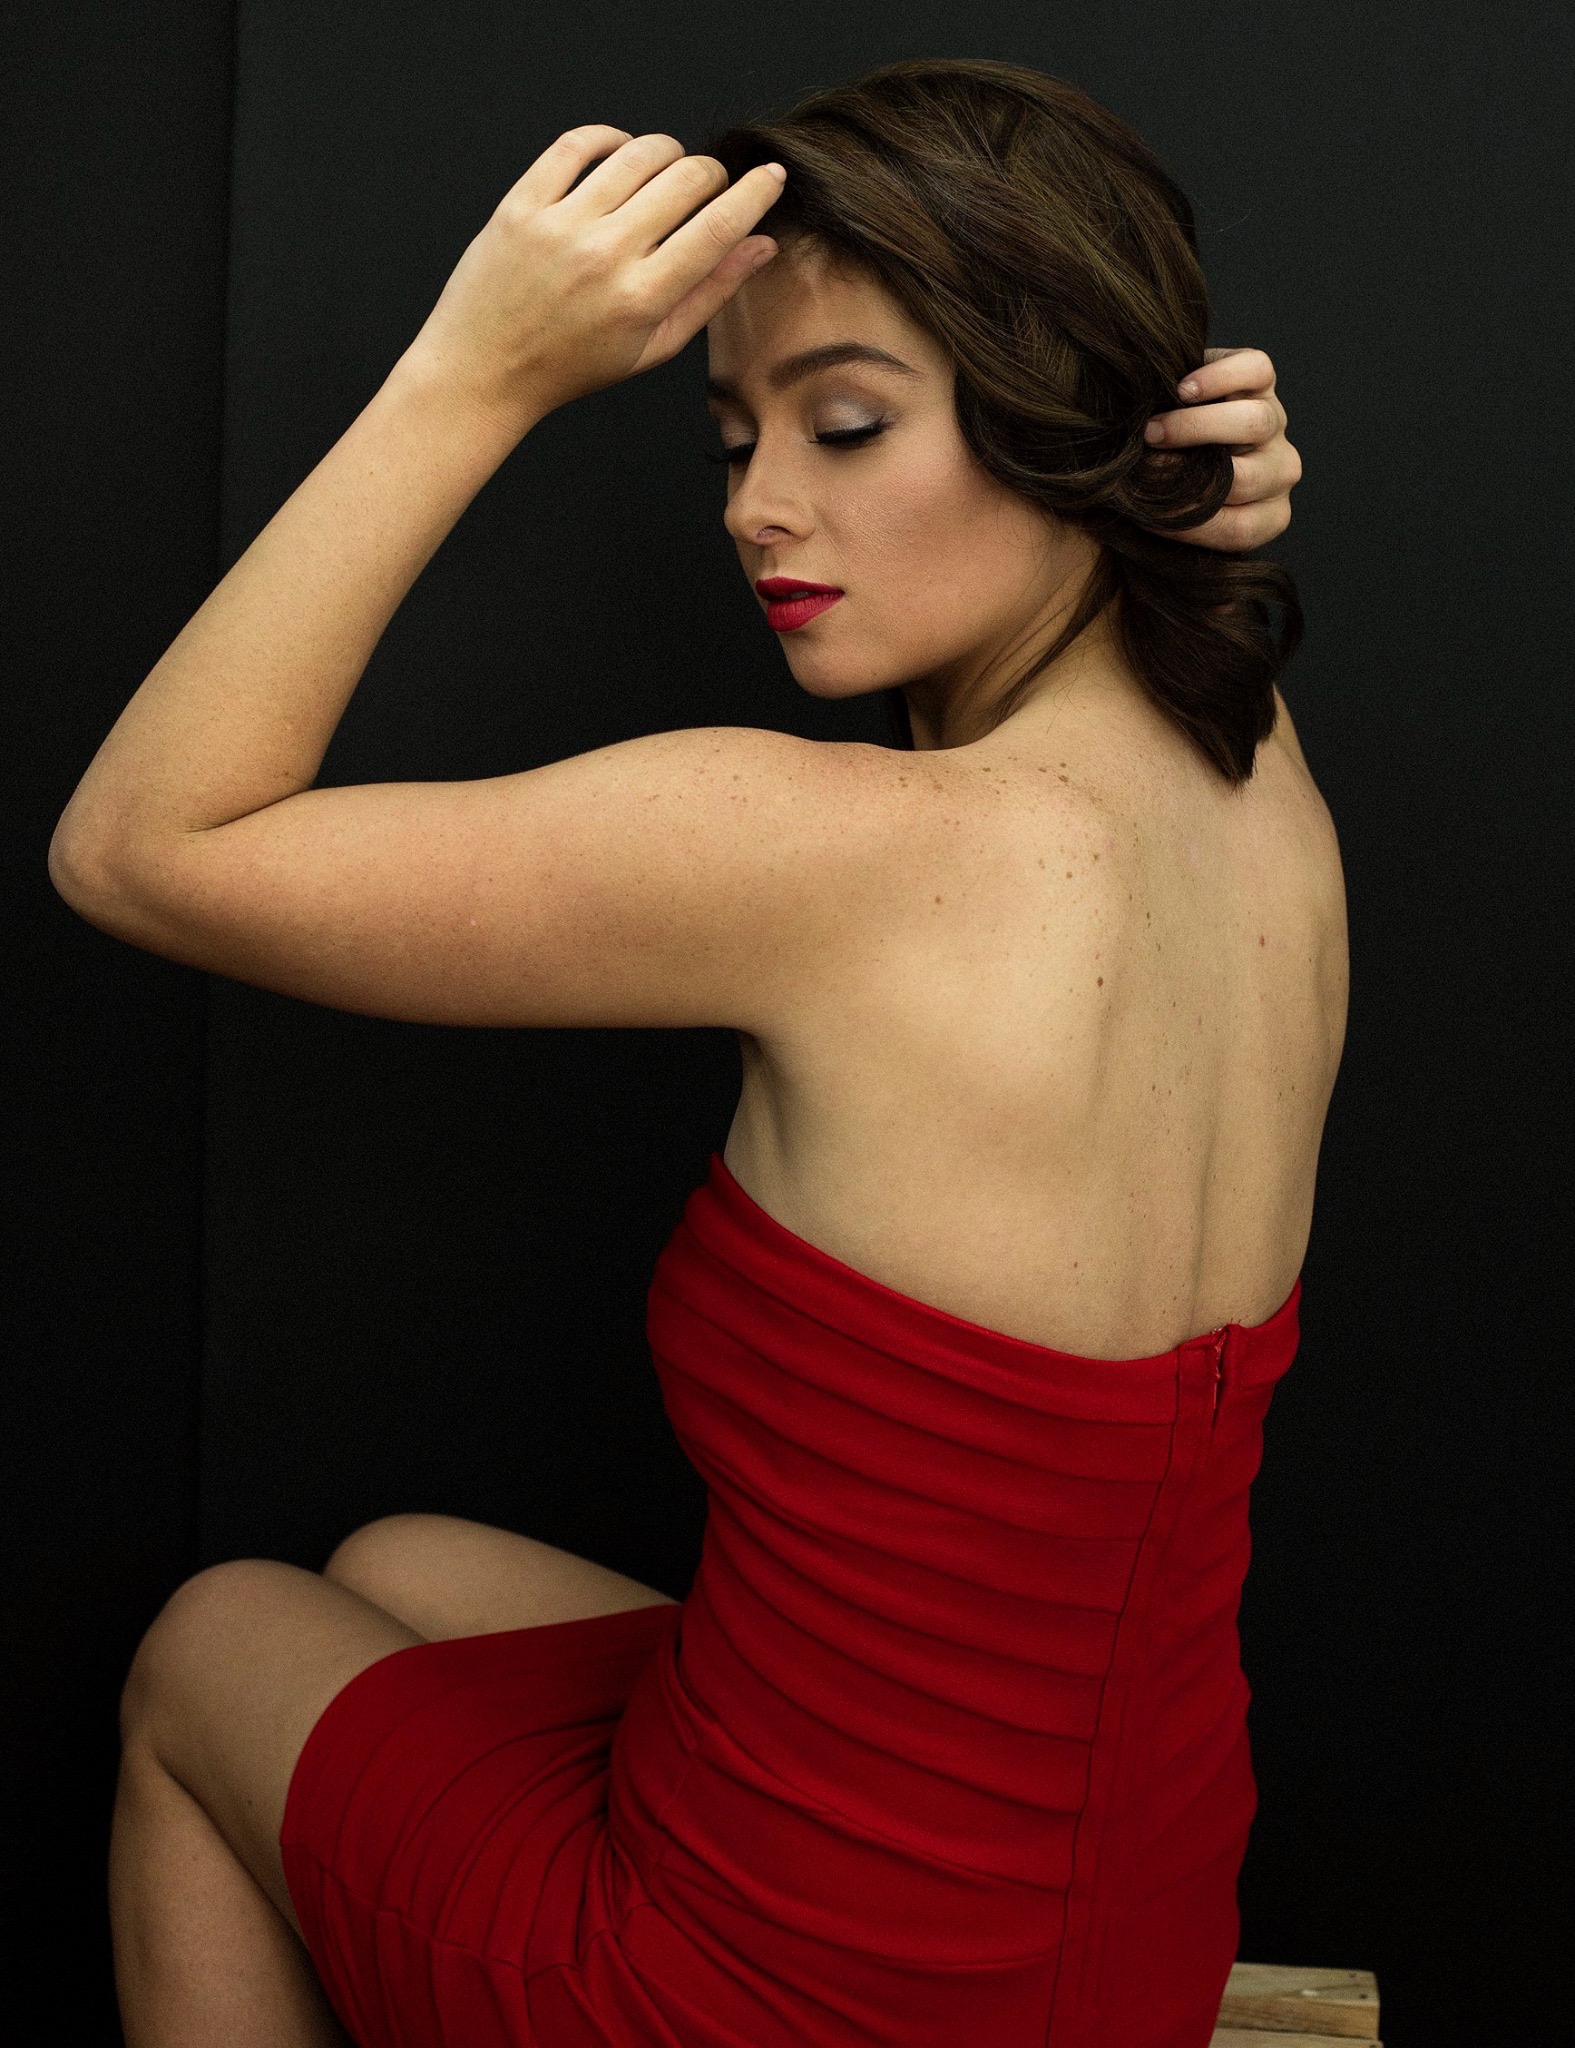
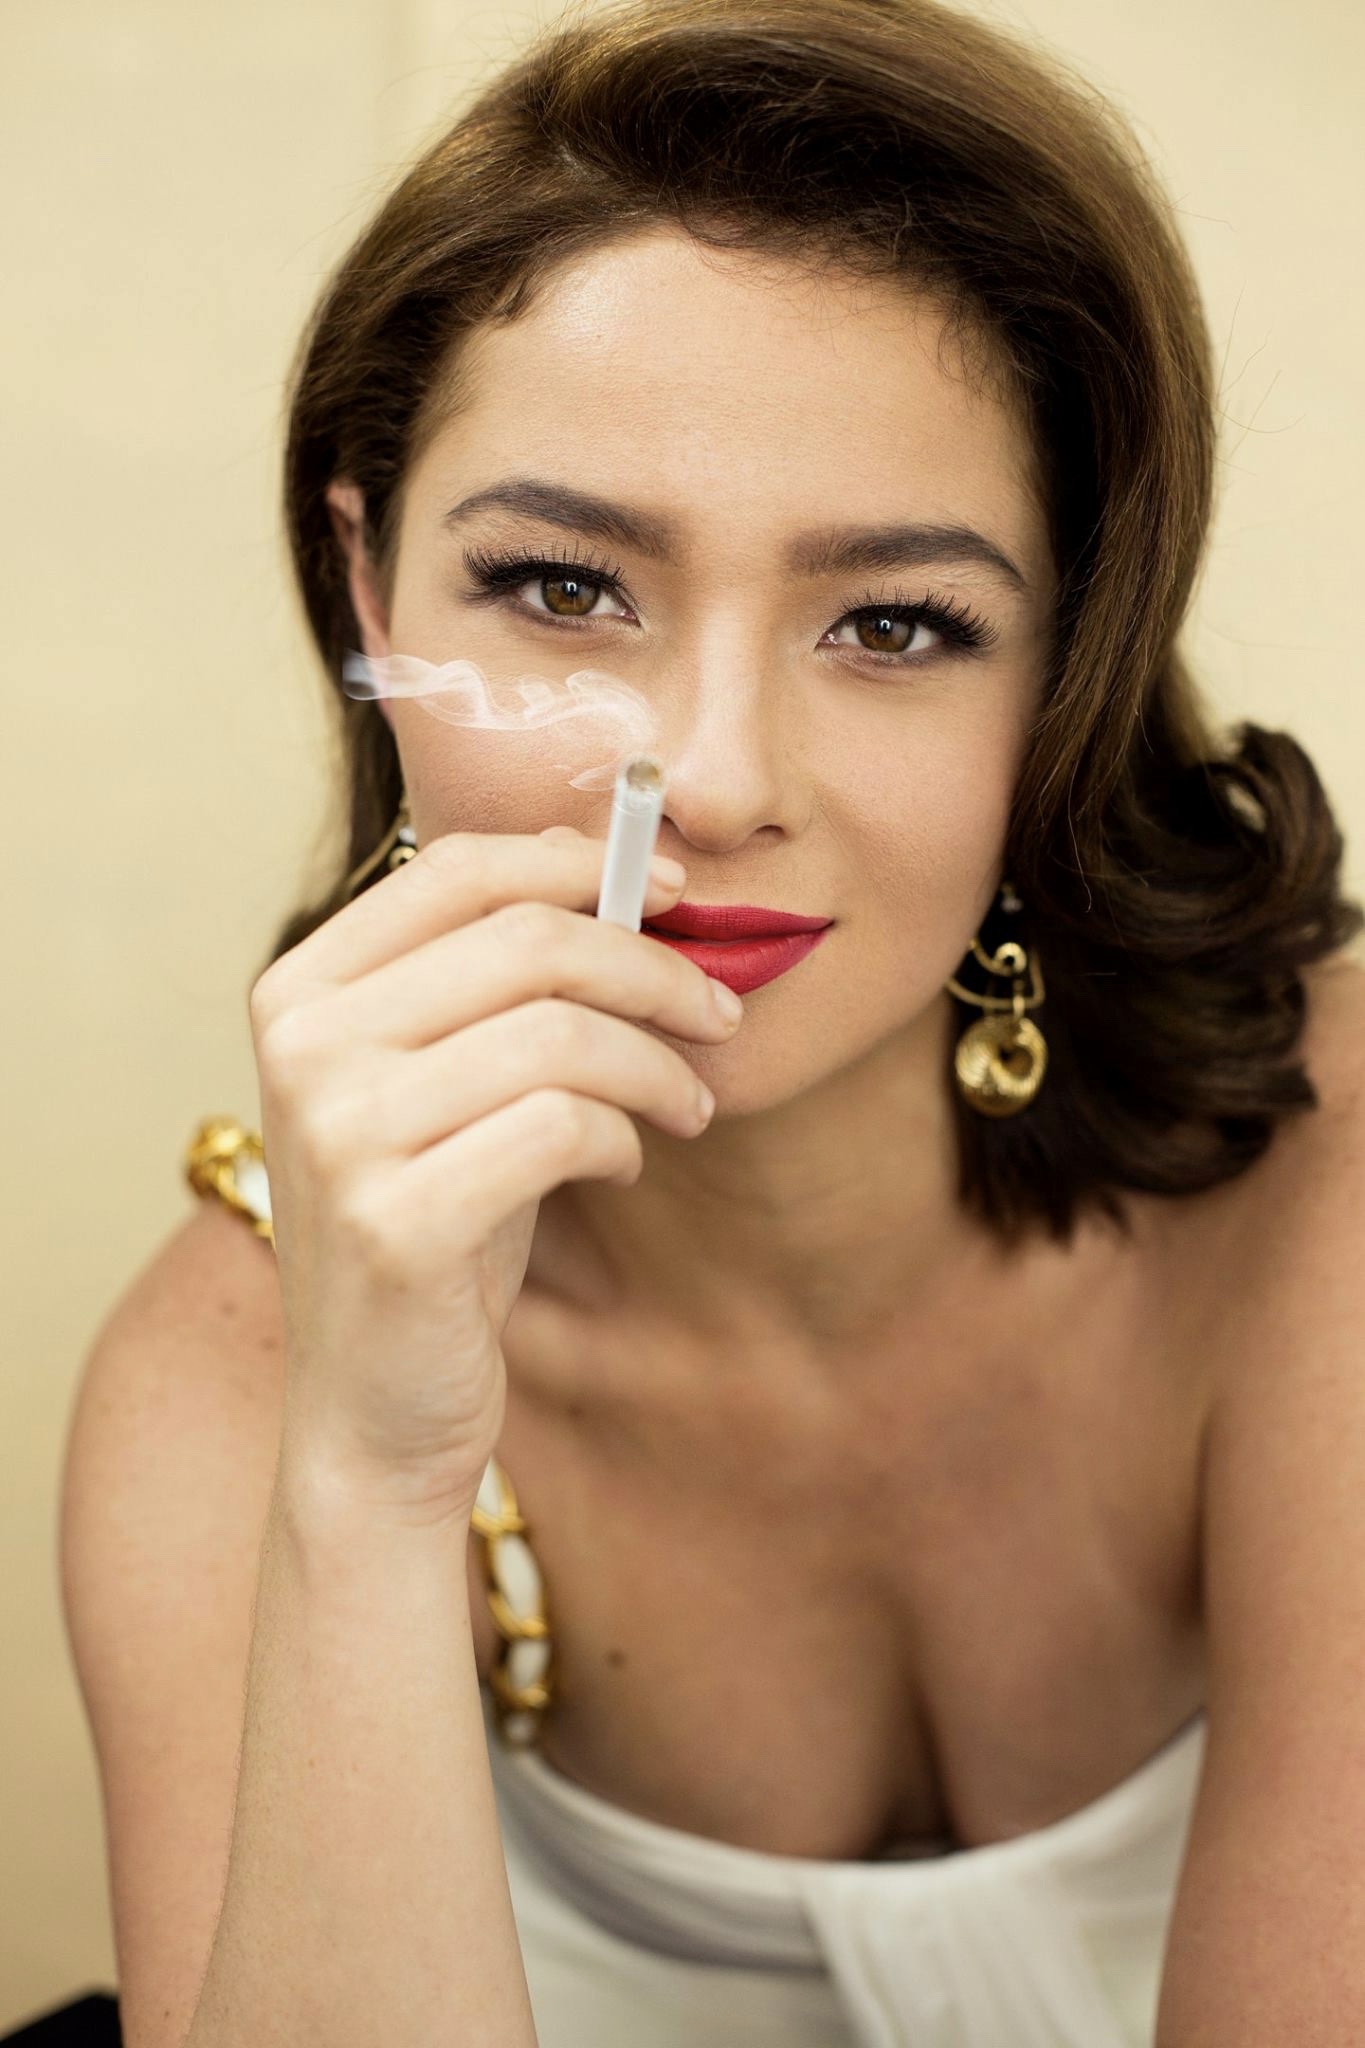
The 3rd layout was my favourite of her looks, she effortlessly projected and imbibed the spirit of the 50’s. Below is the first of the inspirations.
Head rush
Ganda, no?
Smoke and Mirrors
She can sell almost anything.
An unguarded moment of Marilyn Monroe
One of my favourite shots of Andi
Barefoot and vulnerable
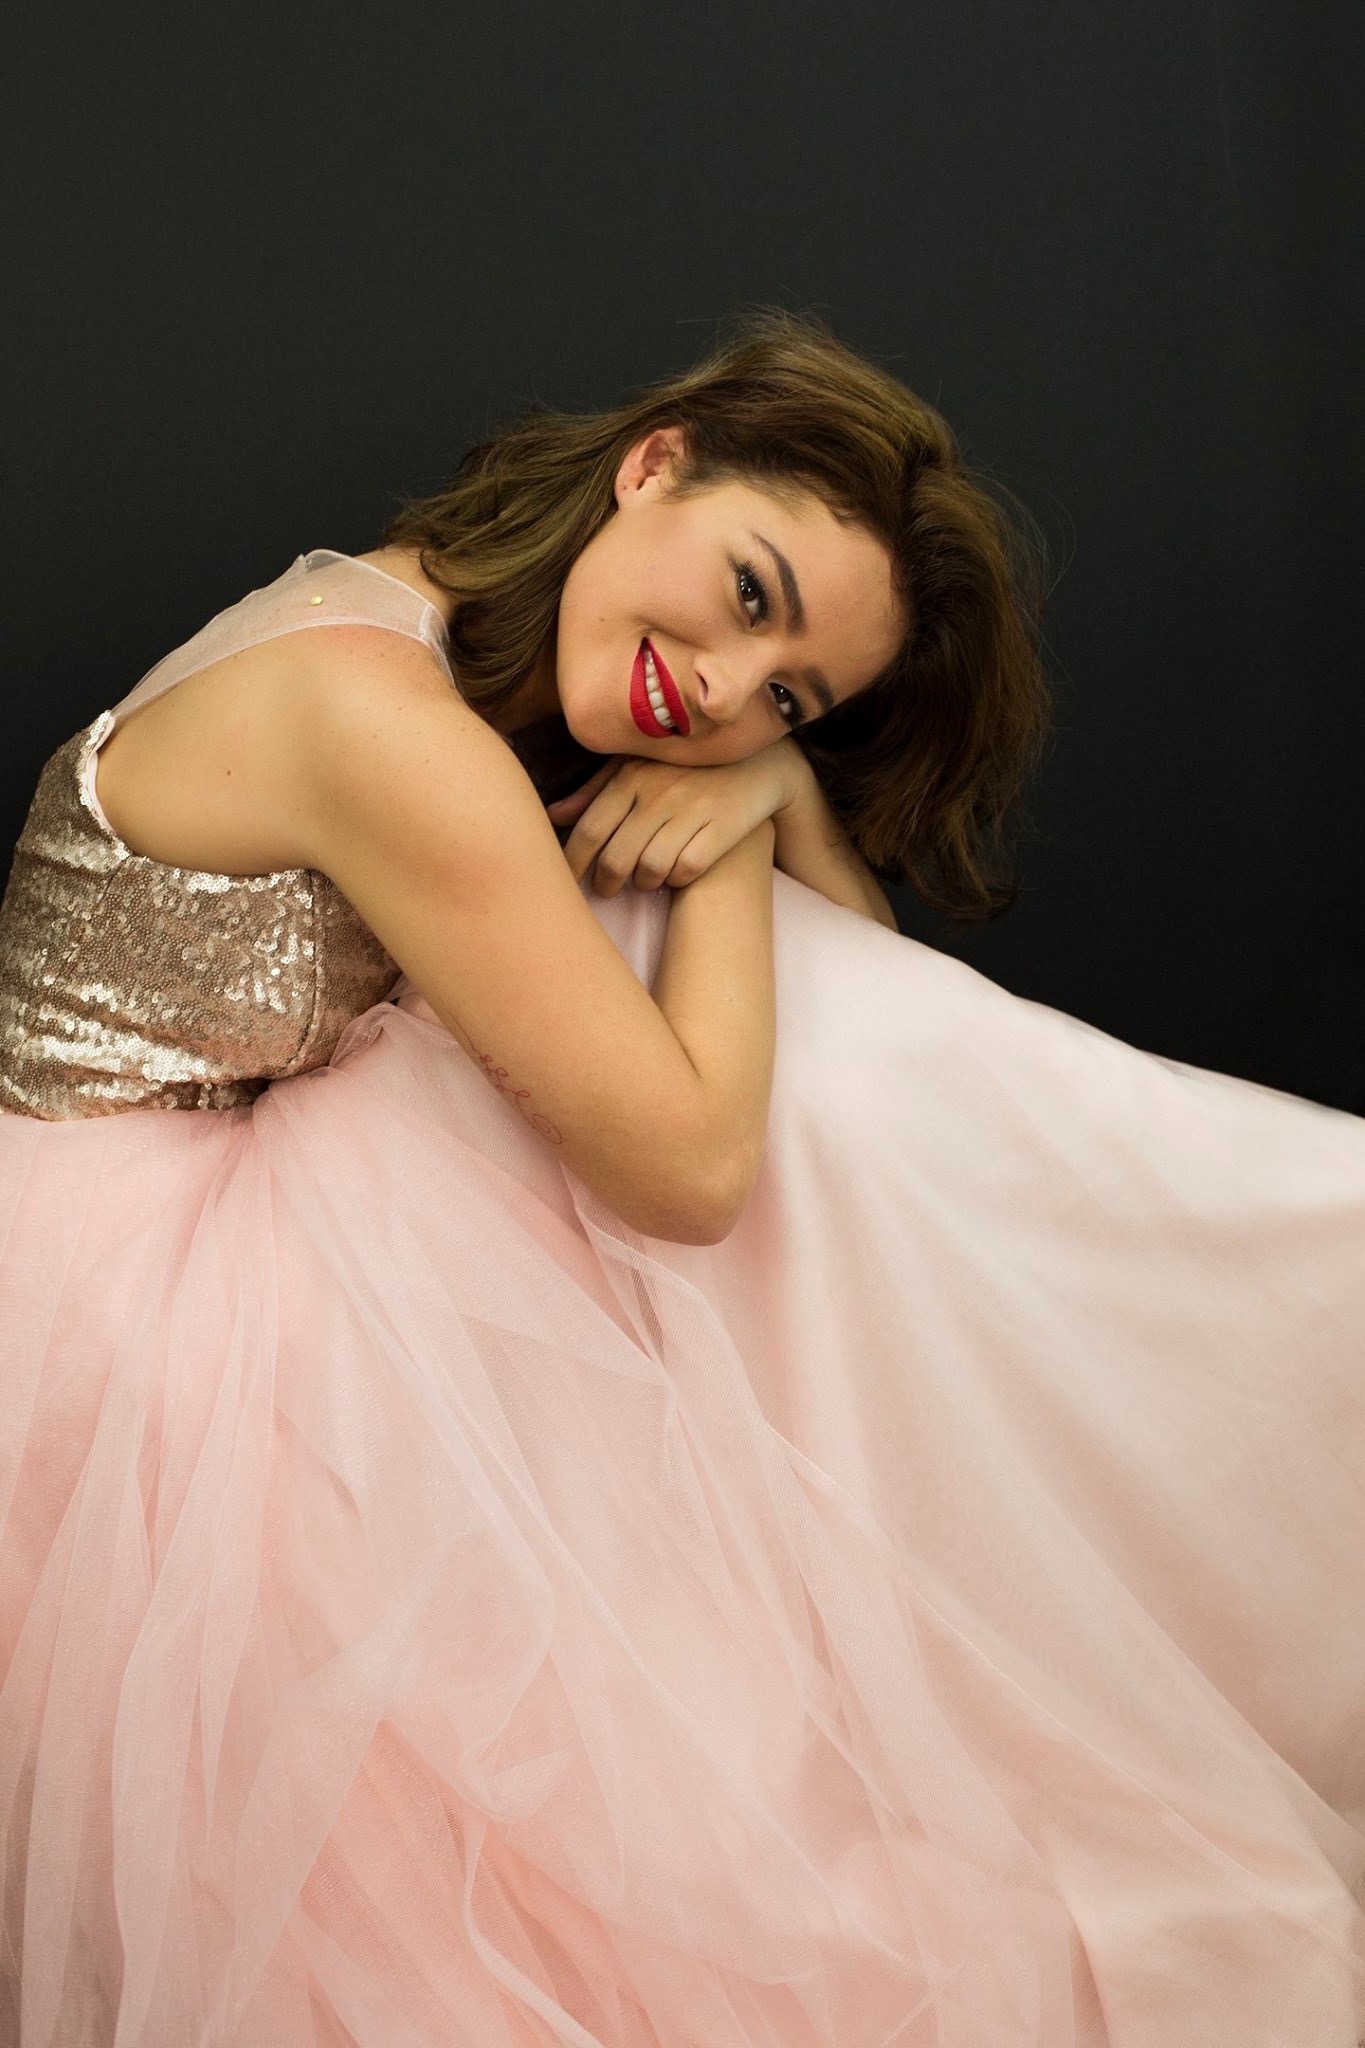
Confidently beautiful. Gown is by Benhur E. Dychangco
Best of the Best for me. Marilyn Monroe captured and channeled beautifully.
Having met her for the first time is absolutely my Cannes winning moment. Andi is the IT girl for me: down to earth, humble and driven. She will begin shooting many more indie and commercial films in the coming weeks and months, simply because she believes that opportunity only knocks on the door once and she doesn’t want to miss the golden streak train. Her palms are open for what LIFE has to give not only opportunities but a grateful heart. May you continue to soar and live your dreams to the fullest, Andi-girl!
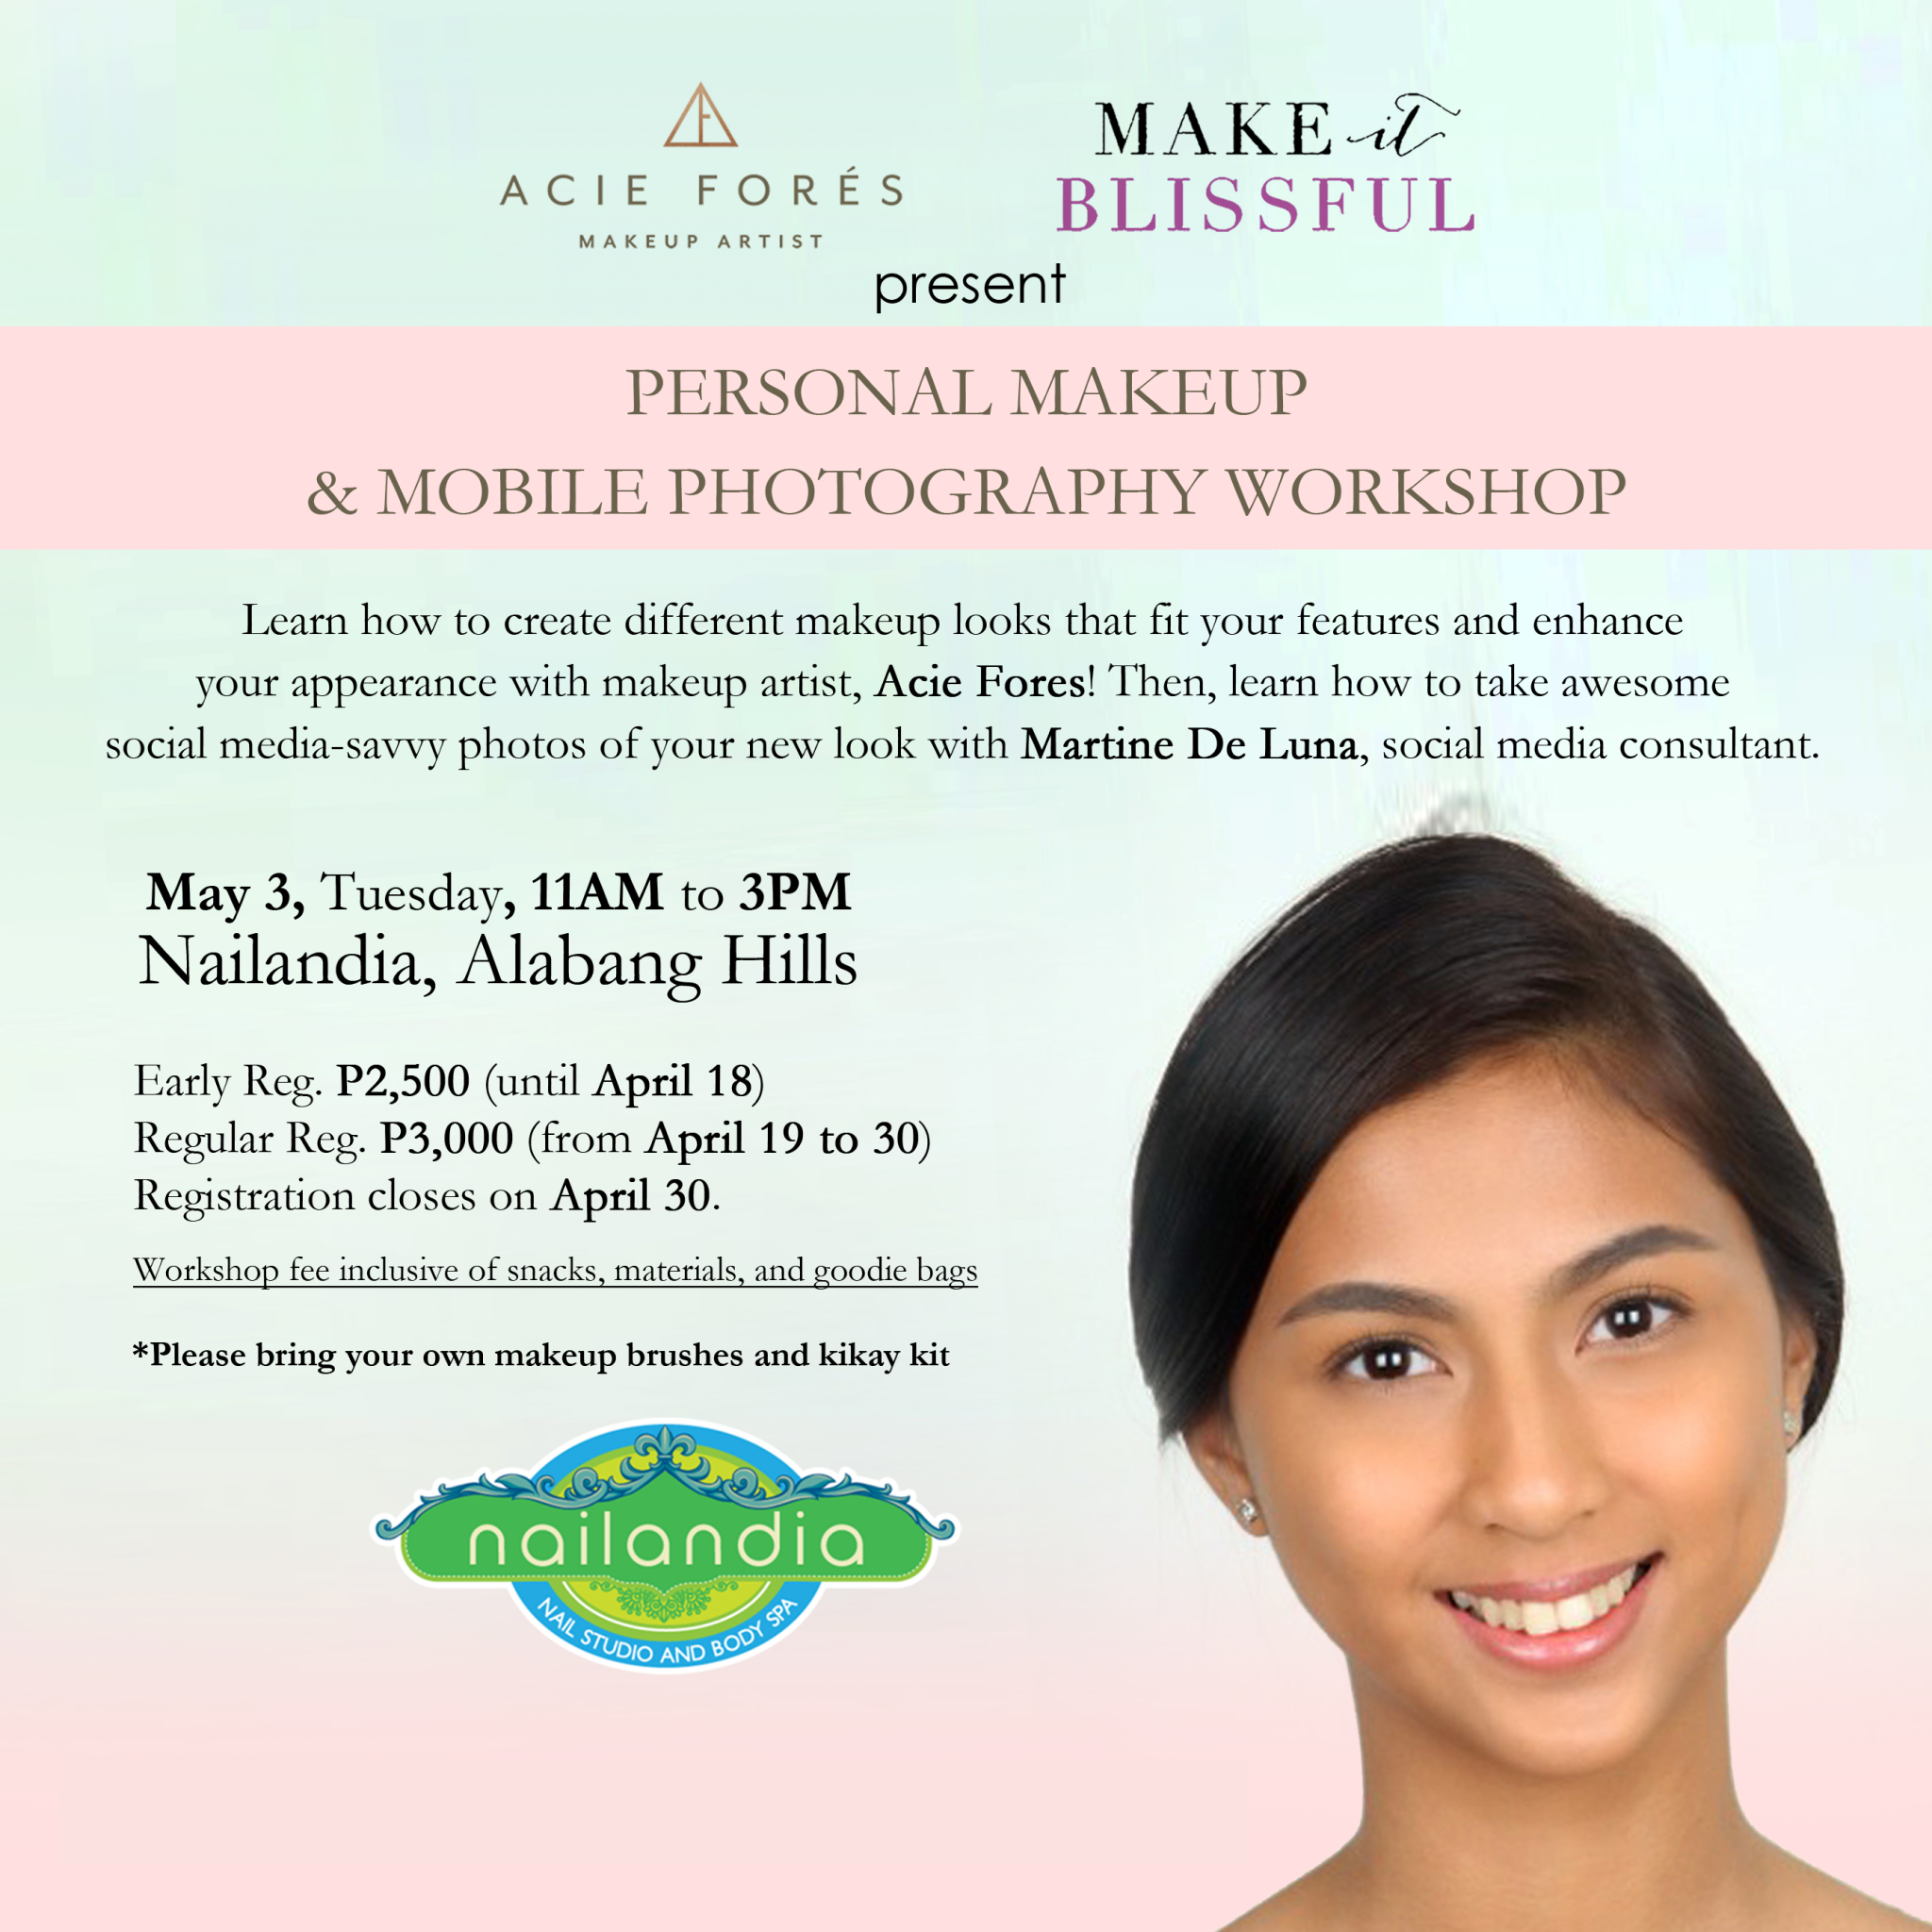
I’ve been enjoying the private makeup workshops I’ve been holding for clients and friends. It’s always satisfying to teach what you know, because you become a student of your students! Yes, especially when it comes to makeup, because no two faces are alike. I always have a sense of fulfilment when I see a client learn how to confidently put on her makeup.
The good news is, this May 3rd, I’m holding my second public makeup workshop, yay! (My first one was with Tommy’s Coffee last year, if you recall.) This time, I am being hosted by Nailandia Nail Studio and Body Spa, in Alabang, which is a wonderful venue for this intimate Personal Makeup Workshop! It will be for only 8 ladies, and I will be teaching everyone how to apply makeup that’s suited for your face shape and personality. I will also include tips on choosing the right makeup for you! Plus, my good friend, Martine De Luna (a noted freelance content coach for bloggers and small businesses) will be guest speaker for the day, and will conduct a short Mobile Photography for Instagram talk, so that you can know how to capture your best looks using your mobile phone!
Registration is through Nailandia, and slots are limited! To register for your slot, please call or text at 63 9176231491 and make payment arrangements. Once you’re paid, you’re in! And, in addition to the workshop, you’ll also be receiving a goodie bag from our sponsors (to be revealed soon on my Instagram, @aciefores.) Hope to see you at Nailandia! Sign up now at nailandia.alabanghills@gmail.com
Nailandia Nail Salon is located at 2/floor Don Gesu Building on Don Jesus Boulevard, Alabang Hills. Muntinlupa City.
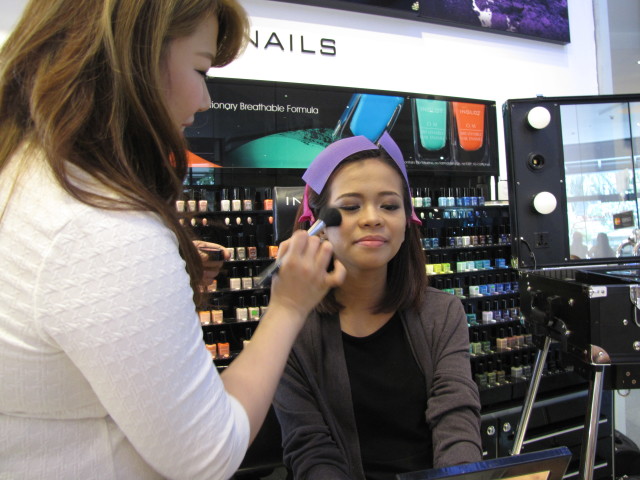
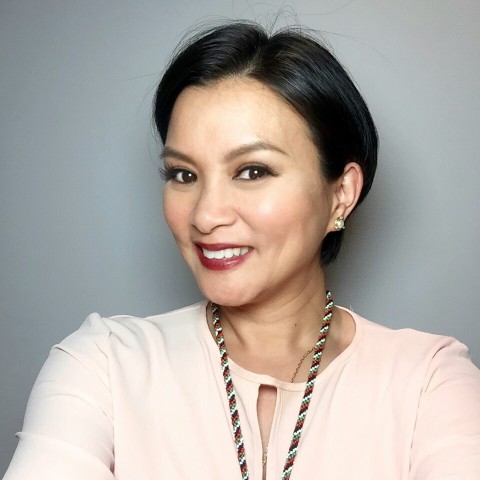
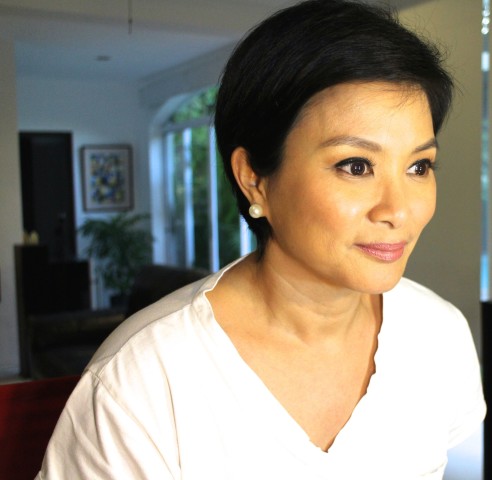
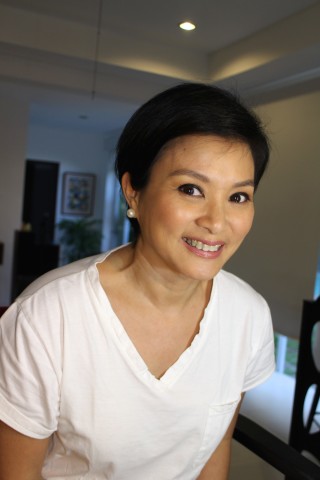
I went to the Jing Monis Salon for my 3rd Makeup look and I was assigned to AlexJ De Lara. I requested for the same “natural” look and this time I had a photoshoot to attend to so it was just perfect to get my hair and face done where I will be photographed professionally.
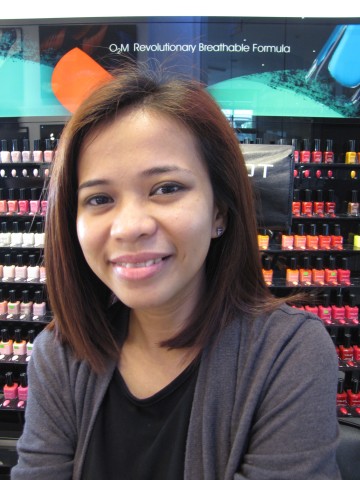
Barefaced and Recently buzzed.
Using the same before photo since I always forget to take a before photo.
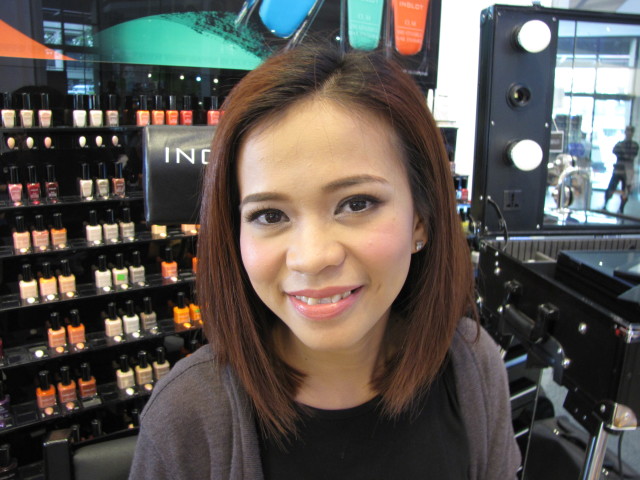
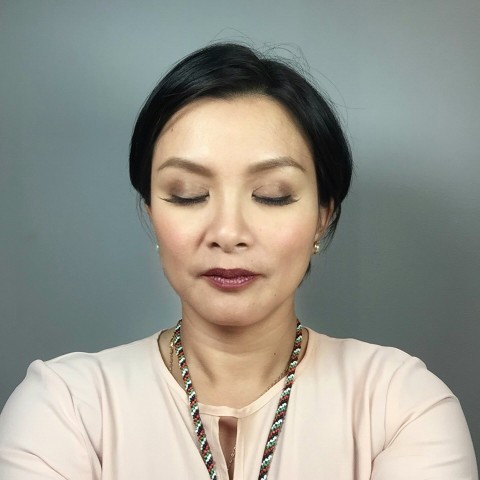
Smoky look with a darker lip.
Subtly blended neutral colors accented with flirty lashes. Brows look darker in this photo, since I tweaked it late in the day.
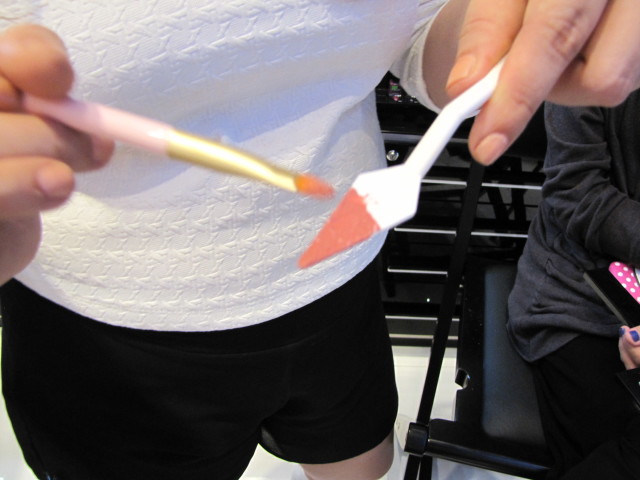
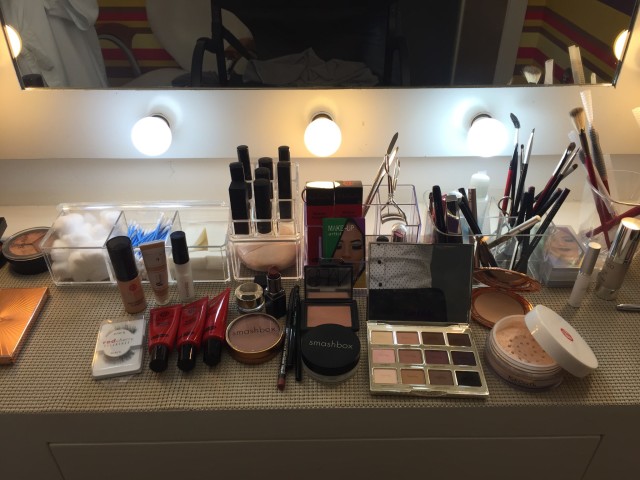
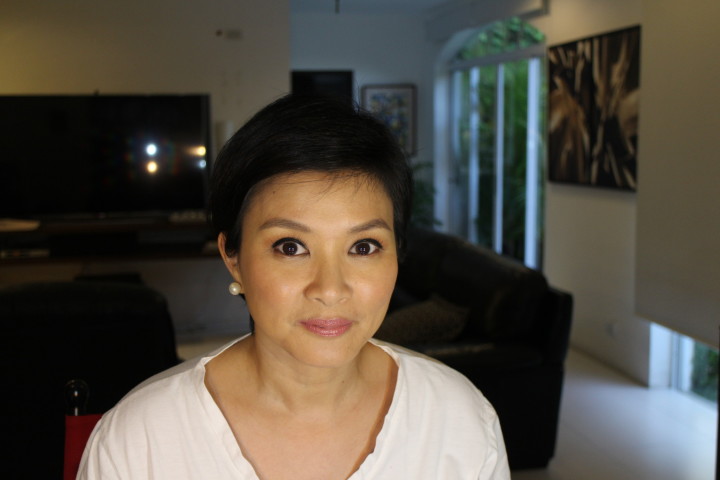
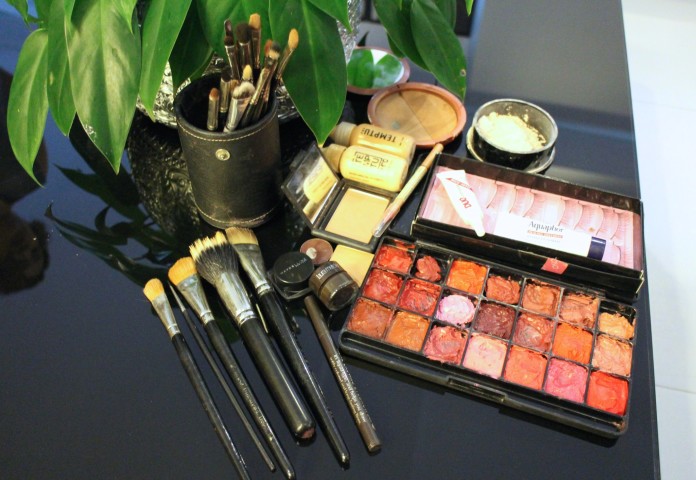
I used a combination of my makeup loves with the stylists. For the face, he prepped the skin with Hourglass Mineral Veil primer and applied the combined shades 123, 301, 112 of the Koh Gen Do HD Moisture Foundation. For concealer, he used Okuma Concealer in shade 01. He bronzed it with Smashbox Suntan Matte and used NARS Manly blush. He set my face with Koh Gen Do translucent powder and Smashbox’s finishing powder. Brows were nicely peaked with Maybelline brow pencil in a light ash brown shade. My eyes were accented by the Tartlette Palette in the 3 shades second row top to bottom from the left. The outer V and Crease were accented by a darker brown color on the 3rd top from the left. Lashes were elongated using Red Cherry 747S and lined with Loreal’s black gel liner above and below the lashline to give the defined and smoky look. For the lips, MAC’s Whirl lined my lips and gave me a Chestnut looking color that gave me a pouty smile.
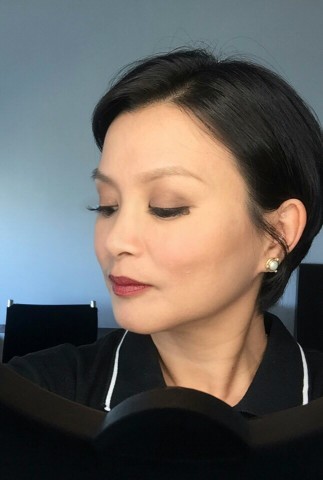
This was my BTS look in the photographers studio during the shoot. I took advantage of the FalconEyes Ring light which my other colleagues went gaga over. I took a selfie and this was the result. Look no shadows!
I loved the way it turned out, so far, this is one of my favorite looks. My eyebrows could be a tad darker but I appreciate the fact that he still made it look “on fleek” without making it too harsh looking. I received compliments with this one and the makeup felt comfortable, not heavy looking. Due to the ring light, I was able to see the makeup application up close and I noticed, my brows were lighter than I thought it to be. Late in the day, I decided to fill them in so it can blend wit the rest of my face. Professional lighting is the true test on how your makeup is photo worthy.
I didn’t mind the darker lip color too since I wanted to experiment a bit. My lashes were a bit flirty and it gave me a semi Marilyn Monroe look since the ends were a bit heavy but also still felt very comfortable. This look stayed on the whole day and I blotted my face with blotting paper and refreshed my lip color, I wouldn’t mind going out on a night out looking like this.
Have you seen those YouTube videos where they show the evolution of makeup in 3 minutes or less? There is also a similar video in which a woman was photoshopped according to the beauty standards of the country she sent her photo to. Well, it gave me the idea to blog about how various makeup artists see me. I’m calling it “How They See Me (Acie)”.
This is intended be a fun experiment as to how I am perceived by other artists when I say give me a natural look. I gave them the option of going avant garde if they think this is part of my transformation palette so to speak.
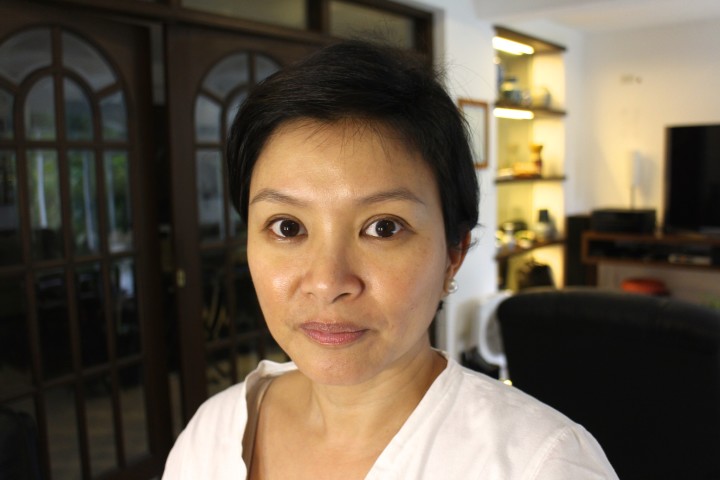
First of this series is done by my makeup artist neighbor friend, Mela JimenezI asked her to give me a natural look and this is how she painted me.
Barefaced and Recently buzzed.
Subtle blending of neutral colors
After. Looking Fresh and natural
Tools and colors she used on me. She applied a combination of traditional and airbrush makeup foundations on me, She used Face2Face cream foundation and airbrushed me with Temptu no 6 to finish it off. It was set by Face2Face translucent powder, I was bronzed on my cheeks and the hollows of my cheeks and temples with her favorite bronzer, the name at the back was already rubbed off. For the eyes, she used NARS Manly blush as the shadow base and shades of brown eyeshadows on the crease and outer v. For drama, she lined my eyes with black gel liner and brown gel liner on the bottom and smudged gently. For my brows it was KPalette in no.2 . For cheeks, she also used Nars Manly blush and for lips she combined a pink and coral lipstick to give it a pinkish beige hue.
I loved my look, Mela said this is how she does a smoky look on brides. I wore this for 5 hours and it still looked fine. I love how she effortlessly transformed me without me looking too garish or overly made up. Give me your comments and let me know what you think?
When I’m obsessed with something, I go on a hunt until I have it. I’ve been following Charlotte Tilbury for quite some time ever since she made a video collaboration with Lisa Eldridge, another makeup idol of mine. Charlotte Tilbury has been in the makeup business for the past 20 years and has worked with many famous photographers like Mario Testino, Terry Richardson and has collaborated with many international makeup brands like MAC Cosmetics and has painted the faces of well heeled personalities like Penelope Cruz, Sienna Miller, Cara De Levigne and Kate Moss and she did the makeup of Amal Clooney. Growing up in Ibiza Spain surrounded by a creative family, she was surrounded and shaped by the colors and scenes of that area.
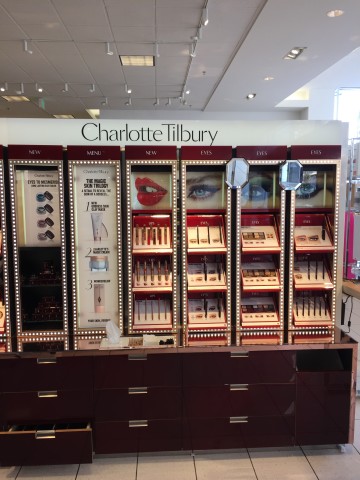
I finally got to visit her flagship store in The Grove in LA. Her concept for her line and freestanding store is a throwback to the 30’s and 40’s era where silver screen sirens encapsulated the essence and glamour of the times. The Art Deco feeling in her packaging is so evident in her belief that it was a golden age for mysterious and glamorous women.
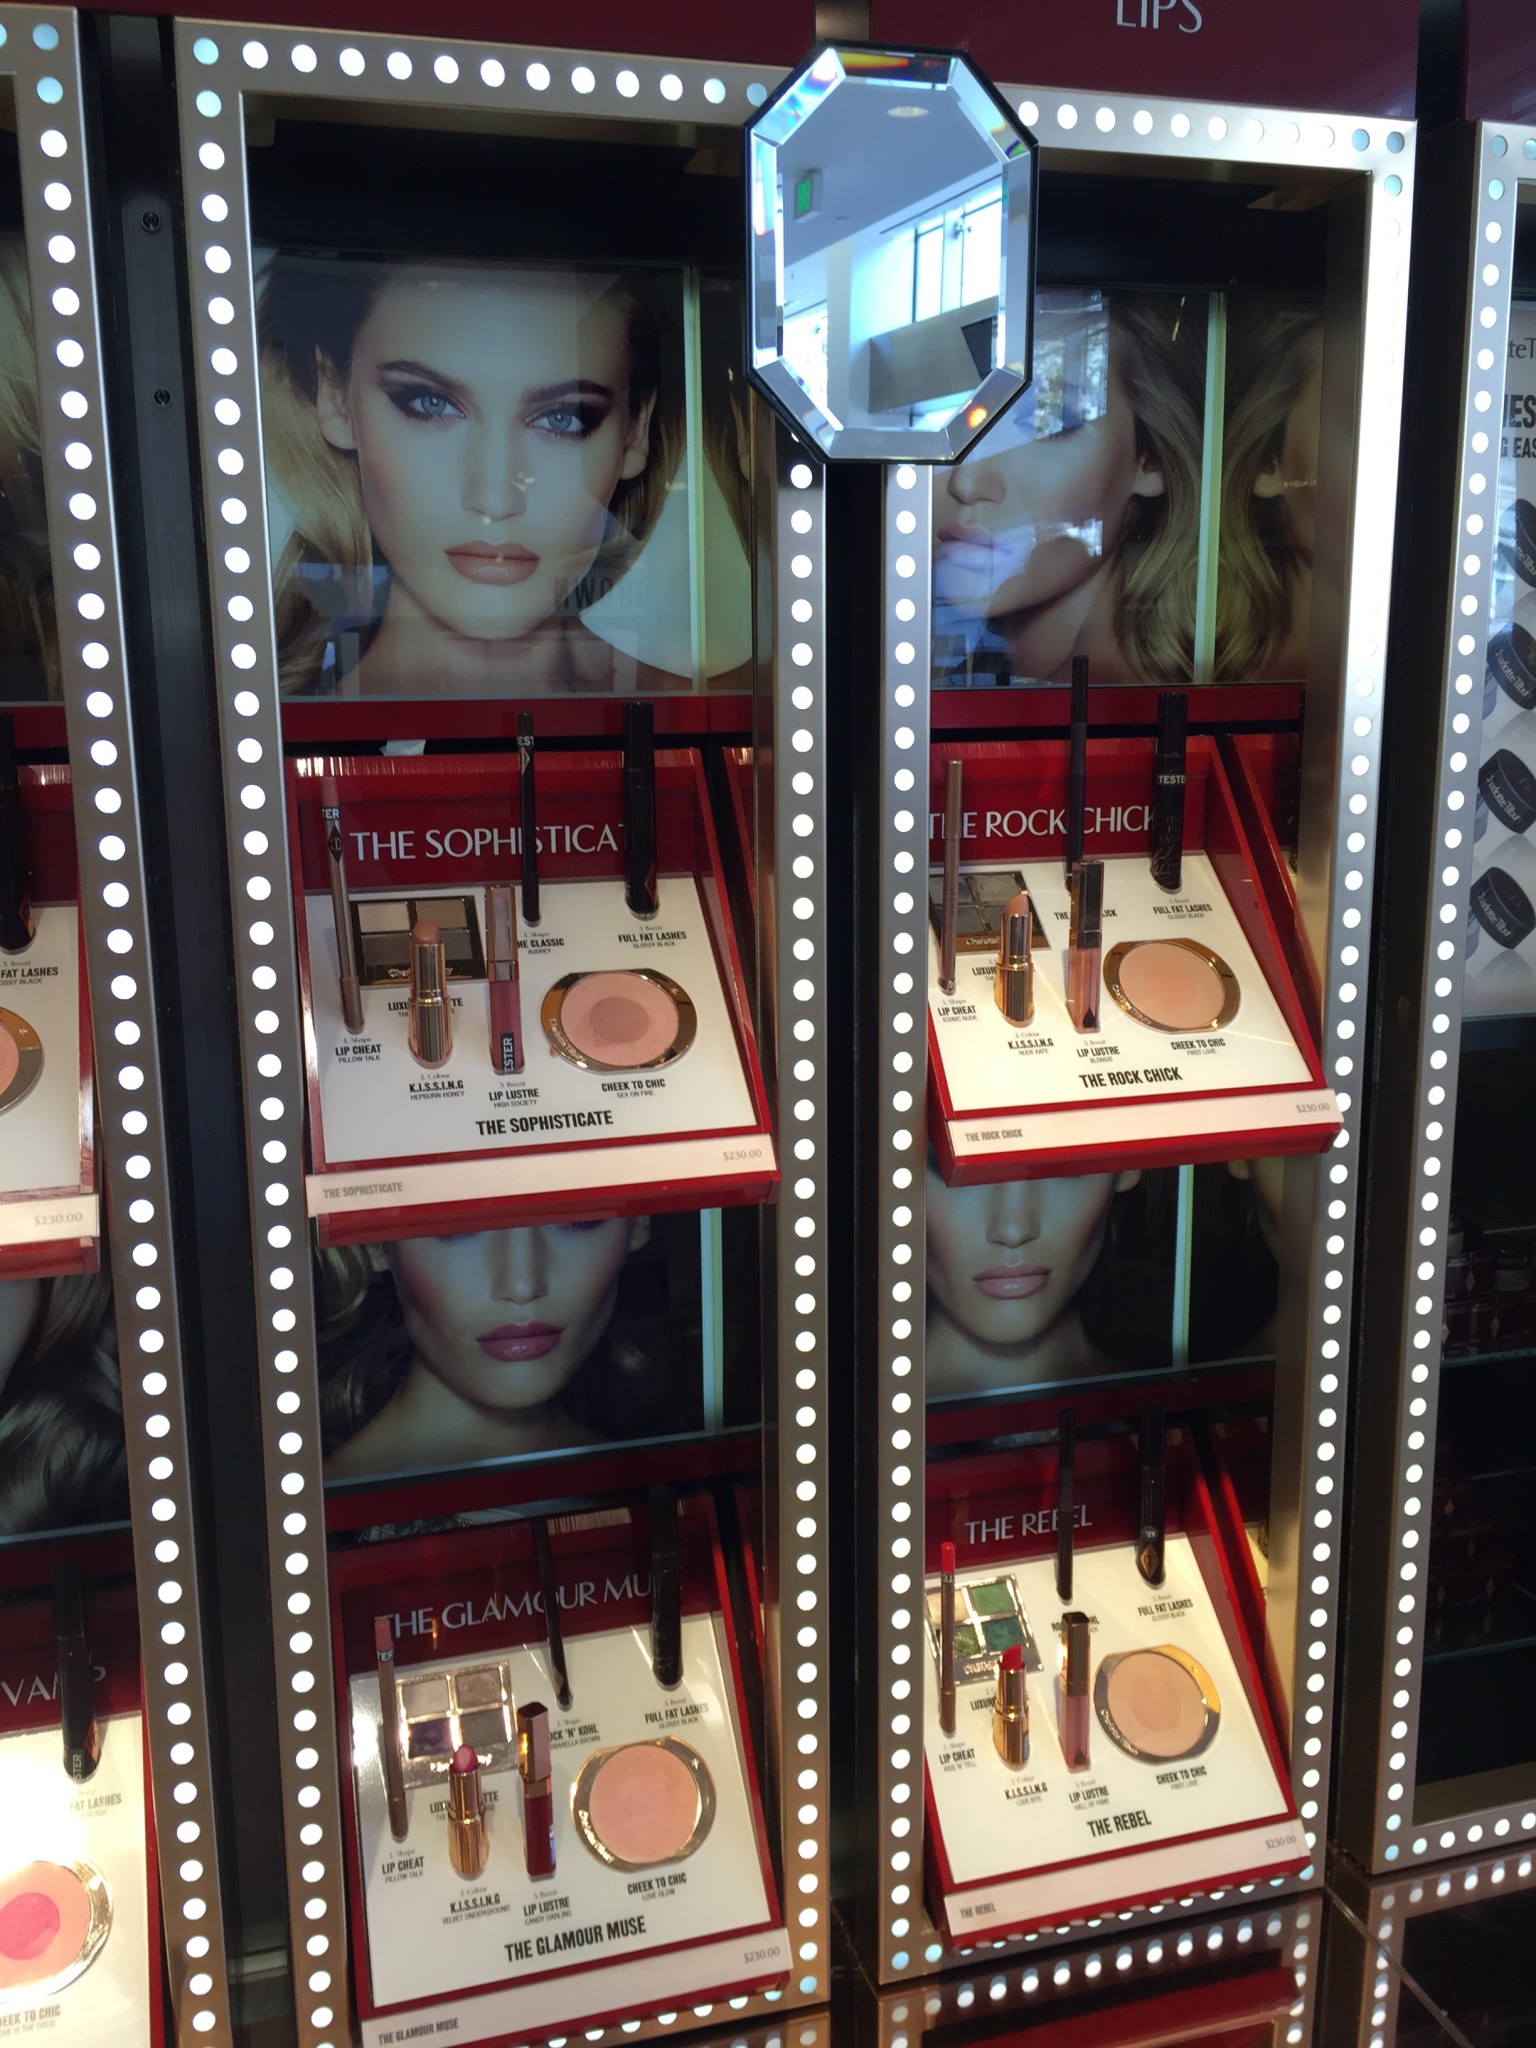
Art Deco Inspired DisplaysHer Signature looks are grouped in sections and contains all you need to recreate them.
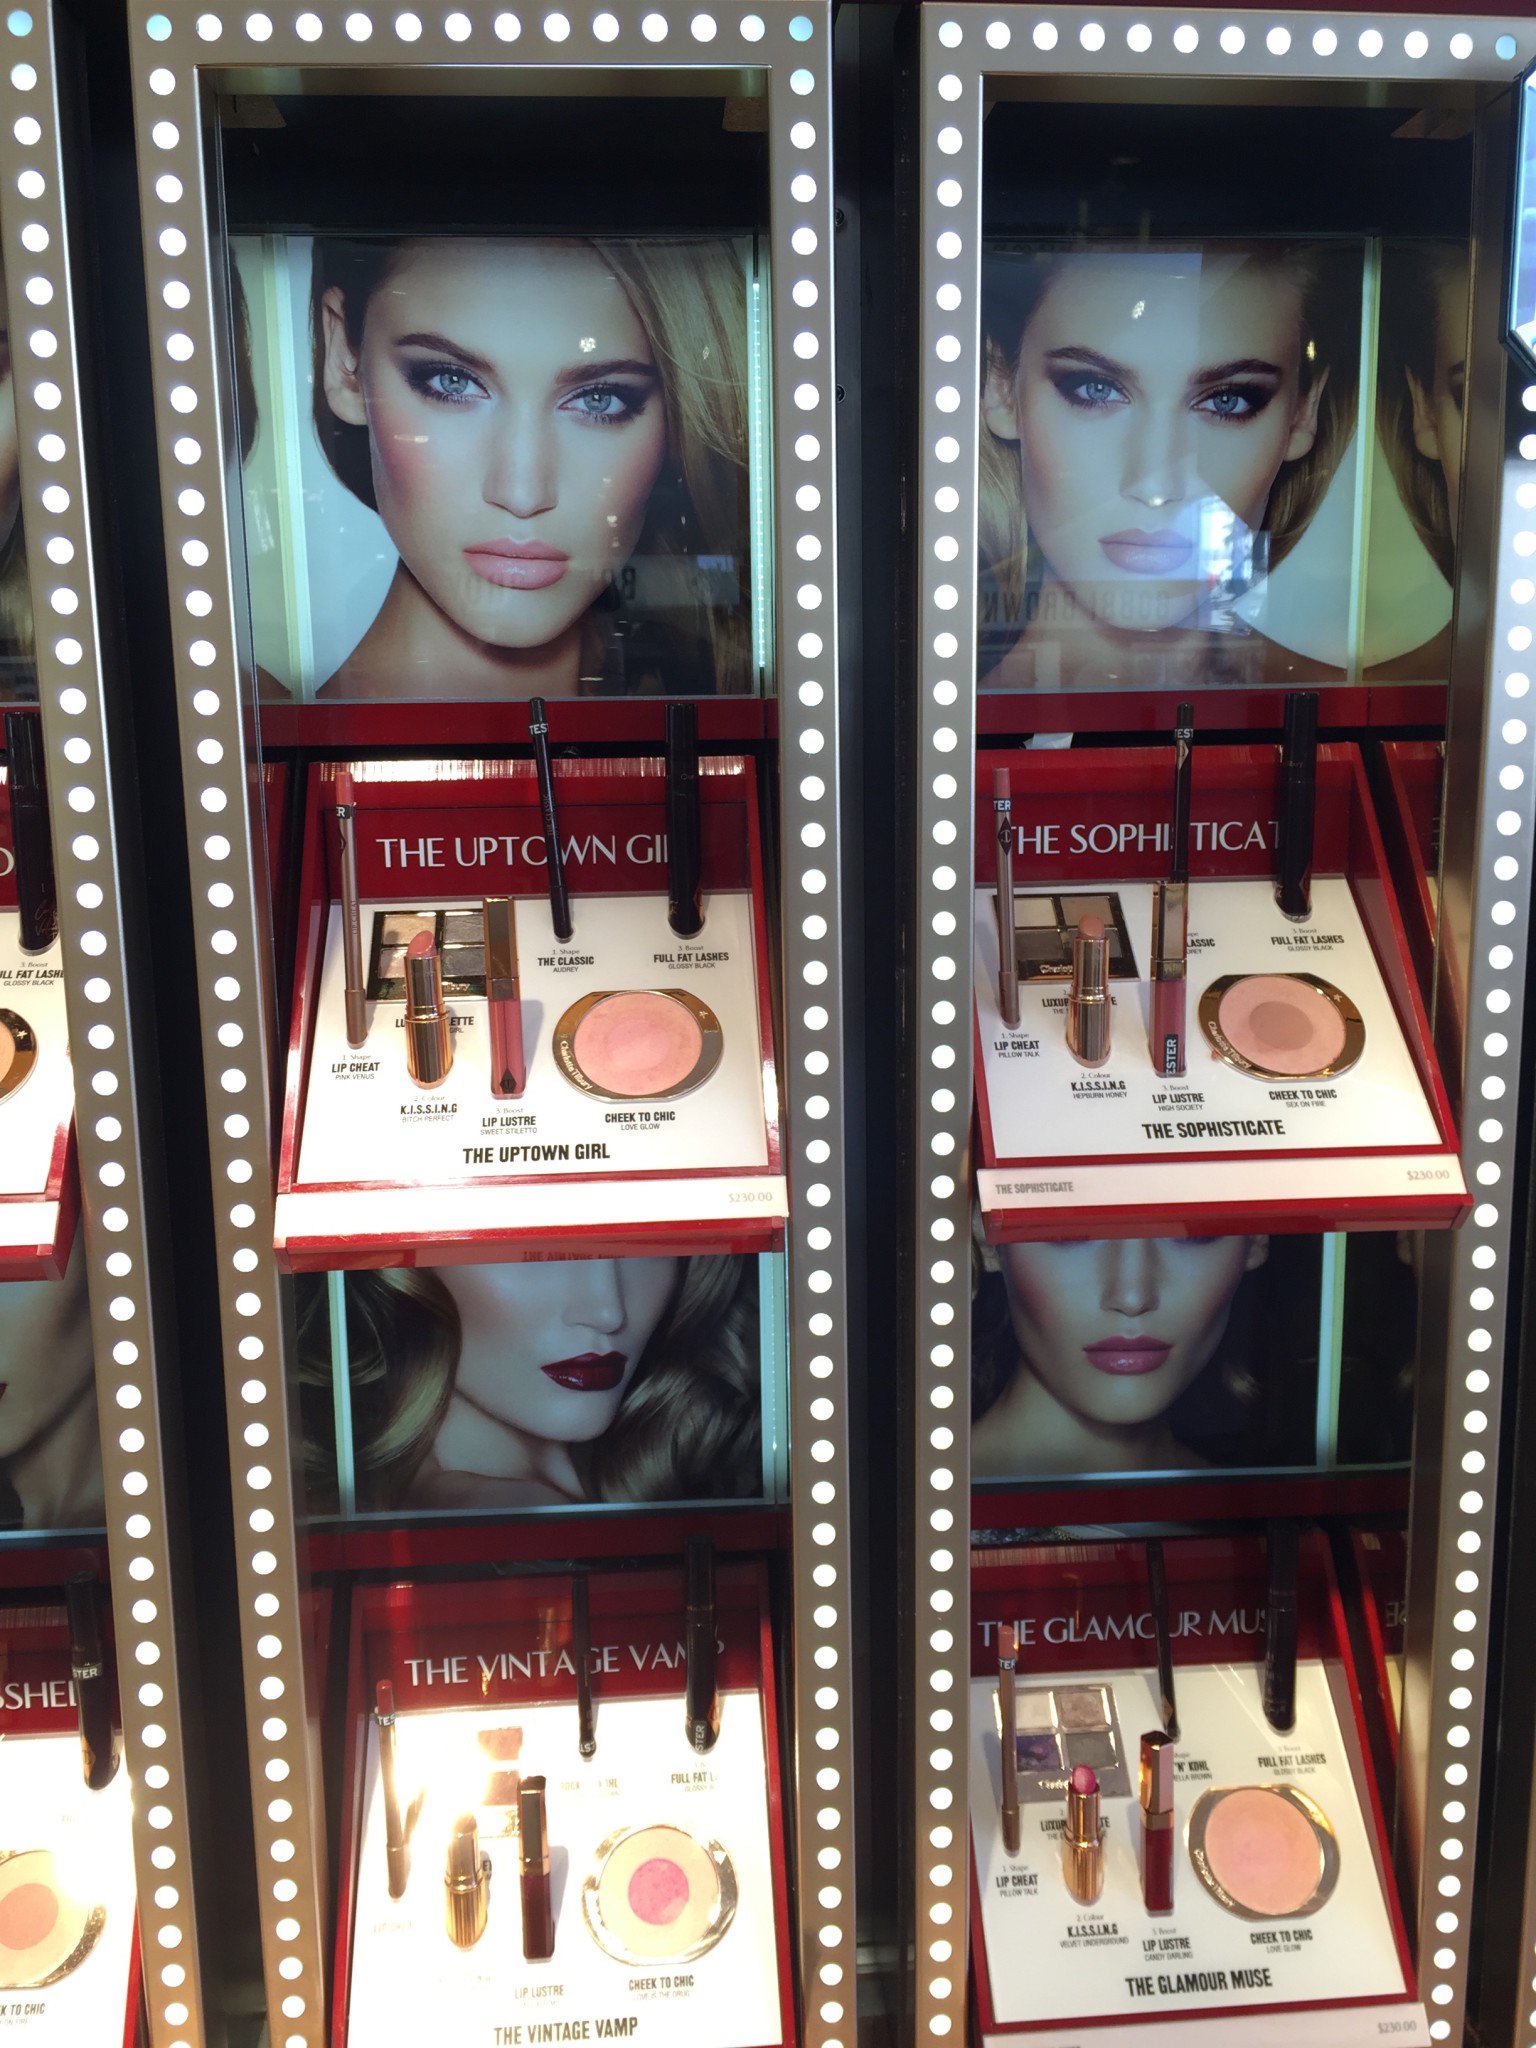
One of my favorite looks is the Uptown Girl and The Vintage Vamp.
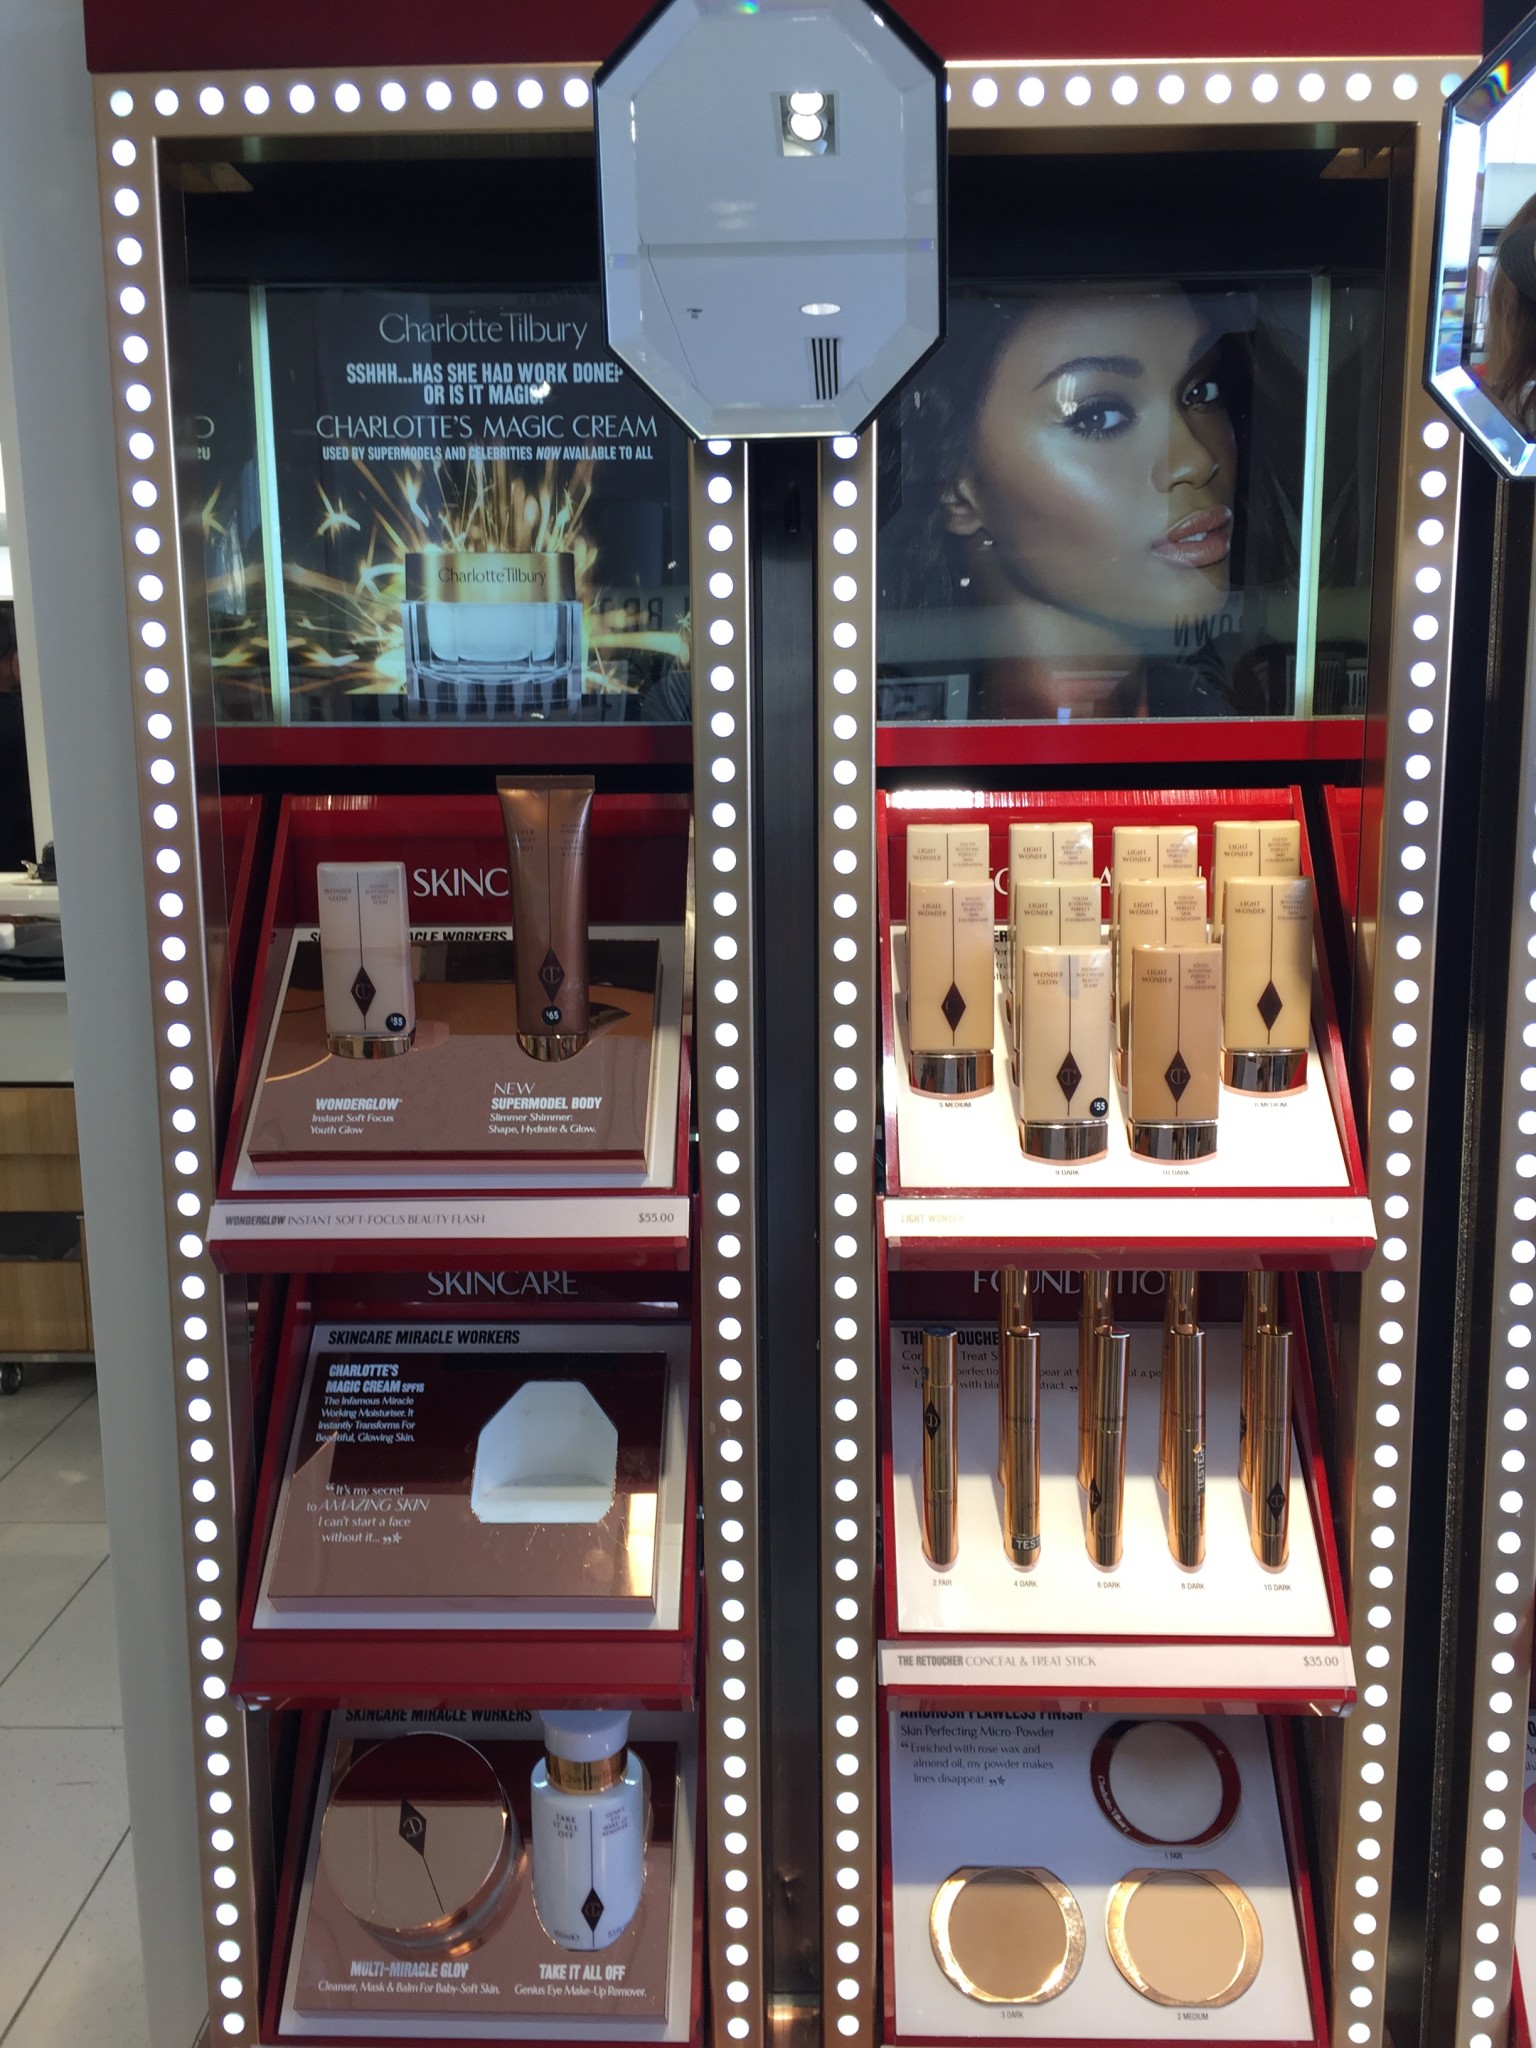
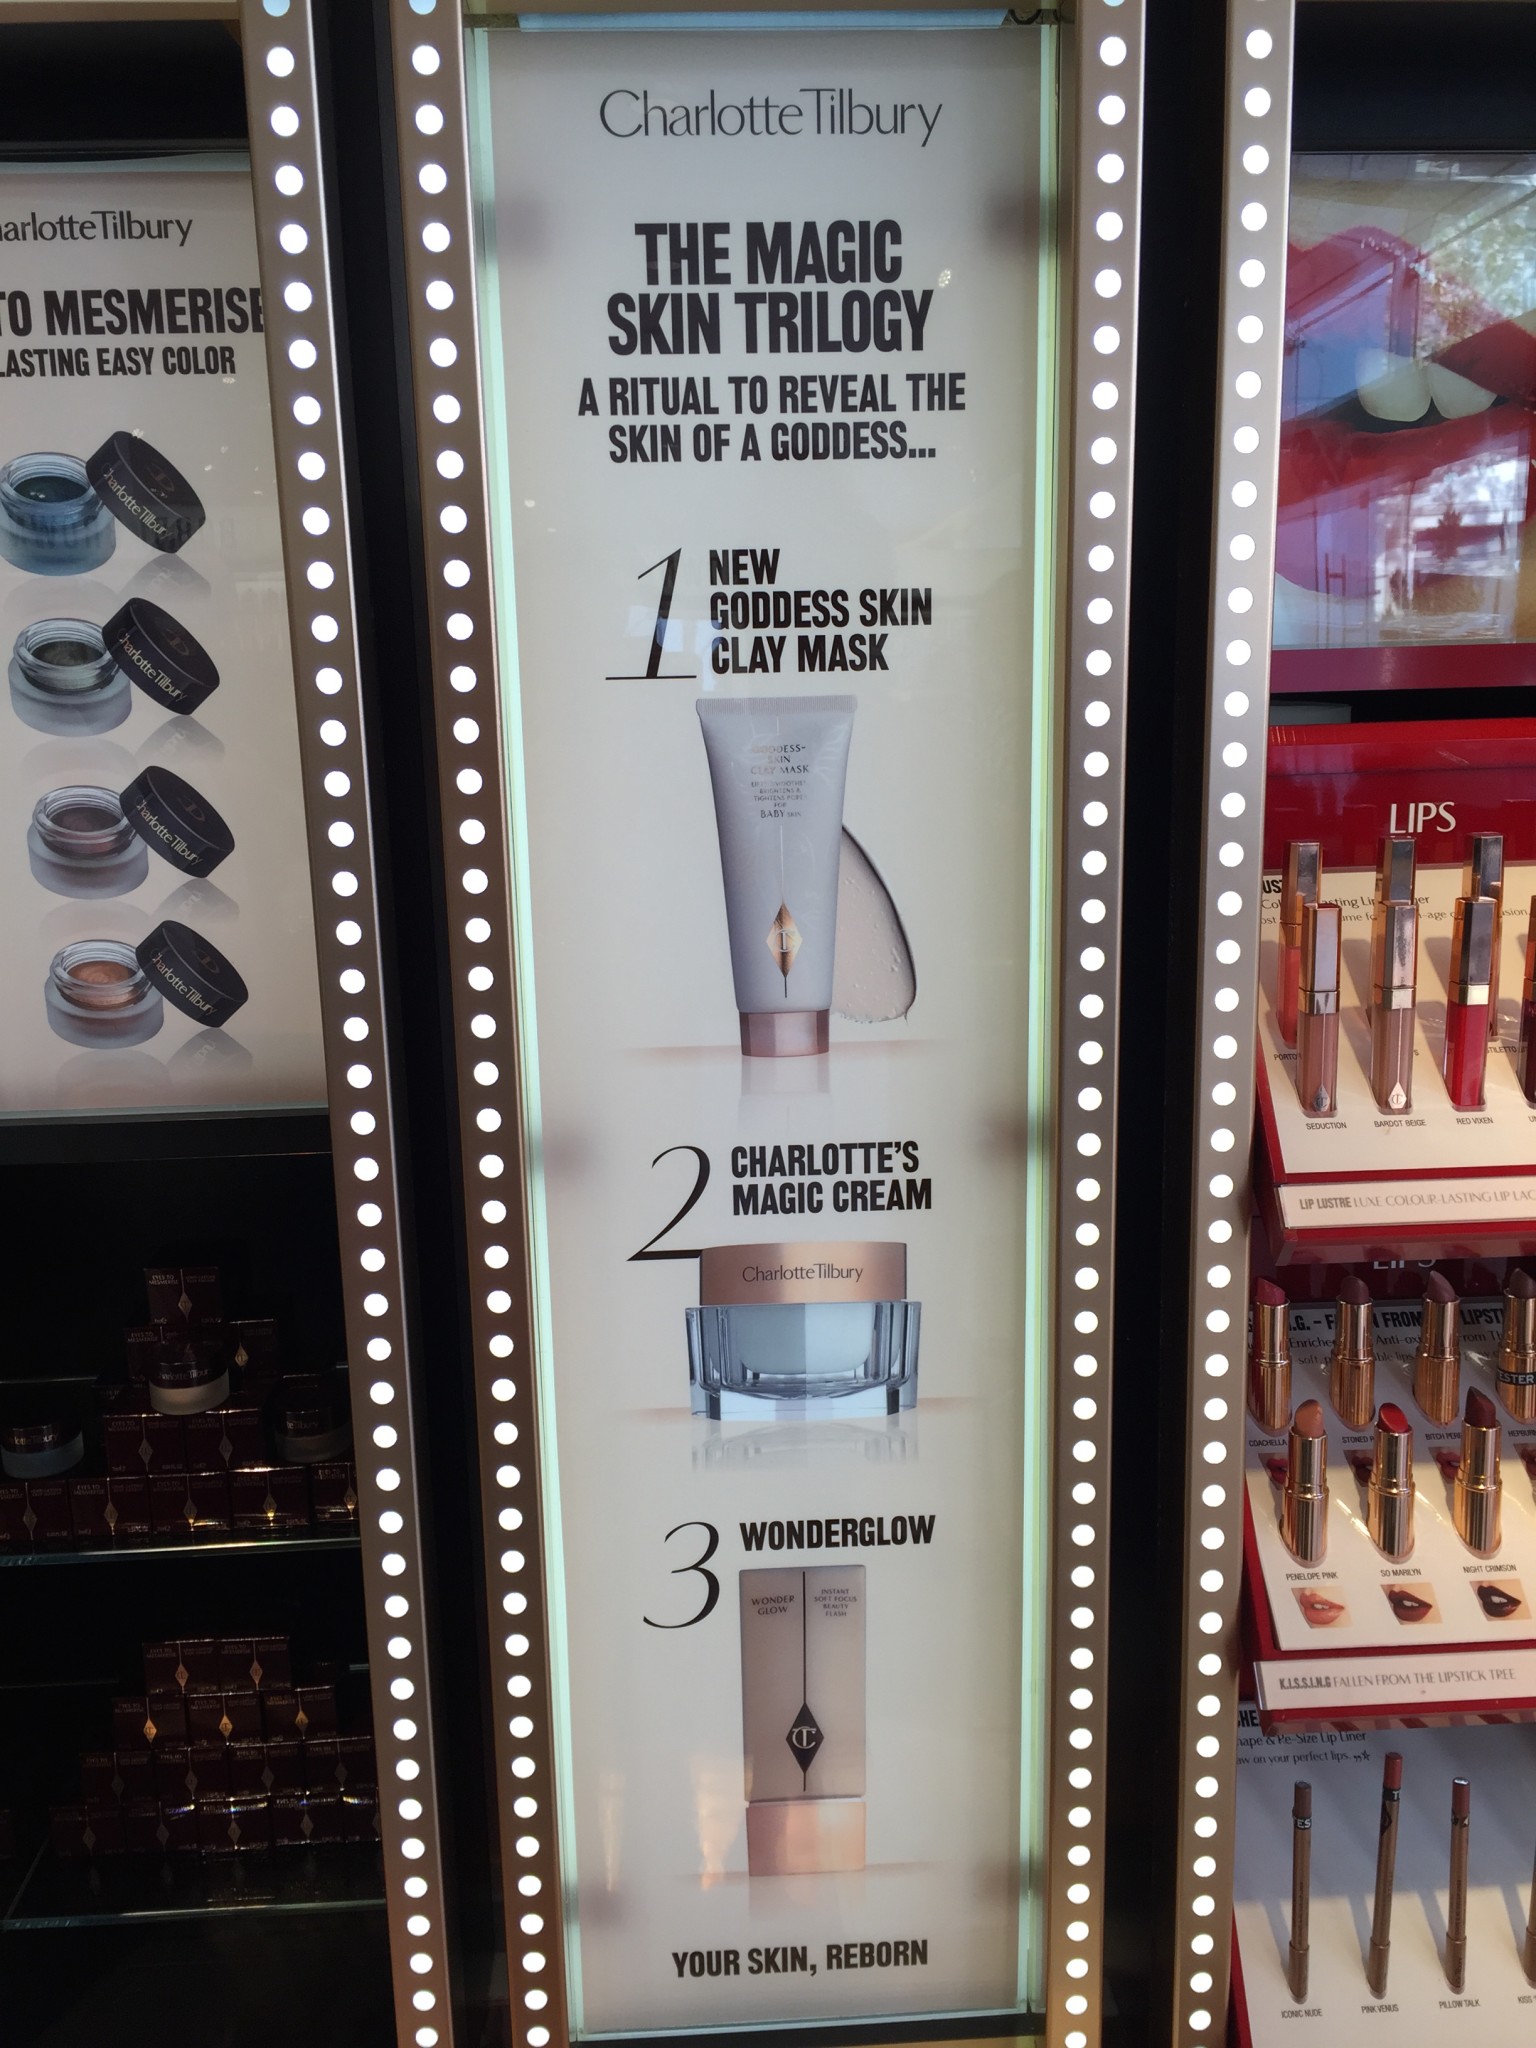
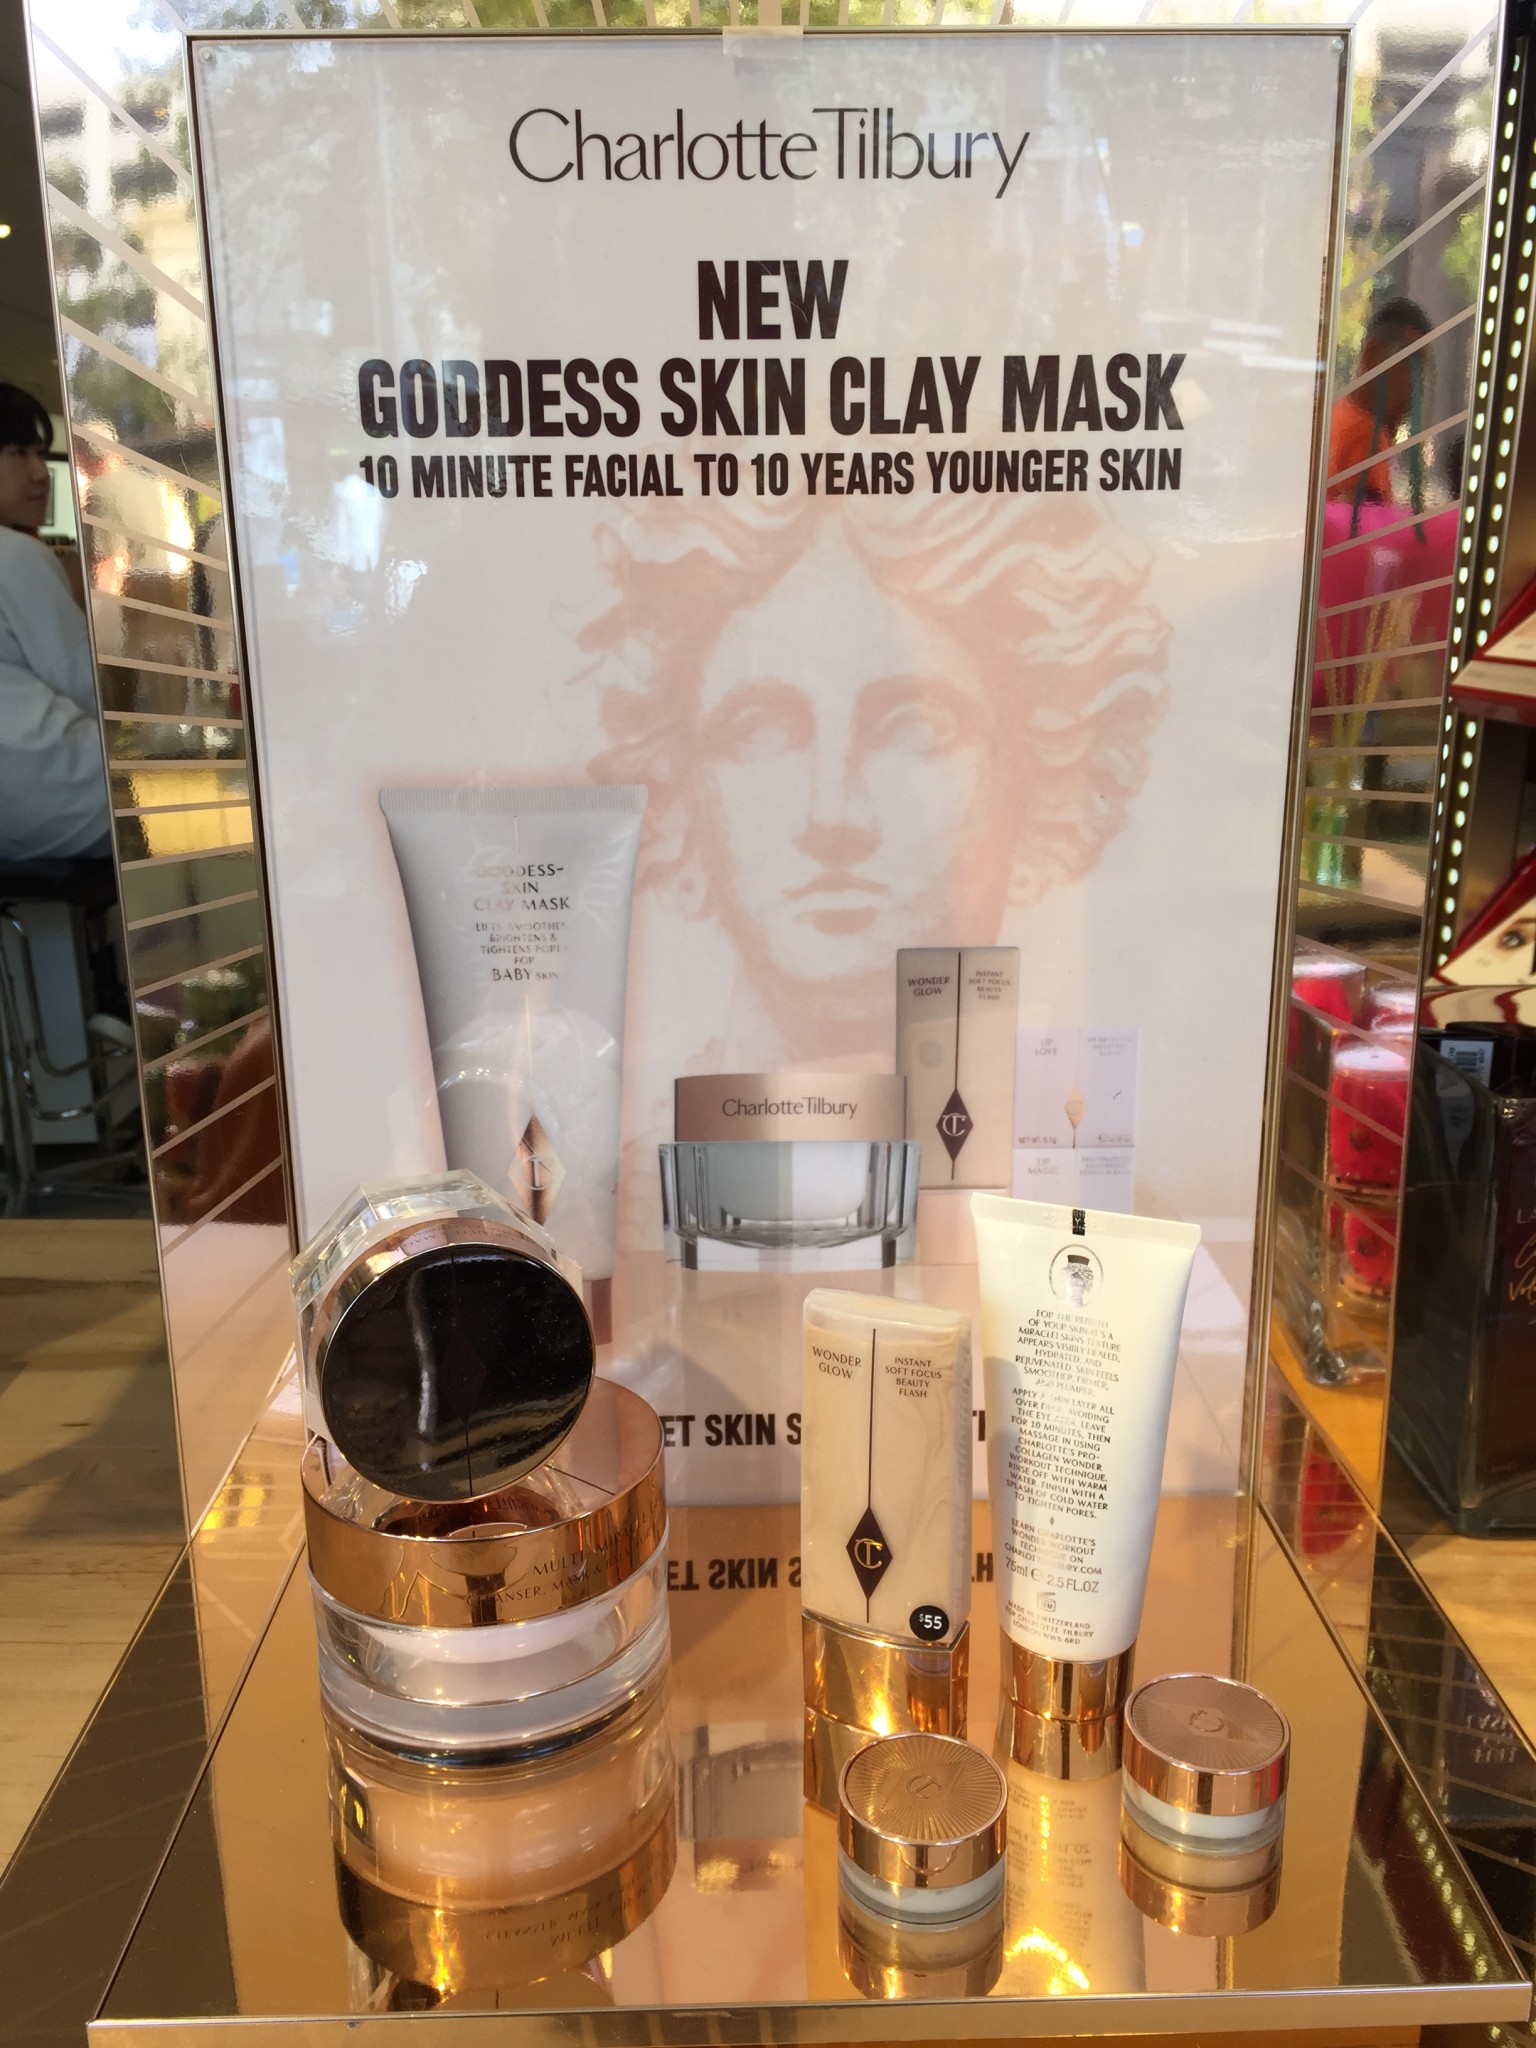
Wonder Glow covers a multitude of skin tones .Her Magic Skin Trilogy which gives you the candlelight glow.
Her Magic cream is what I was after.
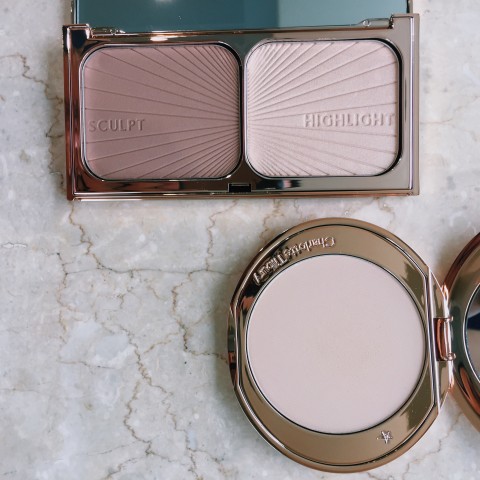
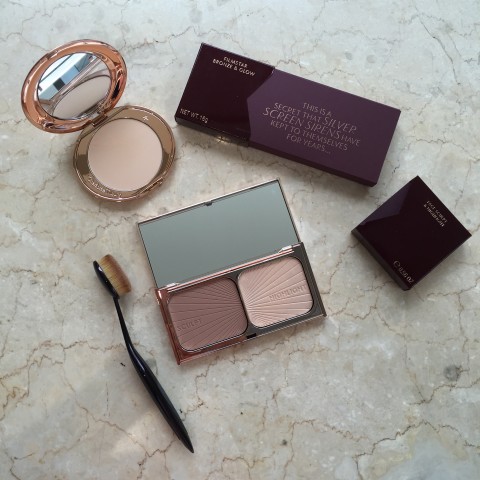
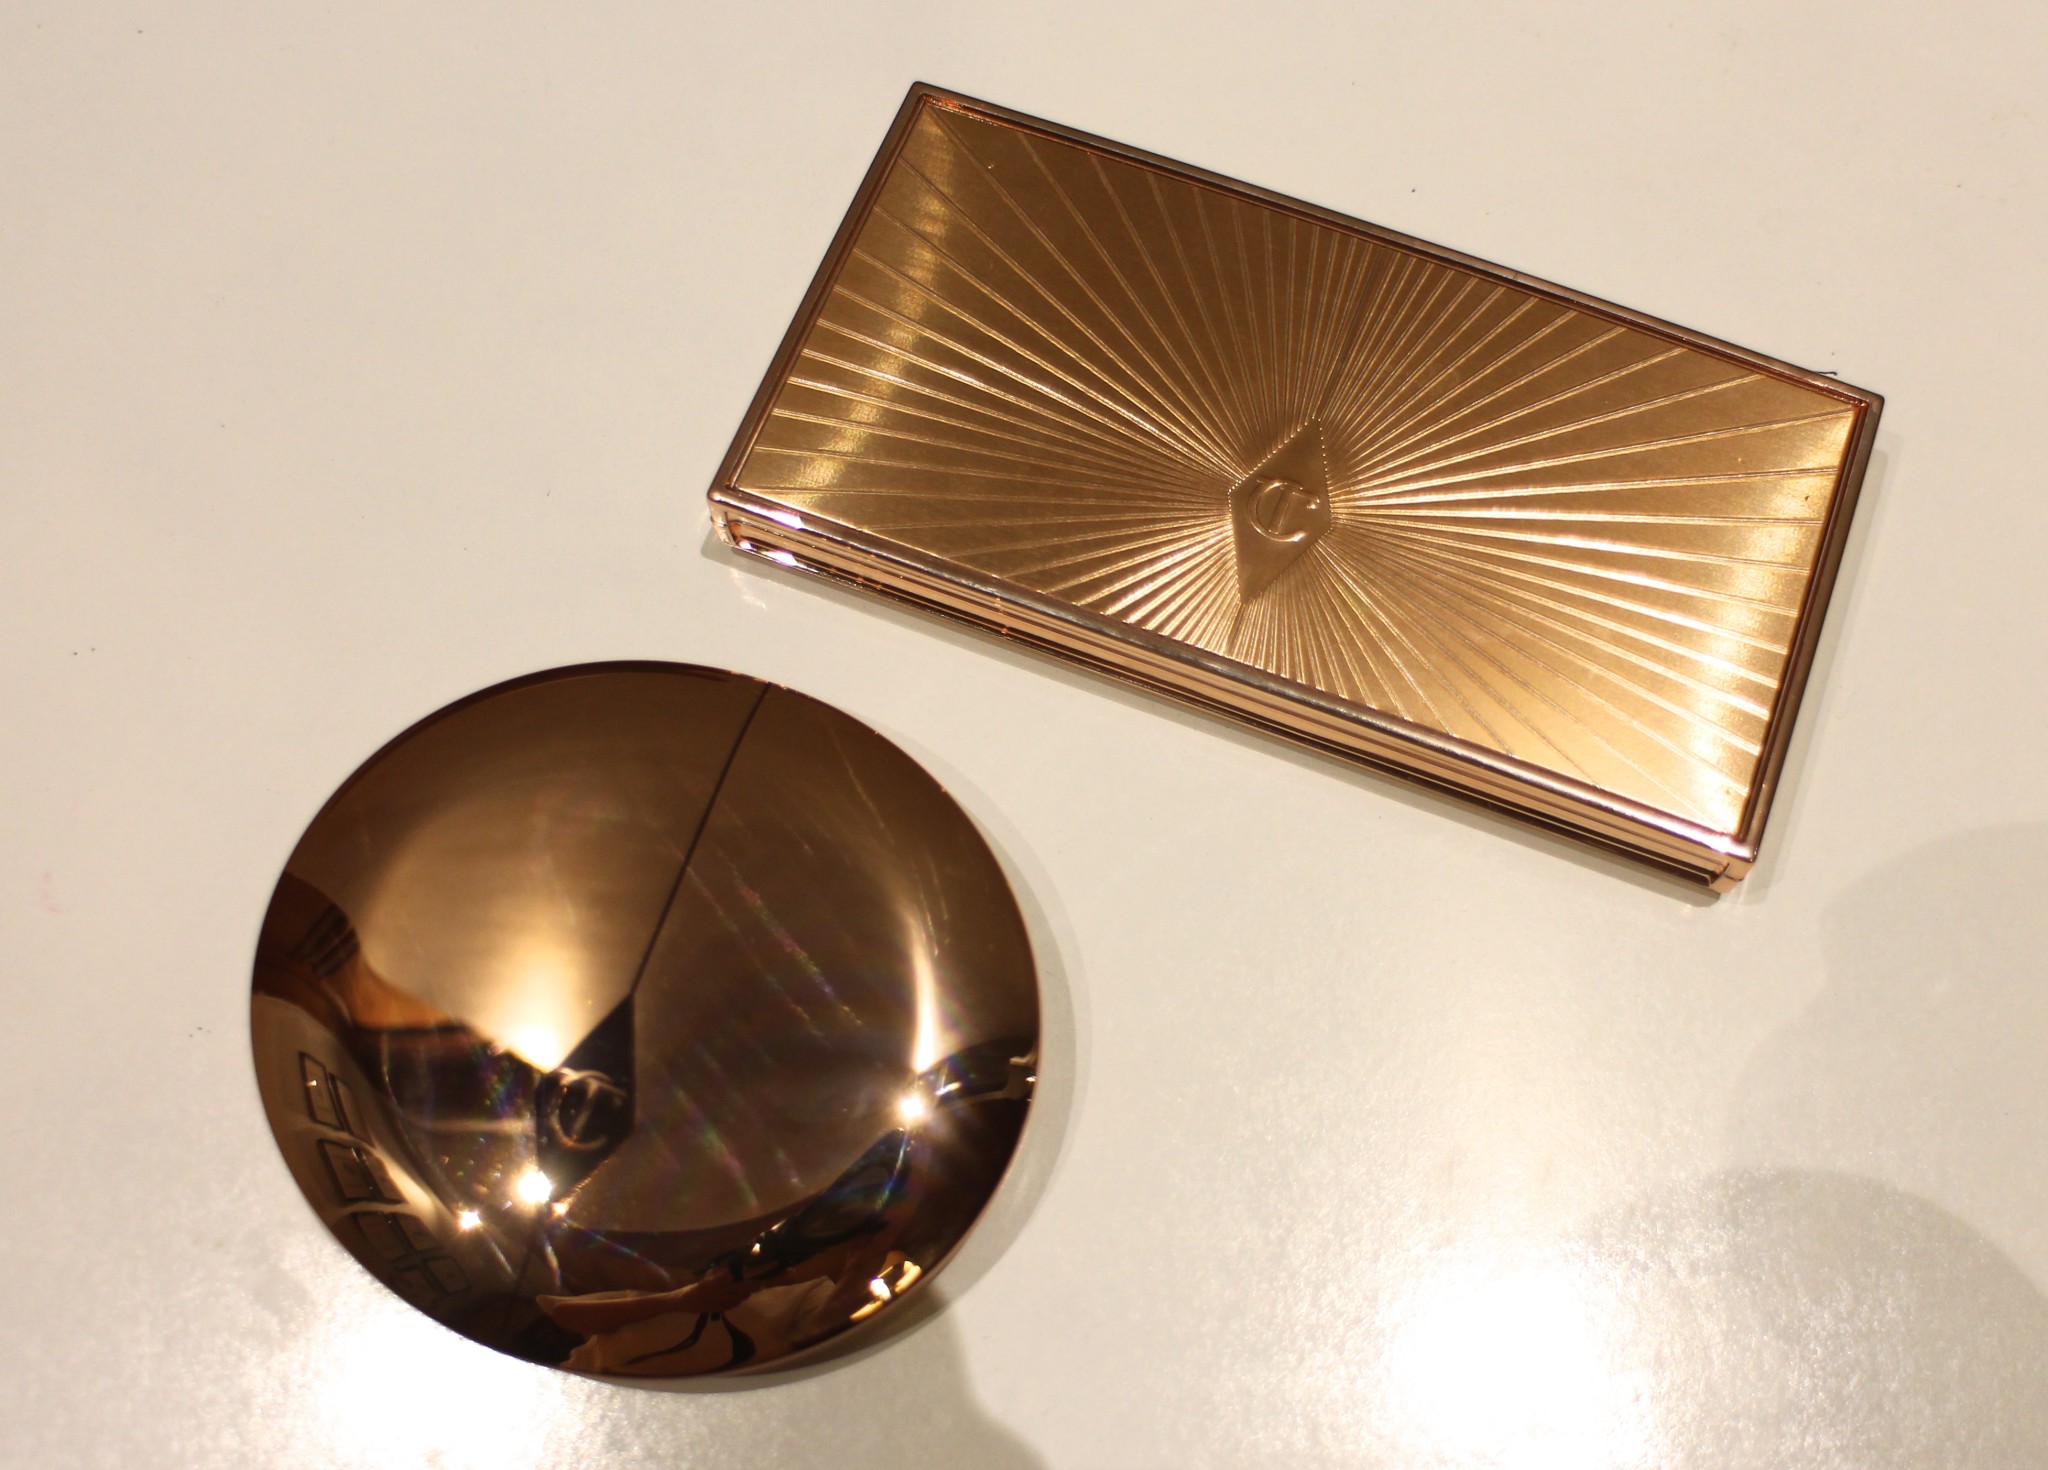
Her Filmstar Bronze and Glow Sculpting Powder and Airbrush Flawless Finish Powder Compact are her two of her Bestsellers. My shade for the airbrush powder is Medium. Her sculpting palette is the perfect warm brown that is best for fair to medium skin tones. No orange loompah loompah color here.
Packaging is consistent with her love for the Art Deco era. Gorgeous. To the extreme bottom left is the photobomber MAC s Oval 6 brush.
Her Filmstar Bronze and Glow looks like a minaudiere. Powdering your nose never looked so elegant in her Airbrush Flawless Finish powder compact.
Swatch of the Filmstar Bronze and Glow powder. Its buildable and suited for light to medium skin tones. It reminds me of the NARS Bronzing powder in Laguna with light flecks of gold.
Charlottes Magic Cream that evokes memories of our grandmothers cream potions. This is the bomb!
This Cream is composed of peptides that stimulate skin collagen, Hyaluronic boosters that plump the skin, Vitamin E and rosehip oil to revive the skin’s appearance. It’s antiaging, and has an SPF of 15, all good stuff to restore your skin to youth levels. She has put skincare in the forefront of her product line as she is a firm believer in having good skin before any makeup application.
I wasnt able to get a hold of her cream since I have so many jars of moisturizers that I need to use and finish and I wanted to put this on hold. However I was able to get a sample and I used it during the summer. It is very creamy, emollient and hydrating. I was a bit hesitant to use this on my normal to combination skin as I didn’t want to have anything heavy on my face. What it does is, when applied before makeup application, one gets the dewy and JLo glow. Not bad but in our weather, it may give you a slightly greasy feeling during the course of the day. I would use this in the cooler months when our skin will not create excess sebum.
It is a great moisturizer for those with dry skin as it instantaneously transforms your parched skin into an oasis of moisture. It has a slight odd smell but disappears and does not really bother me at all.
Charlotte Tilbury products are on the pricey side but if you want to spoil yourself, it’s worth it. Locally her products are available at the MUP store. You may follow Charlotte Tilbury in FB, YouTube and Instagram for her videos and products.
Cherry Pacheco, a senior makeup artist affiliate of Inglot Cosmetics Philippines, recently indulged members of United Makeup Artists of the Philippines with a Bridal Demo at their Glorietta 5 branch. I couldn’t pass this up since I’m always a fan of continuing education and Inglot Cosmetics Philippines is one of the cosmetics brand that I’m beginning to fall in love with. Again, its not a basic demo, you have to come with the understanding of basic makeup application. My love affair began with their most best selling gel liner no. 77. It’s black inky color is unbelievably smooth and creamy and budgeproof. It’s not exactly waterproof but its great for my needs. I also have their nail ridge filler which lives up to its name, it leaves a smooth mantle over the nail preparing it for nail color. I am hooked.
Inky Black Gel Eyeliner no. 77. Inglot’s best selling item.
Her Tips:
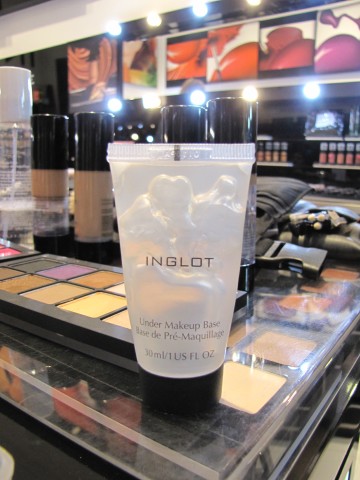
1) Begin with a very clean and smooth canvas. Face should be prepped prior to the application, cleansed, toned, moisturized and primed, according to the skin type of the client or Bride. Inglot’s Under Base Mattifiying base is considered the primer of all gods.
Primer of all gods.
2) Determine the bride’s skin tone and undertones by properly matching 1-2 shades of Foundation on the cheek to the jawline to see which shade matches her face. The right color should blend seamlessly on the face. When skin is acidic, it means that when foundation is applied, your skin color turns dark or gray after a few minutes. This applies to people with oily skin. To counteract this, apply a toner to the face, apply a primer to the face prior to the foundation to act as a barrier between the skin and makeup and choose a foundation that is one shade lighter than your skintone. This way, when your face casts a darker hue, it will match your skin tone perfectly.
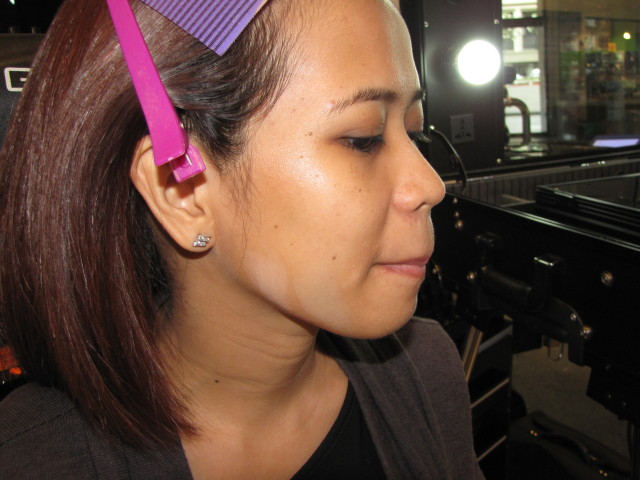
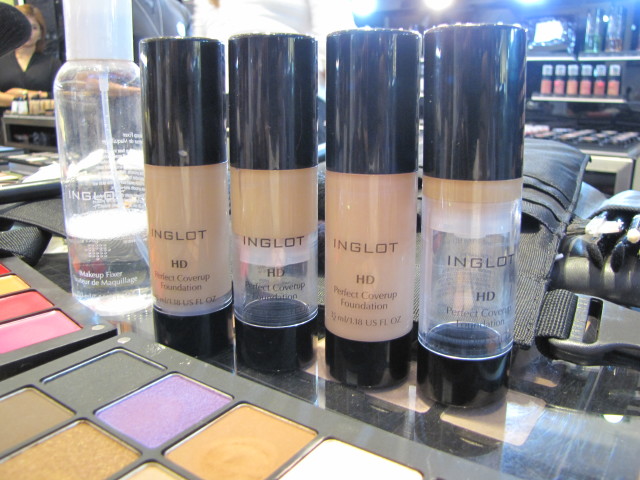
The shade that matched the model’s face is the one on the left. It was lighter than her usual shade because she is acidic.HD Foundation gives a dewy satin finish
3) Begin applying the foundation with a brush on the upper half of the face until the eyebrows and extending to the lower part of the face where her upper cheekbones begin. The perimeter of the face should be a little darker to give depth and warmth to the face.
Model Xyrene with foundation applied on her face.Mattifying powder was used and applied with a sponge after foundation was applied.One of their best selling items their mattifiying powder.
4) Contour and Highlight. When applying depth, highlight and warmth to the skin, Cherry uses powder to achieve this.
Contour PaletteDark powder was applied from the top of the ear and blended towards the center of the face stopping in the lower cheek area. Do not go past the lips.
4) Eyebrows should be properly groomed so placement of color can be applied correctly. Brush the hairs in an upward stroke to see where the hair growth lies and where color should be applied.
Perfectly groomed eyebrows and a face that has depth.
5) Eyeshadow
Her Freedom Palette of choice. Love love the color on the bottom row, 2nd to the left. This is what she applied on the eyelid using her ring finger and blended to perfection.She blended the eyeshadow and added a darker matte color on the outer crease or V shape to accentuate the eyes.A lighter shade was applied in the inner corner of the eyes and bottom lashes to make the eyes pop.
6) Eyeliner and Lashes
Brown Waterproof eyeliner was used in the bottom of the lashes vertically and smudged 3/4 of the way.
7) Blush
Peach toned blushes work well with Asian skin tones. You may mix a pink toned blush to give the face more dimension.Work in circular motions from the apples of the cheeks and blend outwards.
8) Lips
Lip Palette to die for. It is super pigmented a little goes a long way. She used the 2 colors on the bottom row, 2nd to the left and the middle shade and mixed the two to get a peachy pink color.Lip color should match the undertone and color of the blush to create harmony in the face.
9) Final result:
Before (Xyrene Eugenio is also an Inglot Cosmetics Philippines makeup artist affiliate who gamely became our model for that afternoon)After. Xyrene is ready to walk down the aisle, the shopping aisle that is.
A promo and discount offer was offered to us artists which made it easier for us to justify our vanity cravings. It is easy to be lost and overwhelmed when you walk into the store but trust the staff to offer their warm assistance in narrowing your choices. Despite the slight frenzy, I was able to make good choices in my attempt to understand their Freedom Palette selling point. Their palettes are all magnetic, colors are easy to put in and talk about portability, everything you need is customized for you when you slip them in those compact holes.
My custom bridal eyeshadow palette chosen for me.
The only bad point I can think of is that since the creamy pigments like lipsticks and cream concealers melt so quickly in our heat, I end up putting them in the refrigerator to harden them a bit. Colors are named in a series of 3 numbers, I have a difficult time remembering them sometimes. I guess this was deliberately done since this line is a brainchild of a polish Chemist Wojchiek Inglot, who wanted to produce cosmetics that are paraben free and free of those harmful ingredients you find in some cosmetic brands. Chemists work with formulas and numbers hence the number sequence in their branding. As a result, Inglot Cosmetics is 20-30% more affordable than their counterparts. I call it genius, their magnetized palettes are a makeup artist’s dream, they all stack up in your kits. Truly Heaven sent.
Glorietta 5 storeLip Lip Hooray! I seem to want this artwork for myself.Xyrene and CherryWith their Glorietta 5 staff


 5) Eyeshadow